Create Lambda@Edge function
Create Lambda@Edge function
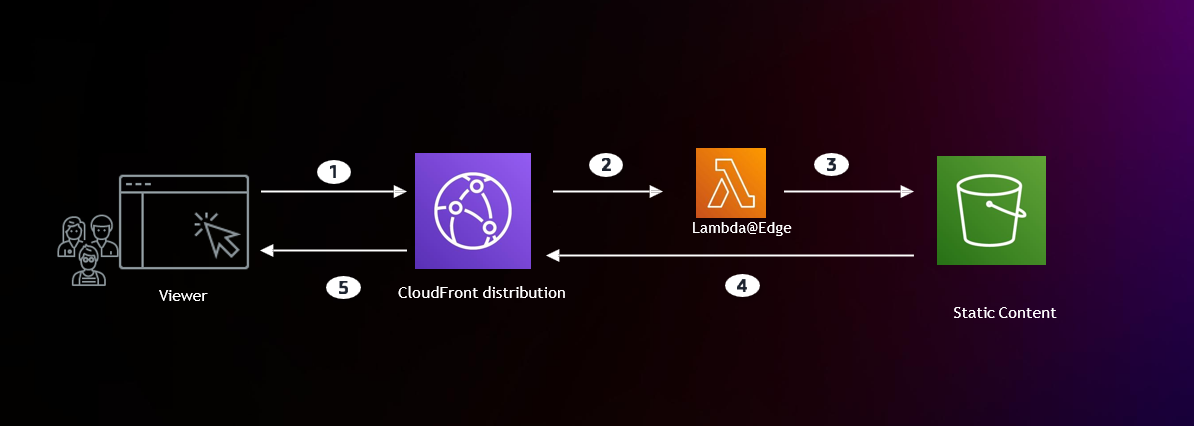
In this section, we will create a Lambda@Edge function.
1 - Go to the AWS Console and make sure you are in the US-EAST-1 N. Virginia region.
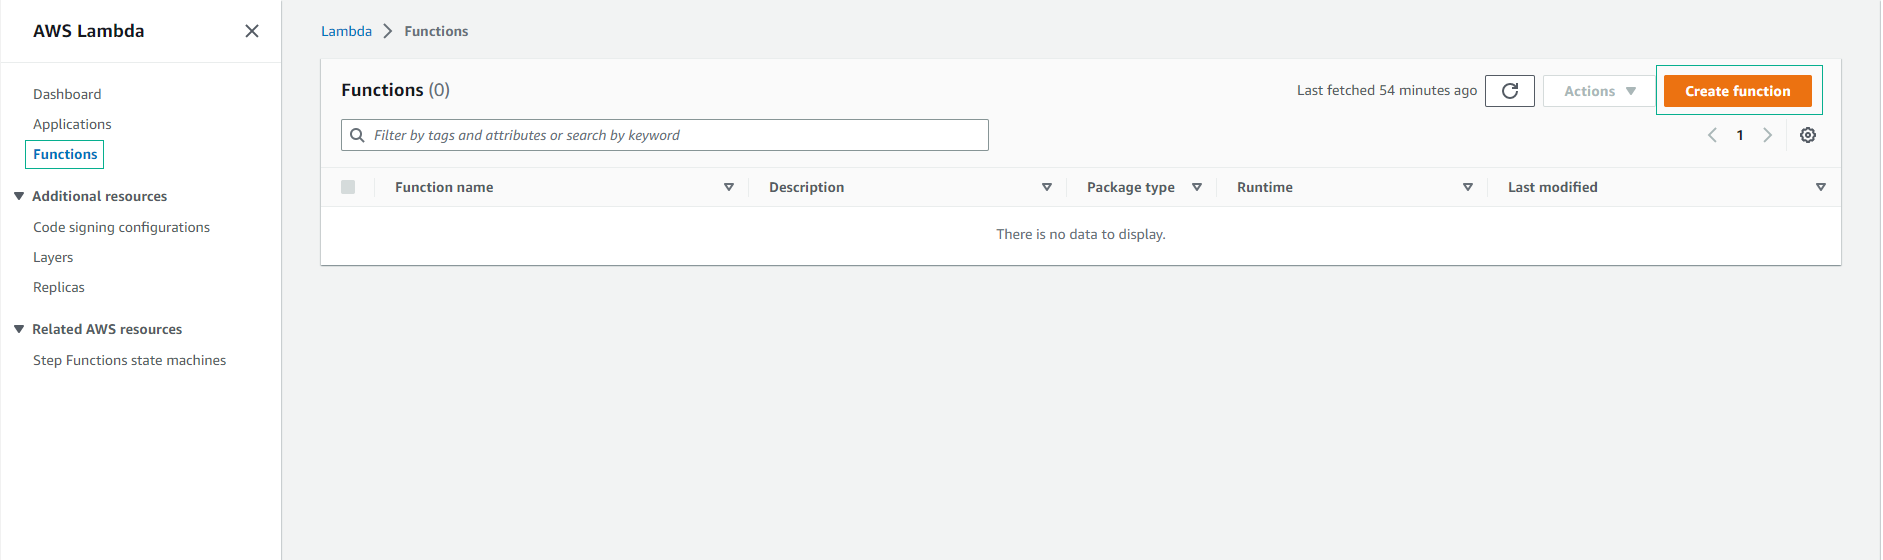
2 - Go to Lambda console and select Create function
-
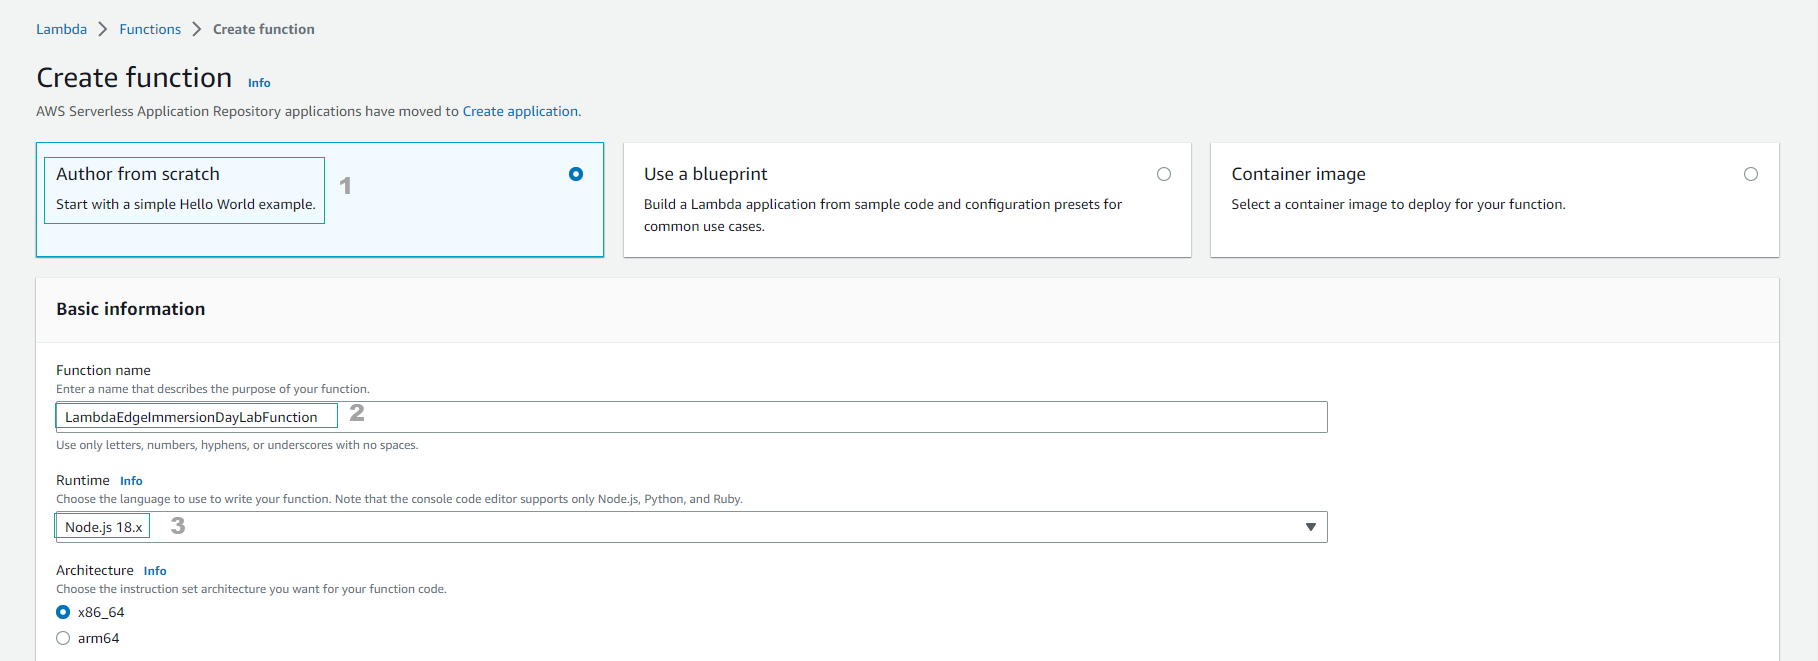
Perform configuration:
- Select “Author from scratch”
- Select “Create function”
- Name: “LambdaEdgeImmersionDayLabFunction”
- Runtime: “Node.js 18.x”
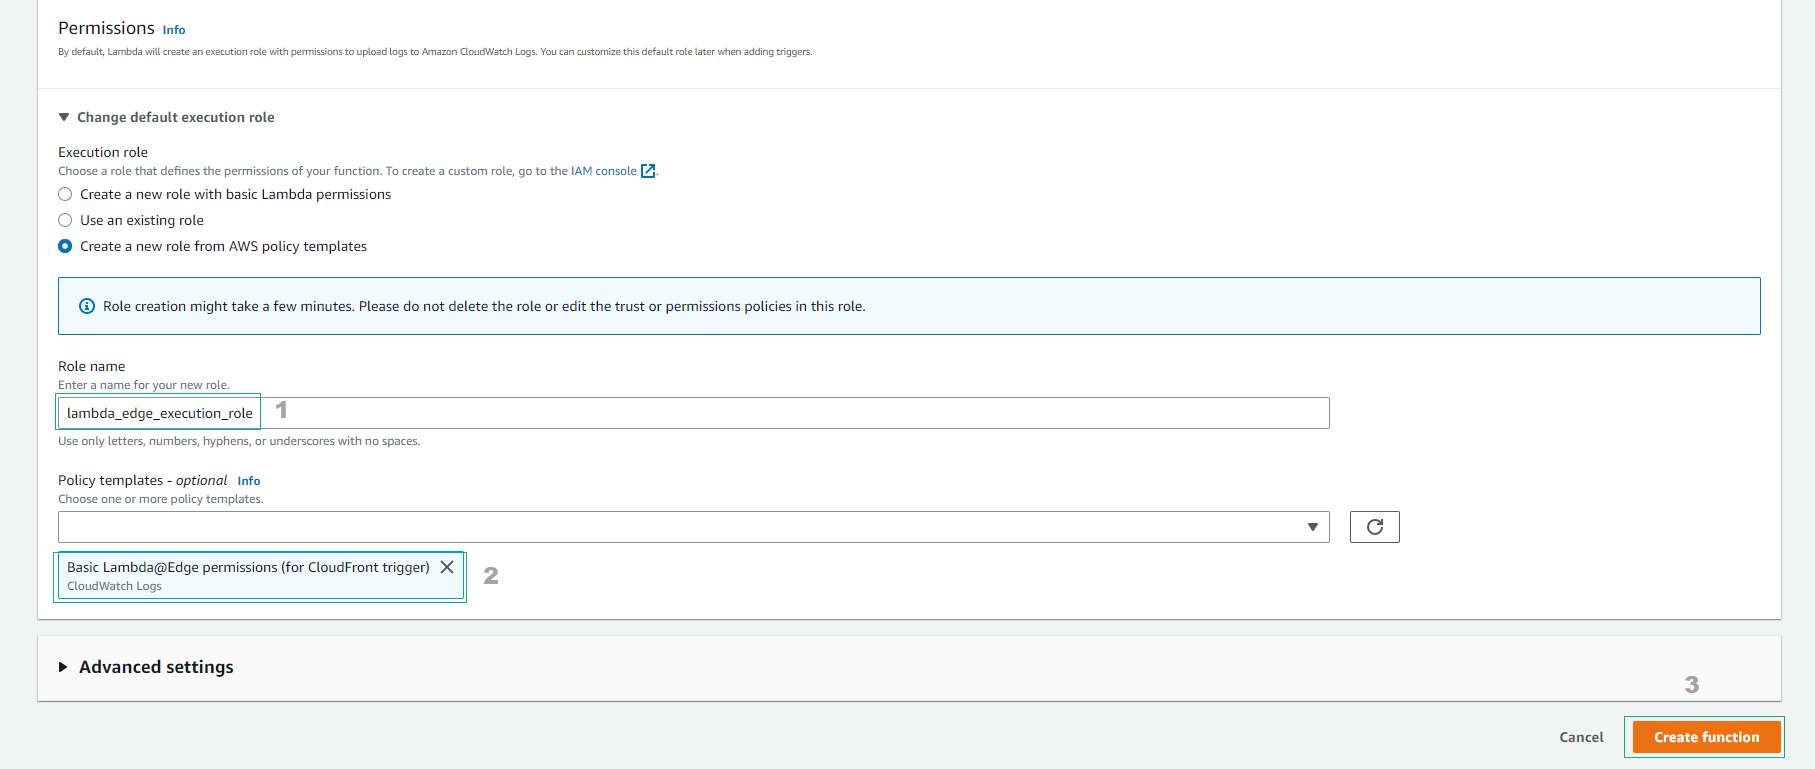
- Role: “Create new role from AWS policy templates”
- Role name: “lambda_edge_execution_role”
- Policy templates: “Basic Lambda@Edge permissions (for CloudFront trigger)”
- Click “Create function”
- Finish creating Lambda function. You have successfully created a new IAM role, which is used to allow CloudFront to invoke Lambda and log to CloudWatch.
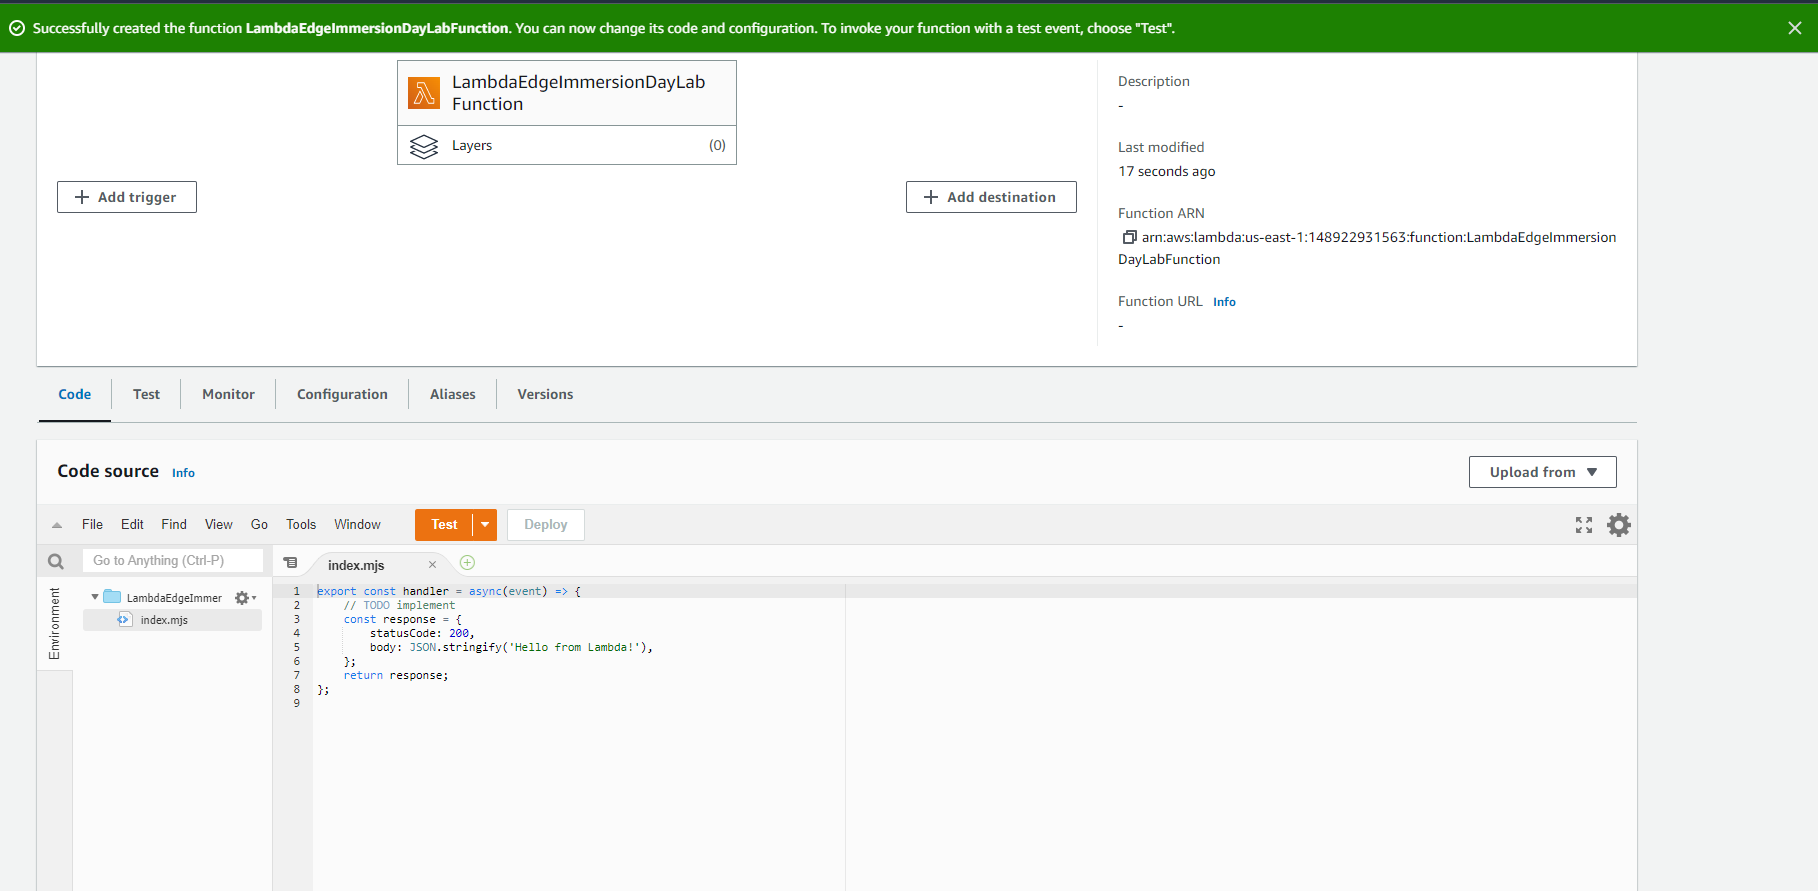
- Select tab Test
- Select Create new test event
- Event Name : “TestEvent”
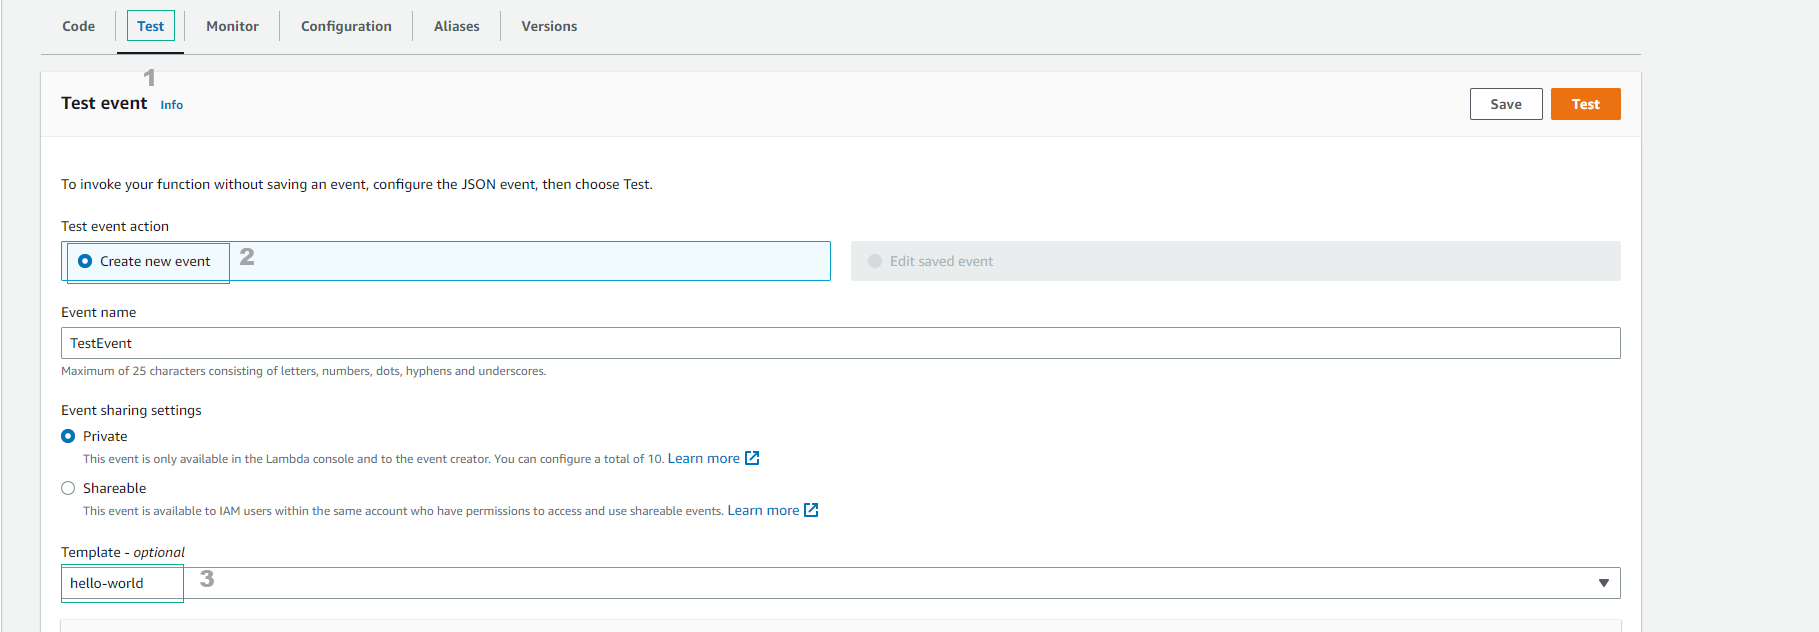
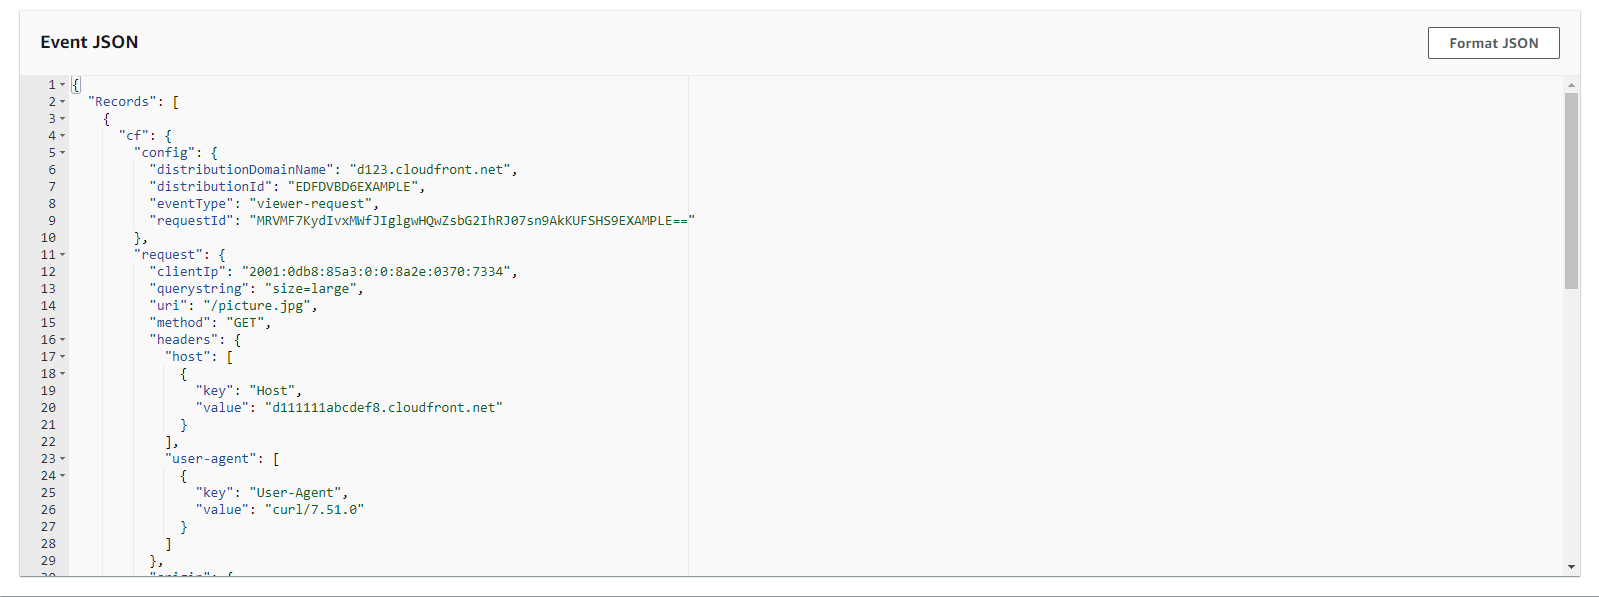
- Replace Hello World JSON with the following json:
{
    "Records": [
      {
        "cf": {
          "config": {
            "distributionDomainName": "d123.cloudfront.net",
            "distributionId": "EDFDVBD6EXAMPLE",
            "eventType": "viewer-request",
            "requestId": "MRVMF7KydIvxMWfJIglgwHQwZsbG2IhRJ07sn9AkKUFSHS9EXAMPLE=="
          },
          "request": {
            "clientIp": "2001:0db8:85a3:0:0:8a2e:0370:7334",
            "method": "GET",
            "querystring": "size=large",
            "uri": "/picture.jpg",
            "headers": {
              "host": [
                {
                  "key": "Host",
                  "value": "d111111abcdef8.cloudfront.net"
                }
              ],
              "user-agent": [
                {
                  "key": "User-Agent",
                  "value": "curl/7.51.0"
                }
              ]
            },
            "origin": {
              "custom": {
                "customHeaders": {
                  "my-origin-custom-header": [
                    {
                      "key": "My-Origin-Custom-Header",
                      "value": "Test"
                    }
                  ]
                },
                "domainName": "example.com",
                "keepaliveTimeout": 5,
                "path": "/custom_path",
                "port": 443,
                "protocol": "https",
                "readTimeout": 5,
                "sslProtocols": [
                  "TLSv1",
                  "TLSv1.1"
                ]
              },
              "s3": {
                "authMethod": "origin-access-identity",
                "customHeaders": {
                  "my-origin-custom-header": [
                    {
                      "key": "My-Origin-Custom-Header",
                      "value": "Test"
                    }
                  ]
                },
                "domainName": "my-bucket.s3.amazonaws.com",
                "path": "/s3_path",
                "region": "us-east-1"
              }
            }
          }
        }
      }
    ]
  }
- Select CCreate
- Return to the Lambda function interface and select Code
-
Now we will write a function to generate generated HTML.
-
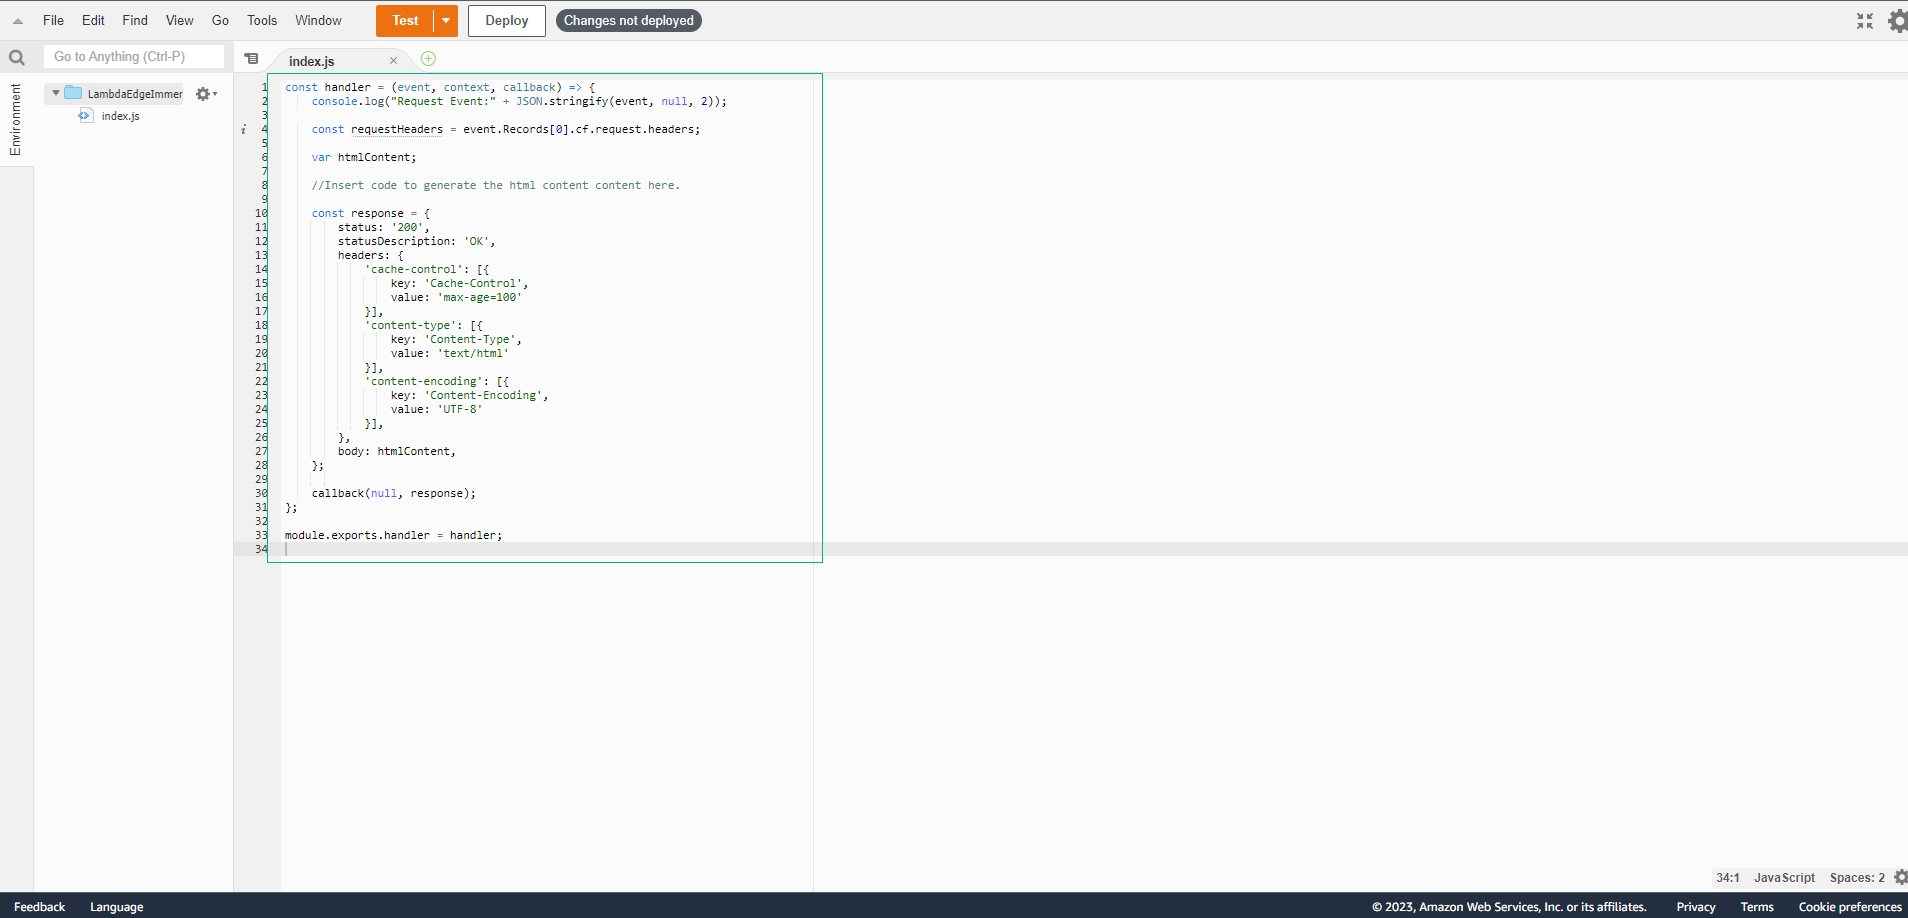
Copy and paste the following code into the function code window:
const handler = (event, context, callback) => {
    console.log("Request Event:" + JSON.stringify(event, null, 2));

    const requestHeaders = event.Records[0].cf.request.headers;

    var htmlContent;

    //Insert code to generate the html content content here.

    const response = {
        status: '200',
        statusDescription: 'OK',
        headers: {
            'cache-control': [{
                key: 'Cache-Control',
                value: 'max-age=100'
            }],
            'content-type': [{
                key: 'Content-Type',
                value: 'text/html'
            }],
            'content-encoding': [{
                key: 'Content-Encoding',
                value: 'UTF-8'
            }],
        },
        body: htmlContent,
    };

    callback(null, response);
};

module.exports.handler = handler;
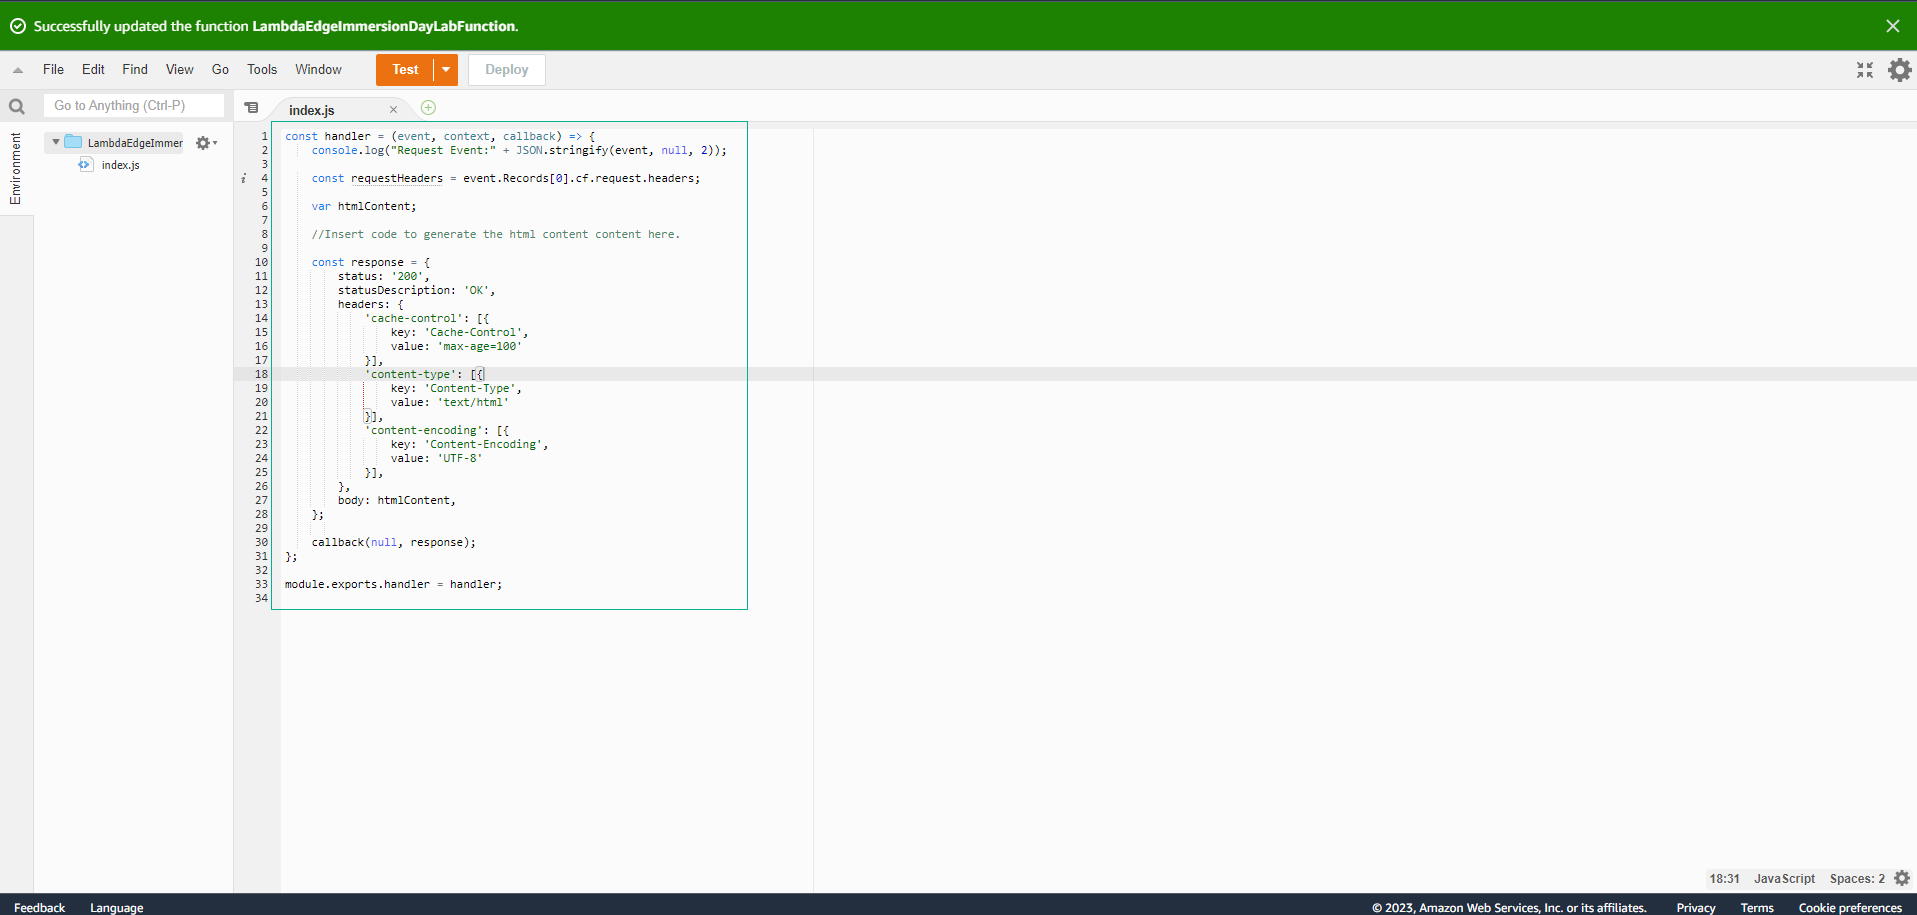
- Save
- Chọn Deploy
- Sau đó chọn Test
 9. View Test Results
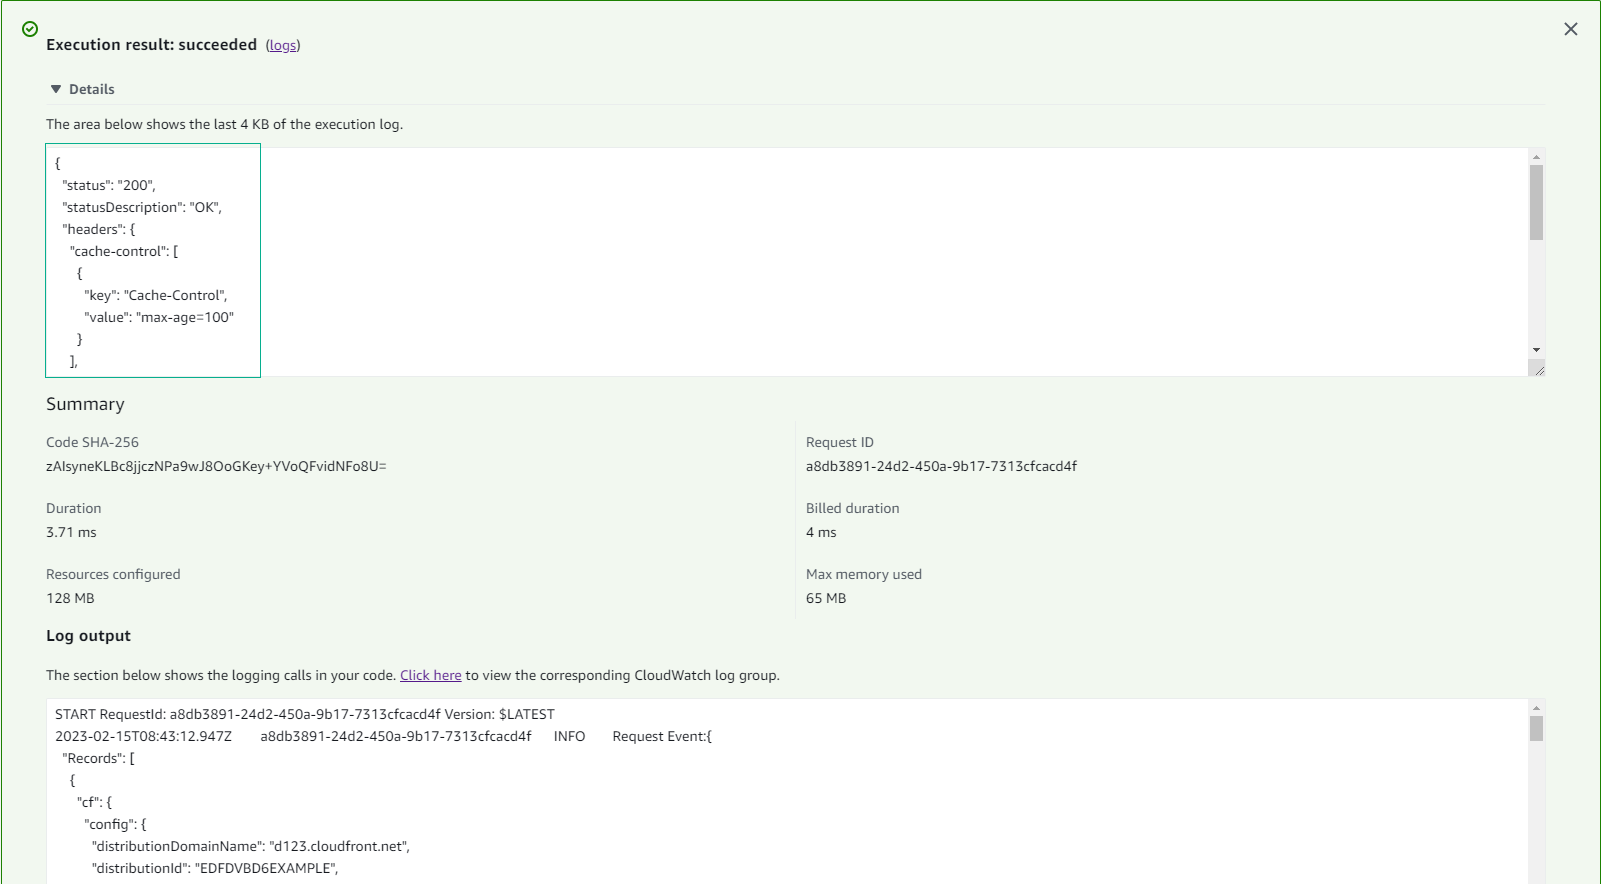
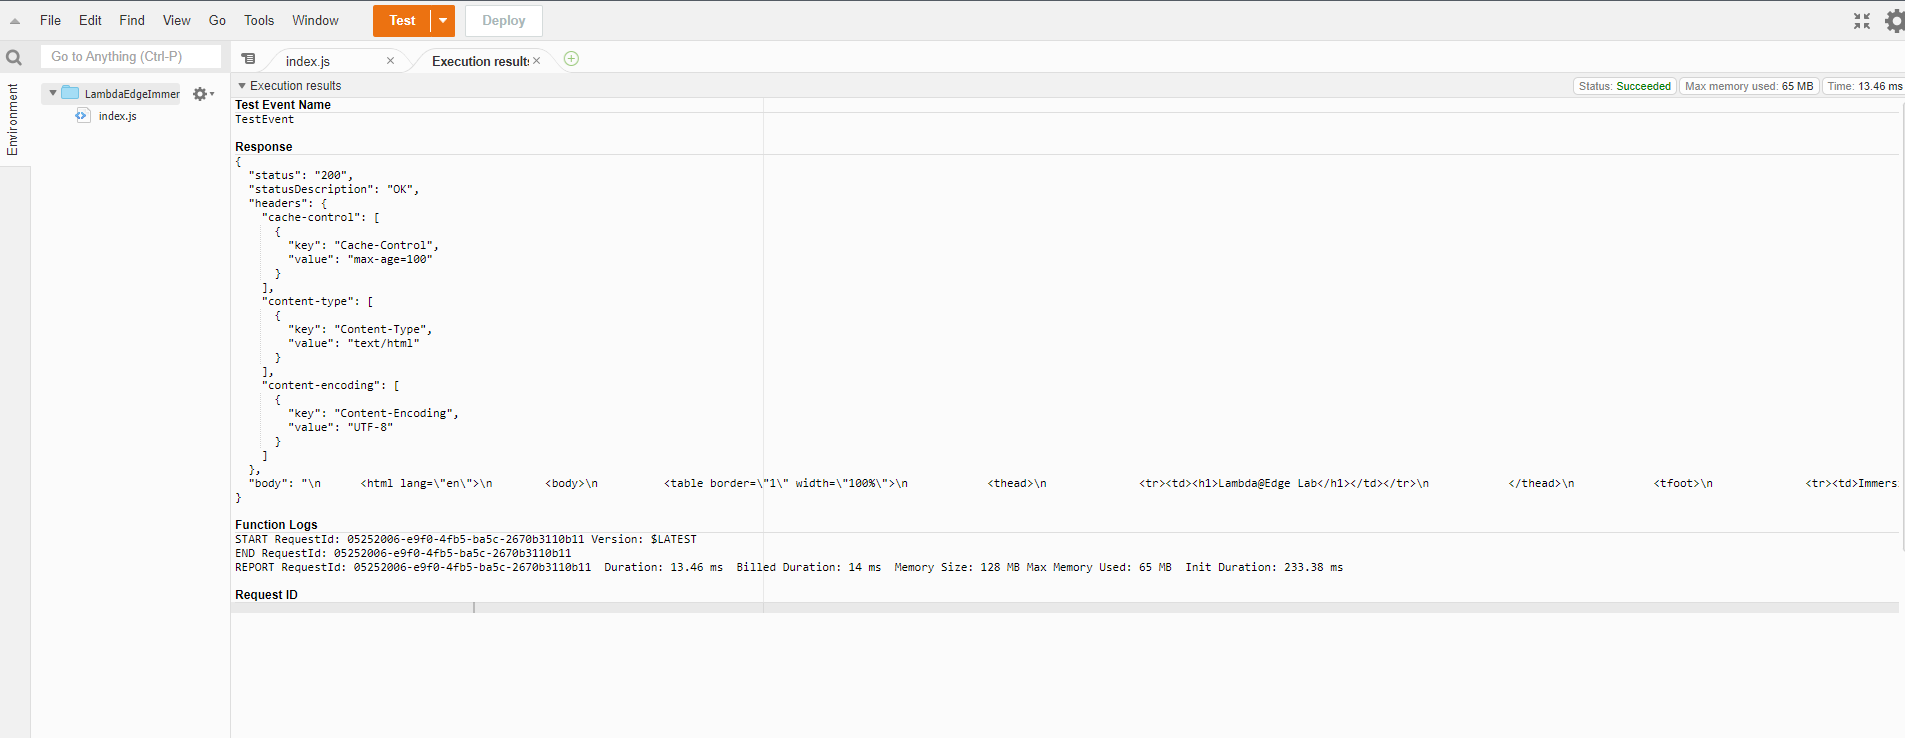
- Let’s see the result of the execution. Notice that the output is a JSON version of the HTTP 200 response that CloudFront will use to respond to the request. In this case, the response is still missing the body.
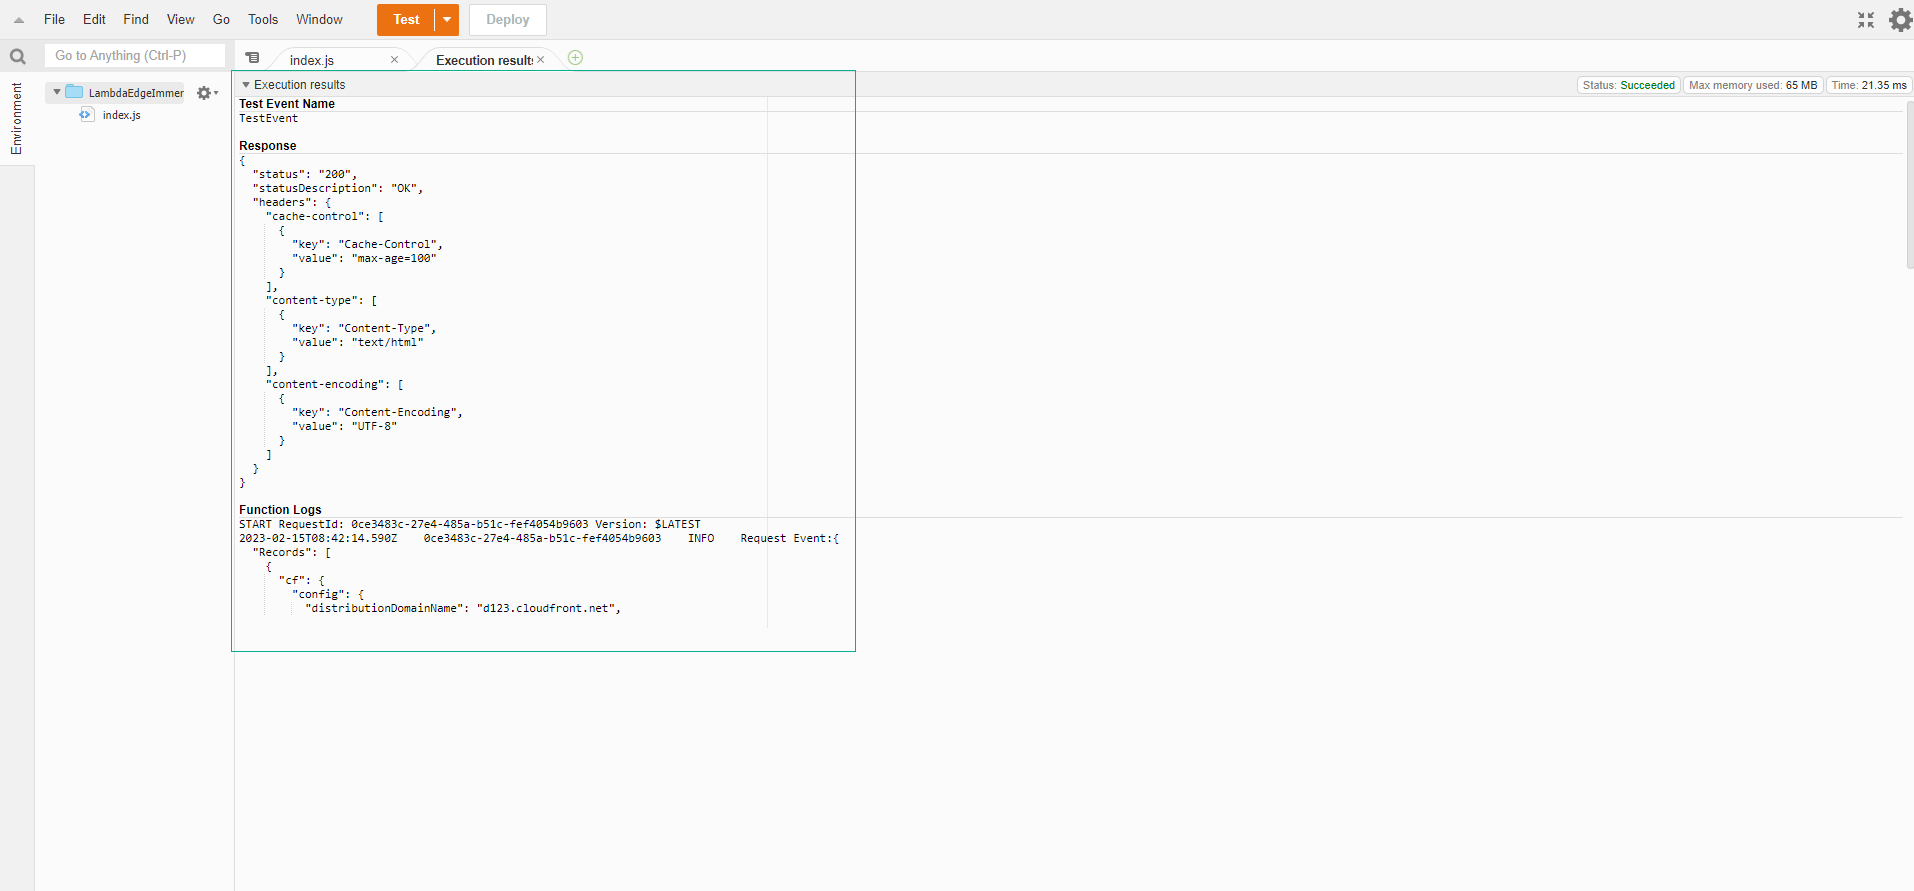
- In the Log output, we can see that the test event we configured is logged as a Request Event on the function’s input. This JSON represents the properties of the request received by CloudFront, which can be read or modified. In this exercise, we will read the headers and return the result as a nice HTML table.
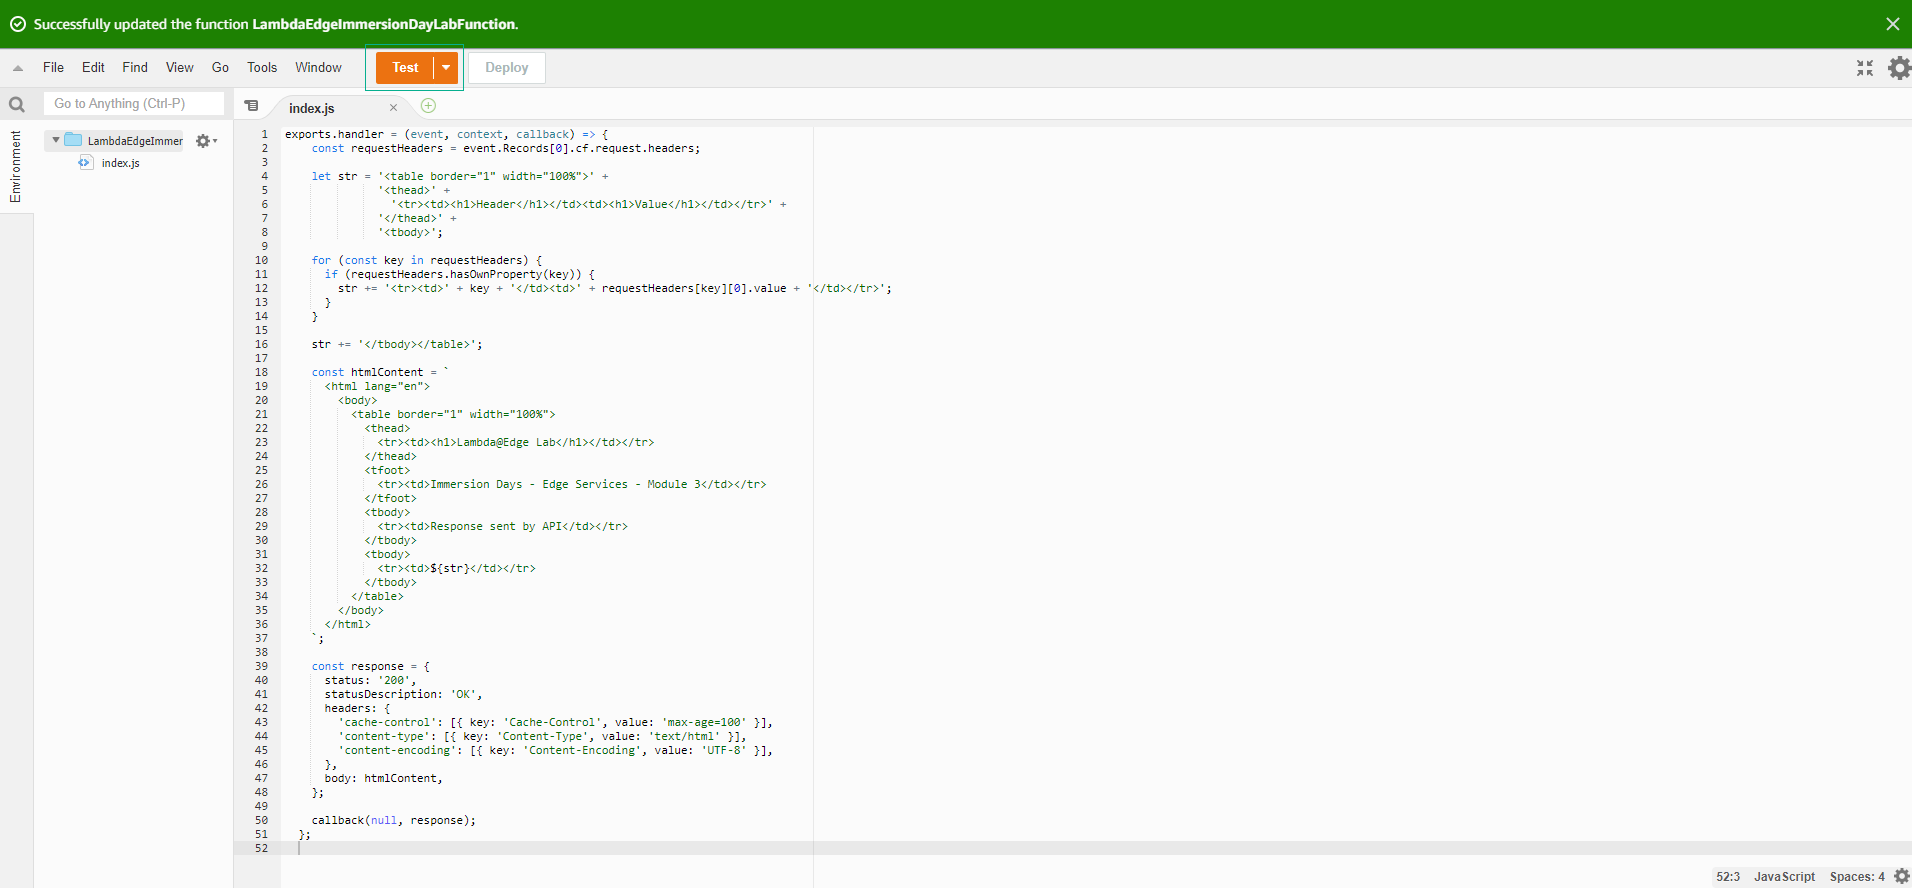
- Replace the comment with the code needed to generate the HTML body. You can use console.log to output and debug your code.
Hãy xem kết quả của việc thực thi. Chú ý rằng đầu ra là một phiên bản JSON của phản hồi HTTP 200 mà CloudFront sẽ sử dụng để phản hồi yêu cầu. Trong trường hợp này, phản hồi vẫn thiếu phần thân.
exports.handler = (event, context, callback) => {
    const requestHeaders = event.Records[0].cf.request.headers;

    let str = '<table border="1" width="100%">' +
              '<thead>' +
                '<tr><td><h1>Header</h1></td><td><h1>Value</h1></td></tr>' +
              '</thead>' +
              '<tbody>';

    for (const key in requestHeaders) {
      if (requestHeaders.hasOwnProperty(key)) {
        str += '<tr><td>' + key + '</td><td>' + requestHeaders[key][0].value + '</td></tr>';
      }
    }

    str += '</tbody></table>';

    const htmlContent = `
      <html lang="en">
        <body>
          <table border="1" width="100%">
            <thead>
              <tr><td><h1>Lambda@Edge Lab</h1></td></tr>
            </thead>
            <tfoot>
              <tr><td>Immersion Days - Edge Services - Module 3</td></tr>
            </tfoot>
            <tbody>
              <tr><td>Response sent by API</td></tr>
            </tbody>
            <tbody>
              <tr><td>${str}</td></tr>
            </tbody>
          </table>
        </body>
      </html>
    `;

    const response = {
      status: '200',
      statusDescription: 'OK',
      headers: {
        'cache-control': [{ key: 'Cache-Control', value: 'max-age=100' }],
        'content-type': [{ key: 'Content-Type', value: 'text/html' }],
        'content-encoding': [{ key: 'Content-Encoding', value: 'UTF-8' }],
      },
      body: htmlContent,
    };

    callback(null, response);
  };
- Save
- Select Deploy
- Select Test
- View Test Result
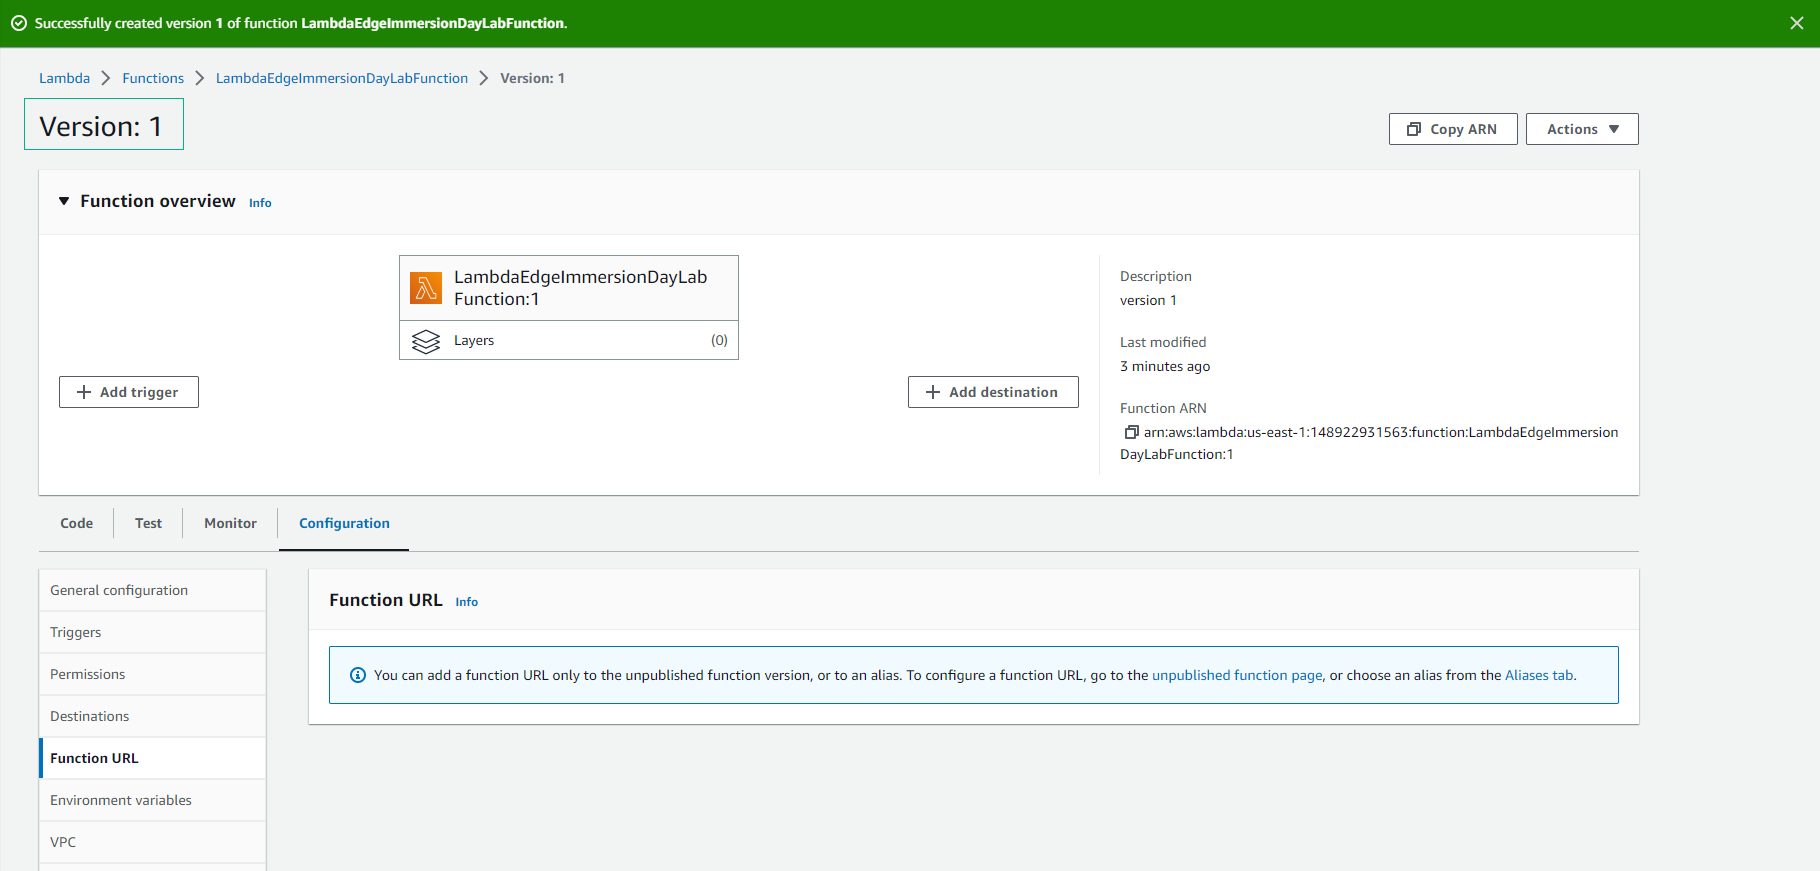
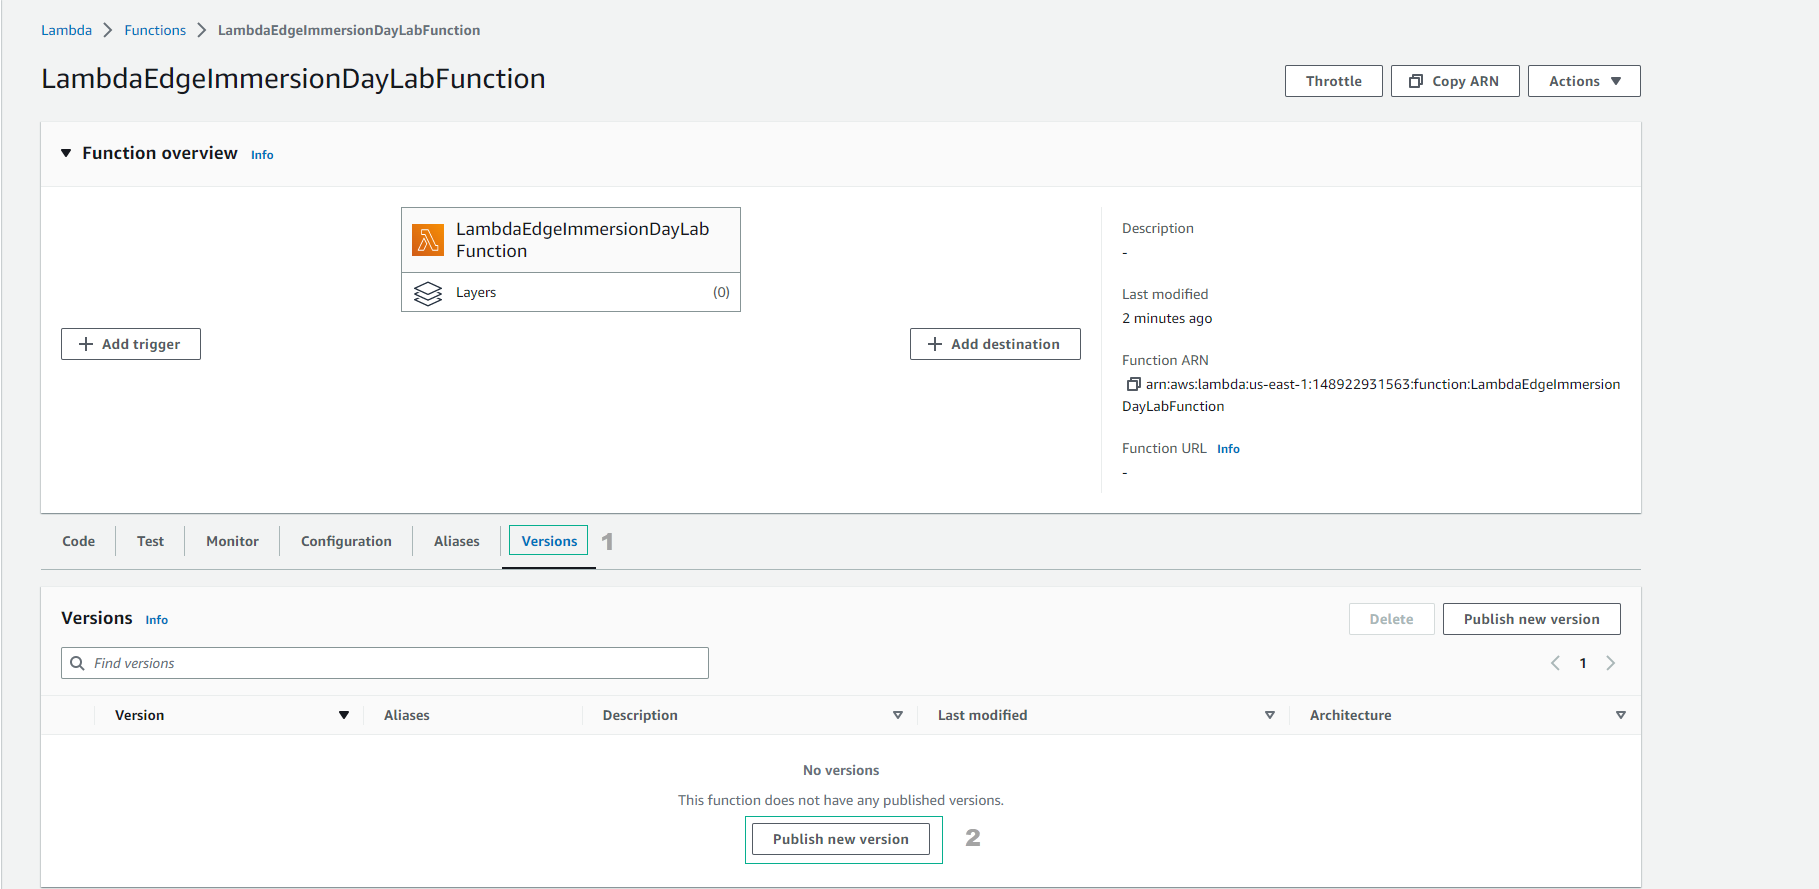
- Return to Lambda function, select Versions
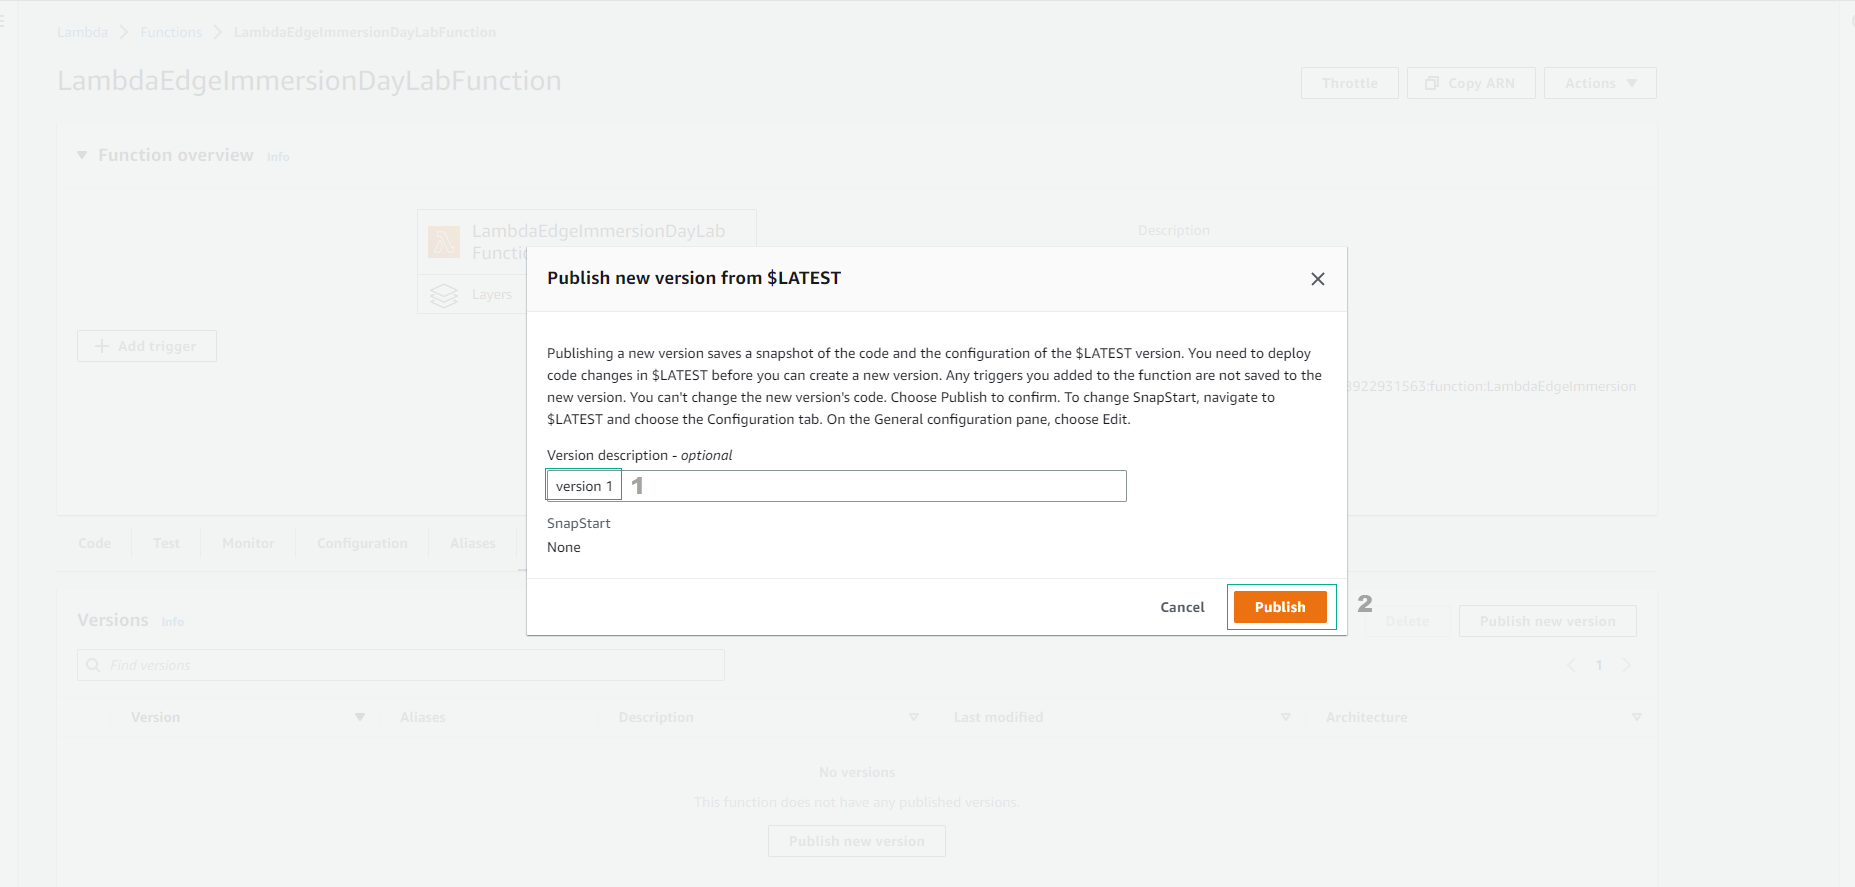
- Select Push new version
- Enter
version 1and select Publish
- Complete Lambda Function creation using CloudFront.