Test the application
Check the application
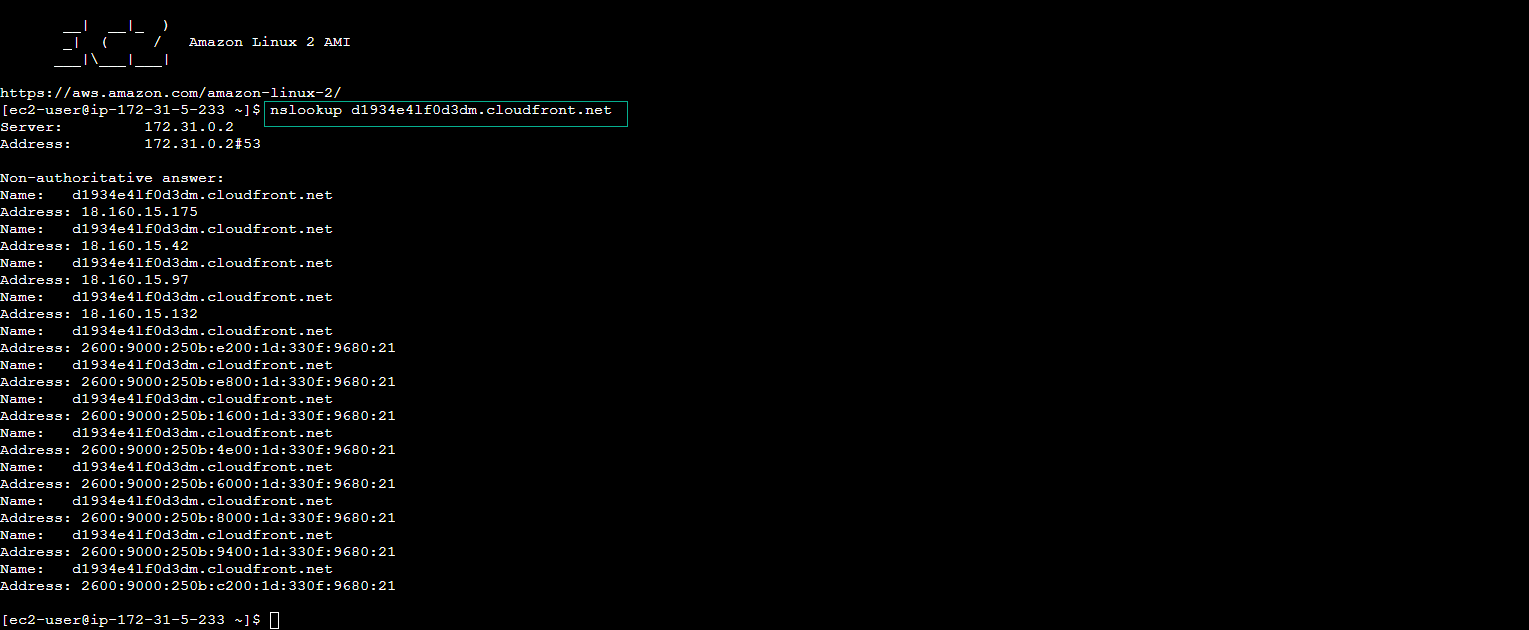
1 - When you create a new CloudFront distribution, it will be in progress and it will take some time to spread to all the points of presence globally. However, you can check if the distribution is ready for local use by looking up its CloudFront domain with the nslookup command in the command line. When you lookup a CloudFront domain, CloudFront returns multiple IP addresses to increase application availability.
-
Once the distribution has reached all points of presence, the delivery’s status will change to deployed (deployed) and you can use it on your web browser using your own CloudFront URL.
-
Access to EC2
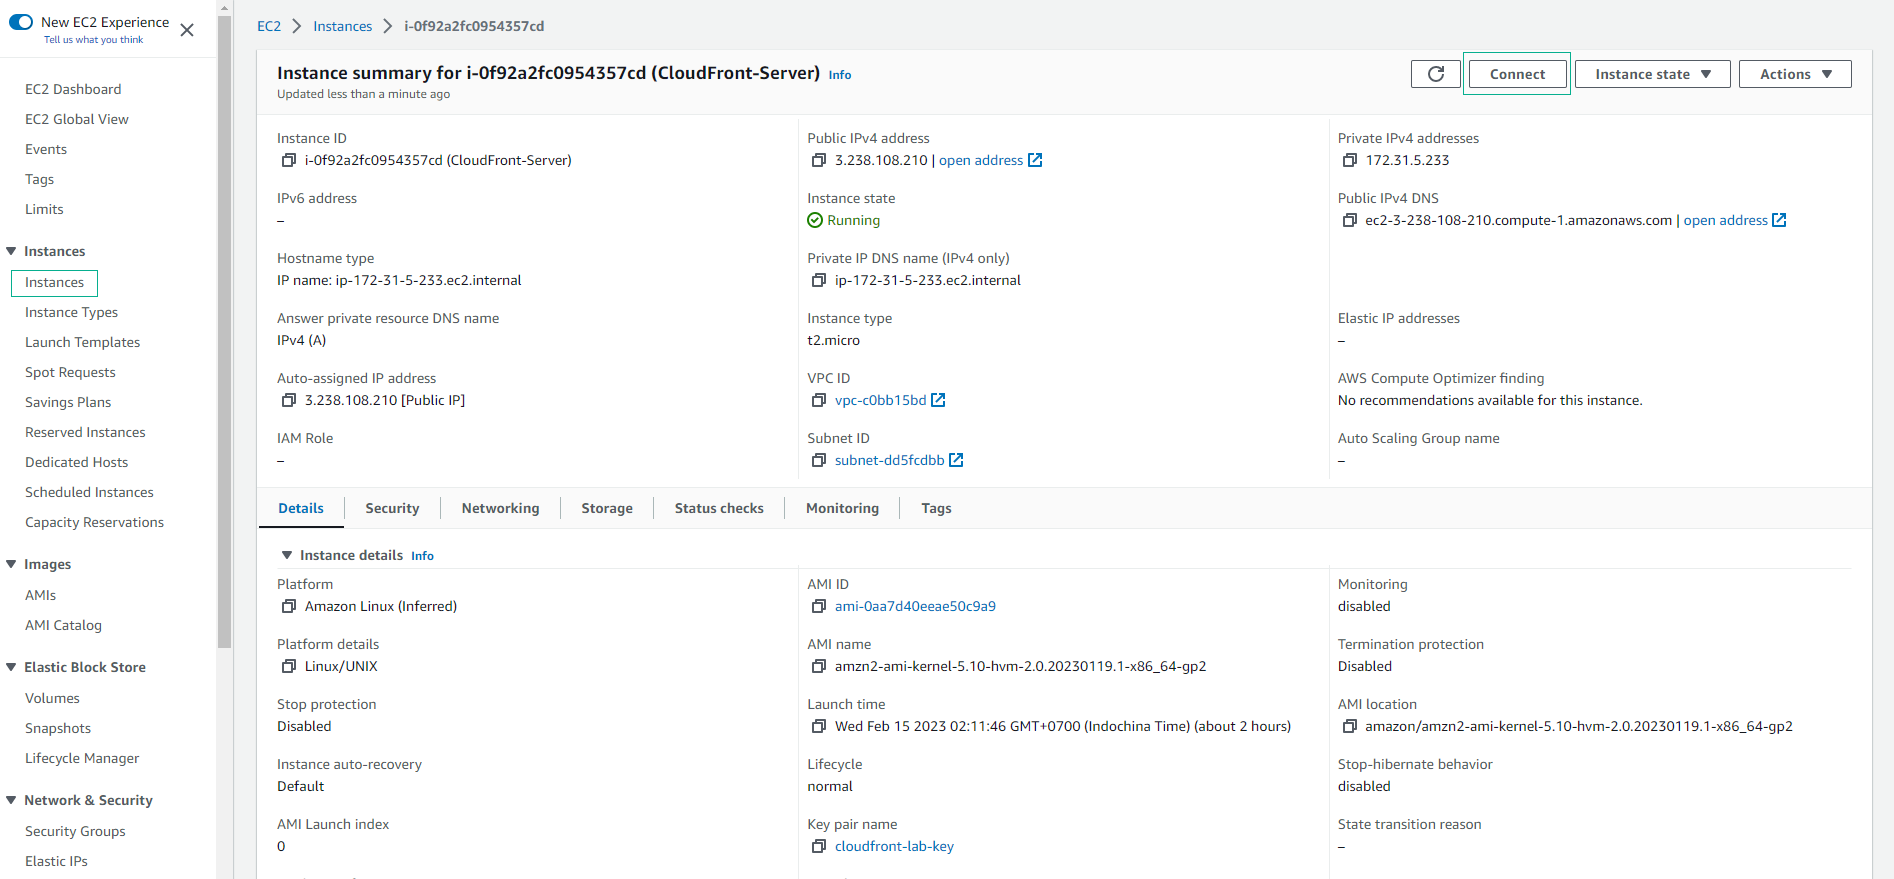
- Make a connection to EC2.
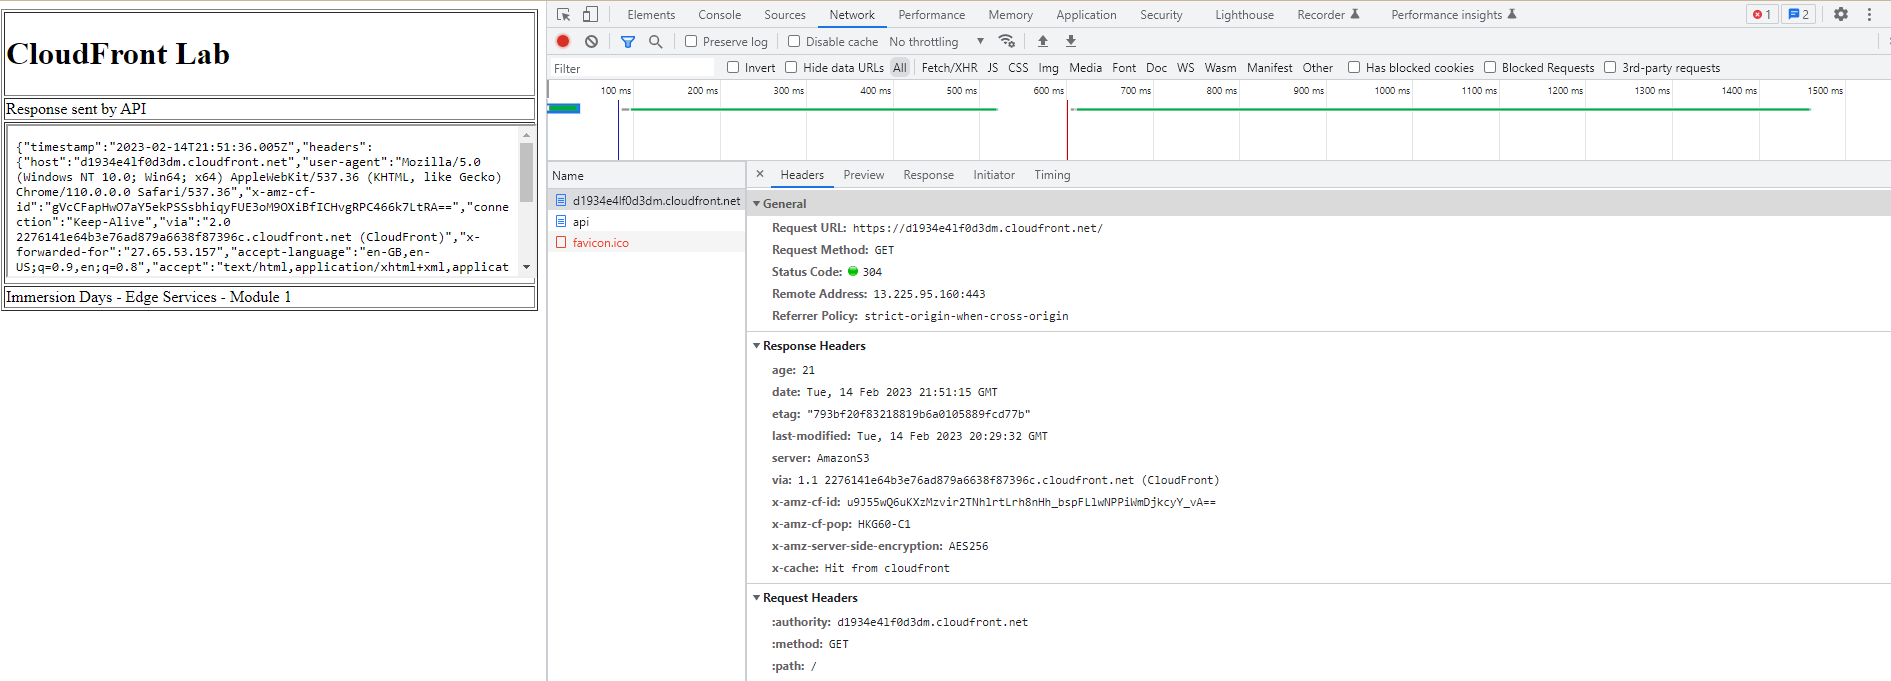
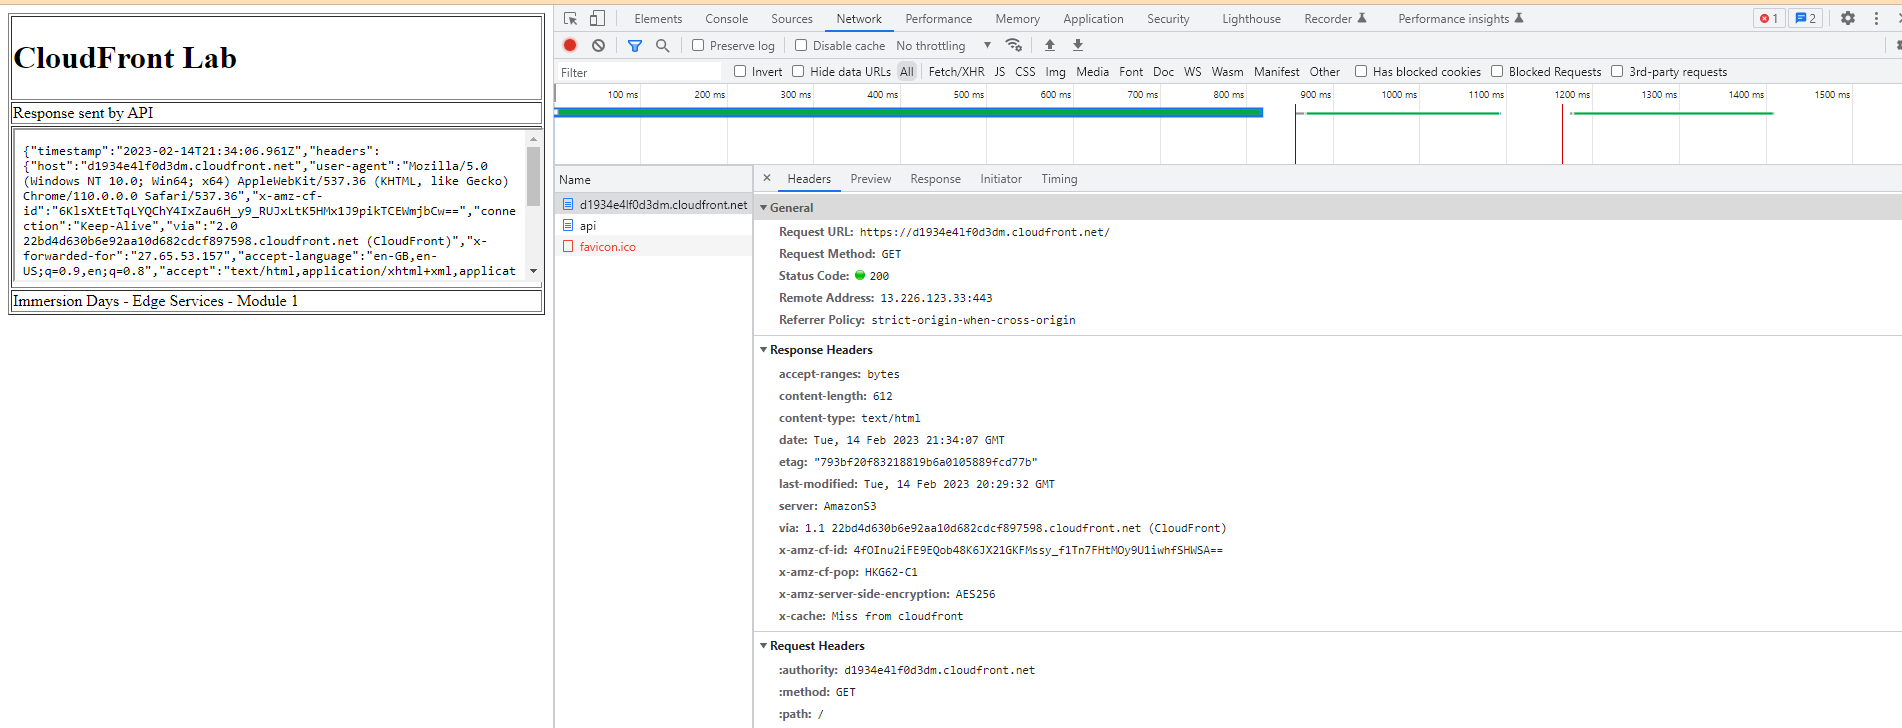
2 - Once the distribution is complete, you can test your web page on your browser served by CloudFront using your CloudFront URL http://dxxxx.cloudfront.net.
In the web page, you can see the various headers that CloudFront forwarded and attached to your API endpoint:
x-amz-cf-id: A unique id for this request provided by CloudFront. If you refresh the site you will see that the request id changes. It’s useful to log it on your web server in general. Additionally, this id will be sent back to every viewer request and sent to the CloudFront access log. If you need to debug any issue, you can open a support ticket and give them the request id. Notice how CloudFront redirected the request to HTTPS.

3 - If you use your favorite web browser development tools, you can check the response headers sent by CloudFront. Three notable titles to check out:
x-amz-cf-id: Contains the request id assigned by CloudFront. x-amz-cf-pop: Indicates the location of the CloudFront edge that served your request. Each edge position is identified by a three-letter code and an arbitrary number, for example, DFW3. The three-letter code usually corresponds to the International Air Transport Association airport code for an airport near the edge location. x-cache: Indicates whether the request was evaluated as a pass or fail. Normally for your html file you will get ‘Hit from Cloudfront’ value in subsequent requests, but always ‘Miss from CloudFront’ for /api request because caching has been disabled for this behavior.
This means that if you visit your site again, the request will be retrieved from the cache and returned with the results stored in it instead of having to reload from the original server, improving time. load pages and increase performance. However, if you make changes to your site, you may want to refresh the cache to ensure that your users see the latest changes.

4 - In case you need to access the distribution from a different geographic region, you can use CloudFront’s alternate domains, including domain names for each of the different geographies. This helps ensure that users in each region are served by their nearest CloudFront edge, which optimizes page load times and minimizes latency.
5 - If you need to create a copy of an existing CloudFront distribution, you can use the clone feature to create an exact copy of the current distribution. This can be useful when you need to serve another version of your website or application at the same time, or when you need to deal with any issues with an existing distribution.
6 - When you need to set up access policies to limit access to your distribution, you can use CloudFront’s access management feature. This allows you to set up access policies based on IP address, domain name, HTTP method and more, helping to ensure that only authorized users can access your distribution. Friend.
7 - Finally, if you need assistance from the AWS technical team, you can open a support ticket and provide details about your issue, including CloudFront request IDs and other information about your issue. your distribution. The AWS technical team will try to assist you in resolving your issue as soon as possible.