Error Page Custom Configuration
Custom Configuration Error Page
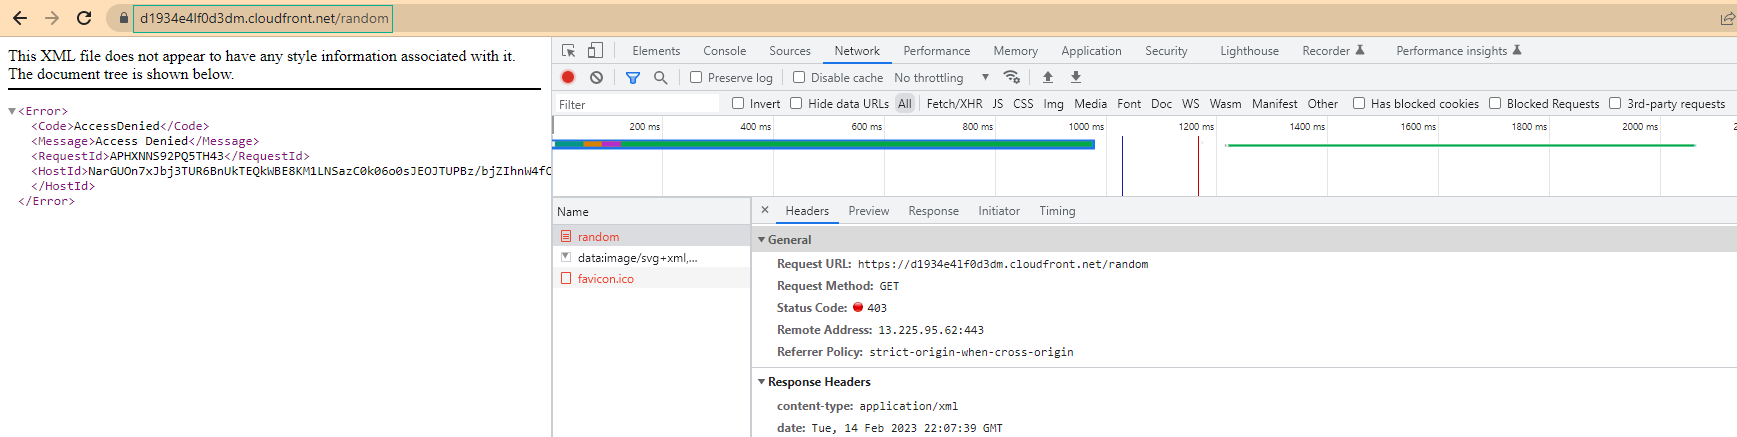
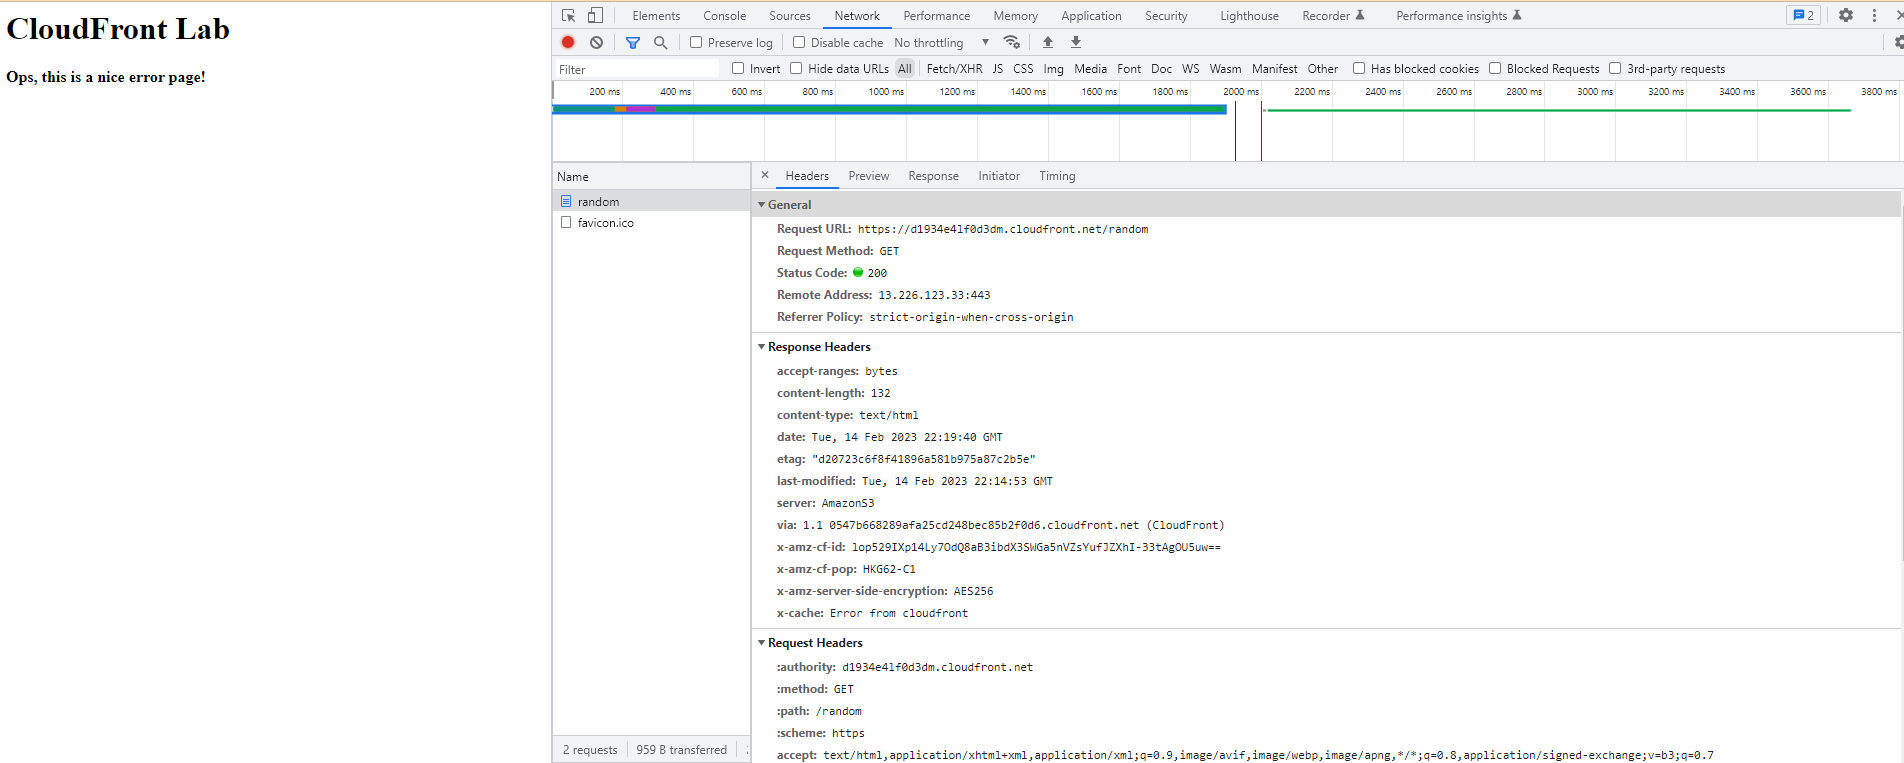
- When testing a random URL with your CloudFront domain, you will get a 403 Forbidden response from S3 behind CloudFront because the file doesn’t exist. By default, CloudFront temporarily stores this response for 10 seconds.
- Create the error.html file on your computer using a text editor with the HTML content below and upload it to your S3 bucket as you did before for the index.html file.
- Open a text editor on your computer
- If you use Windows, you can use Notepad or Notepad++ to edit text
- If you use MacOS, you can use TextEdit or other text editors to edit text
- Create error.html file with HTML content below:
<html lang="en">
  <body>
    <h1>CloudFront Lab</h1>
    <strong>Ops, this is a nice error page!</strong>
  </body>
</html>
-
Save the error.html file with UTF-8 format and give the file an arbitrary name (eg error.html)
-
Log in to AWS Console and select the S3 . service
-
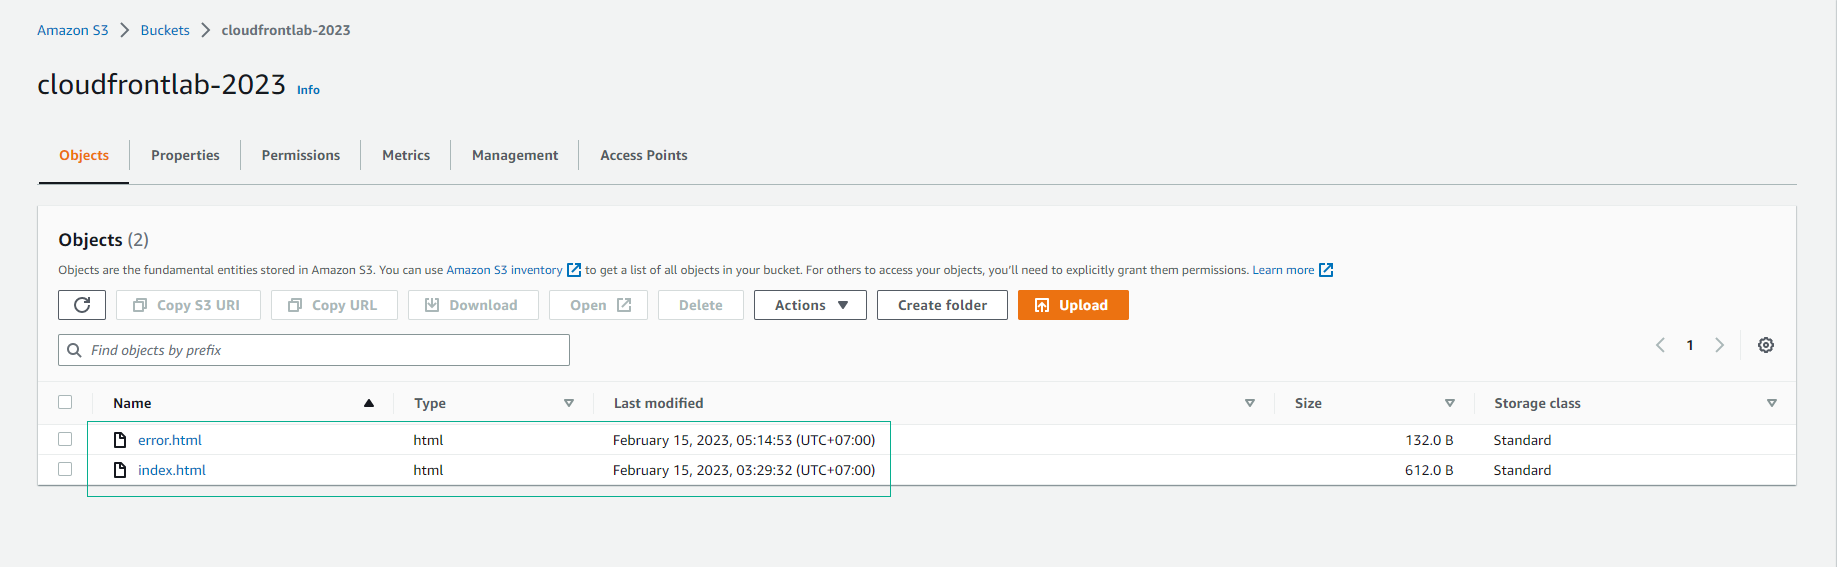
Select the S3 bucket where you want to upload the error.html . file
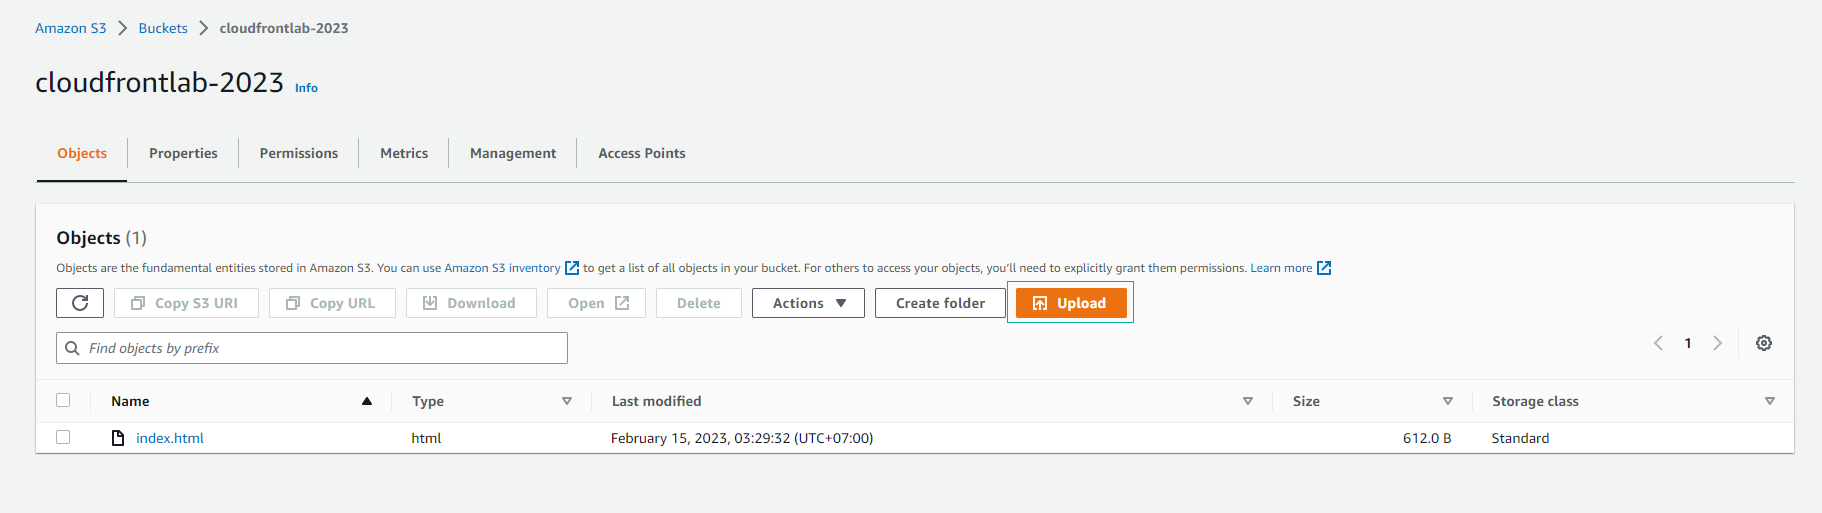
- Select “Upload” to upload the error.html file from your computer to the S3 bucket
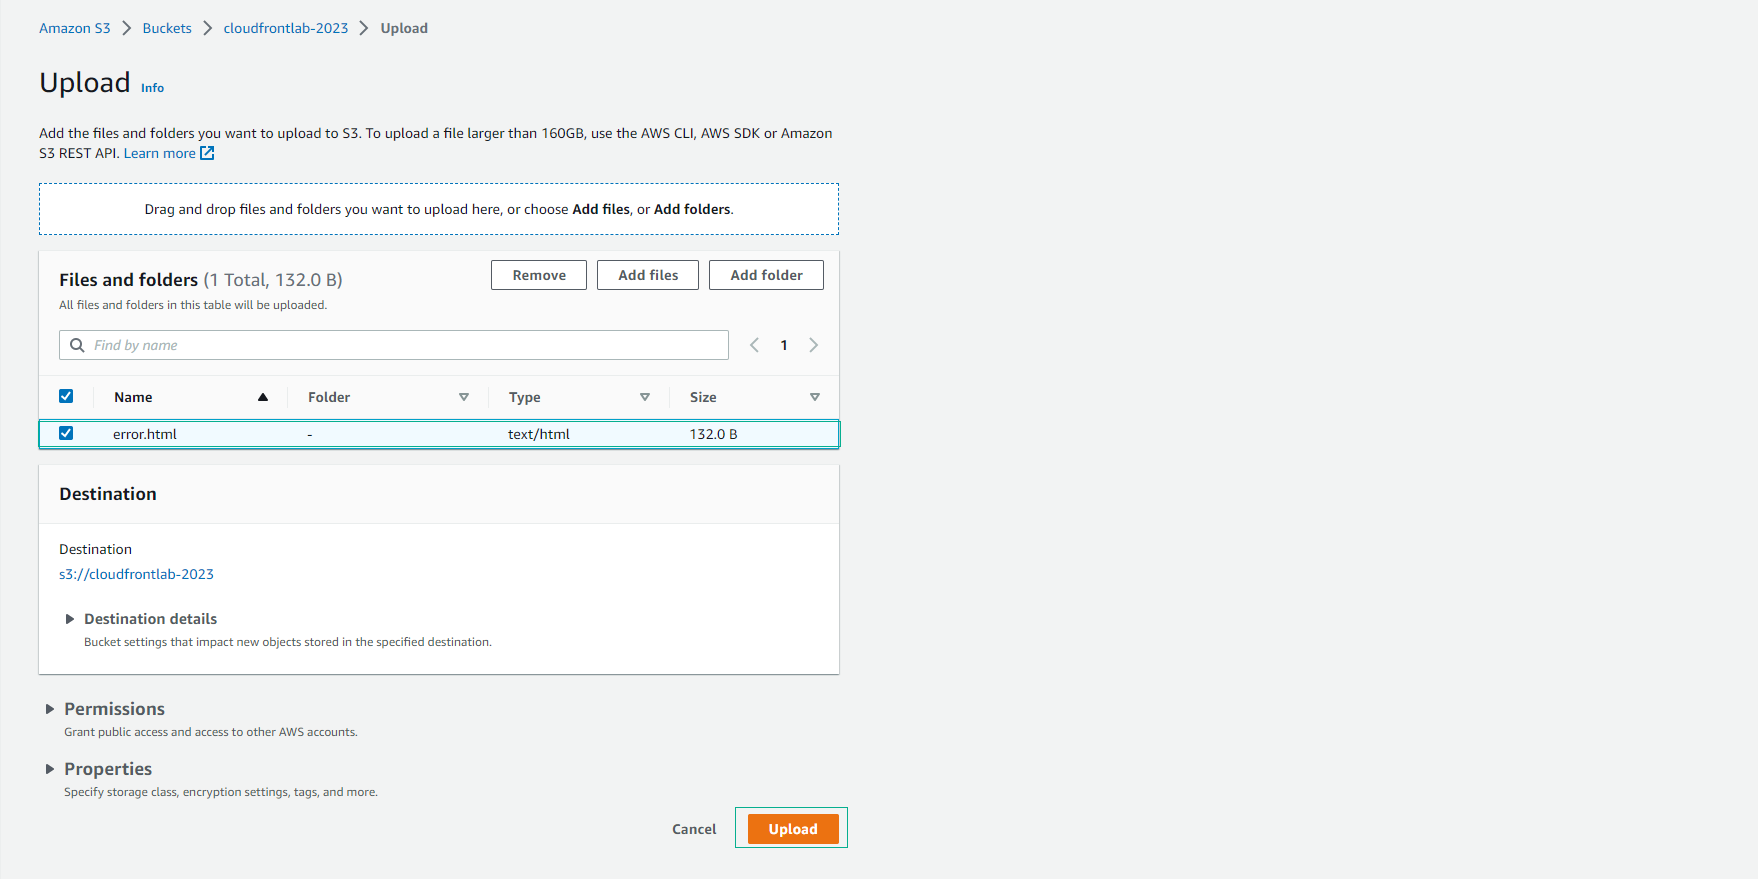
- Wait for the upload to complete
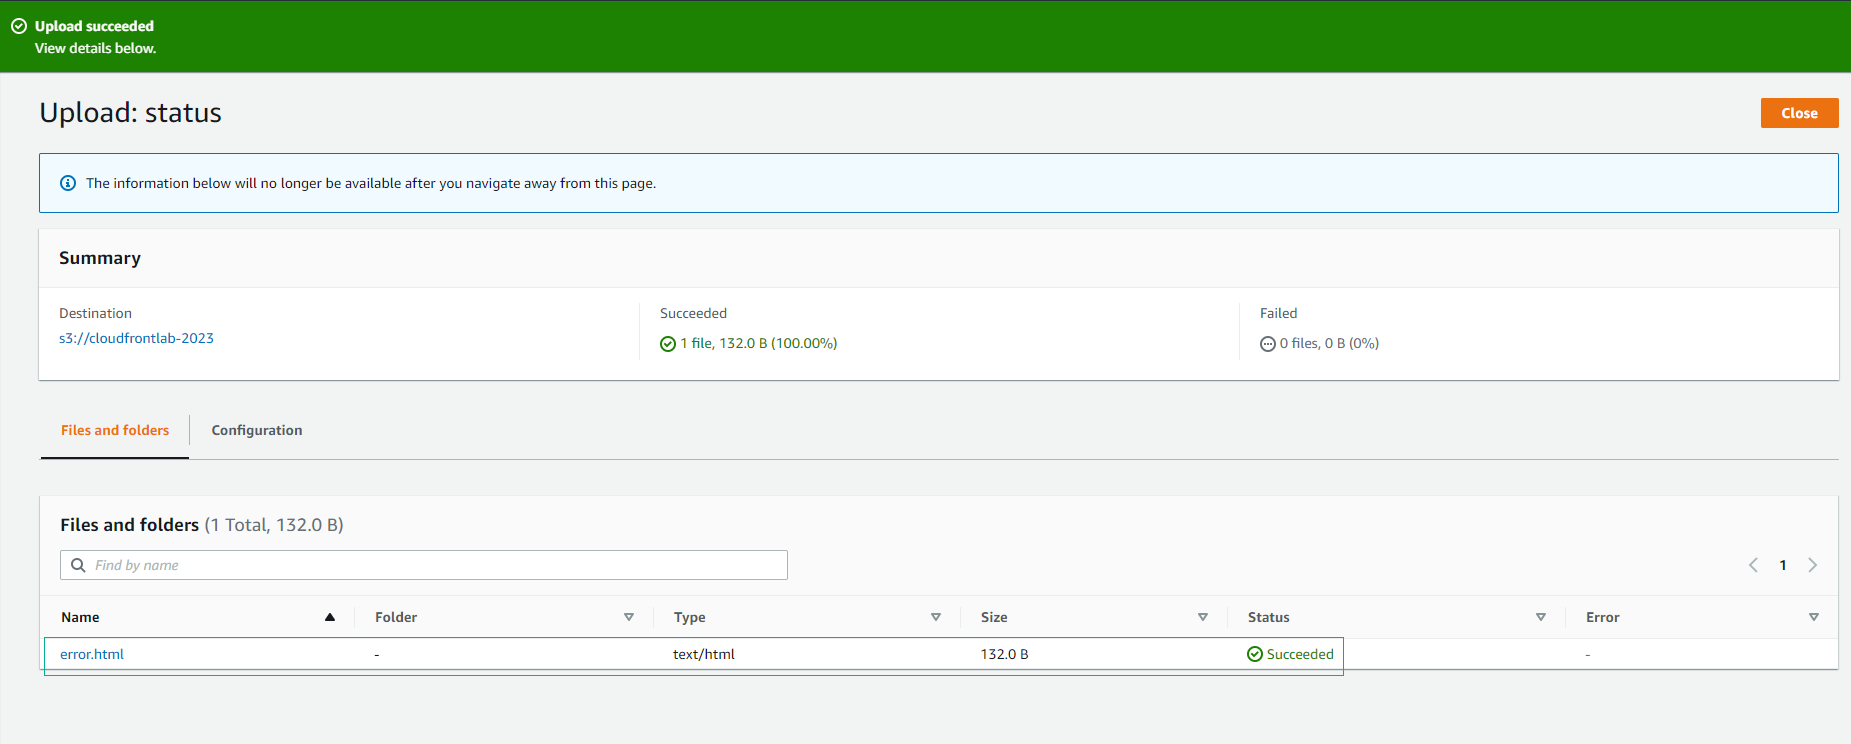
- To check if the error.html file has been uploaded successfully, select it on the S3 bucket and preview its contents.
Instructions for configuring a custom error page in CloudFront
To configure a custom error page in CloudFront, you can do the following:
- Sign in to the CloudFront . dashboard
- Select the CloudFront Distribution for which you want to configure the custom error page
- Select the “Error Pages” tab
- Find and select the “Error Pages” tab
- Create custom error page
- Click “Create custom error response” button

-
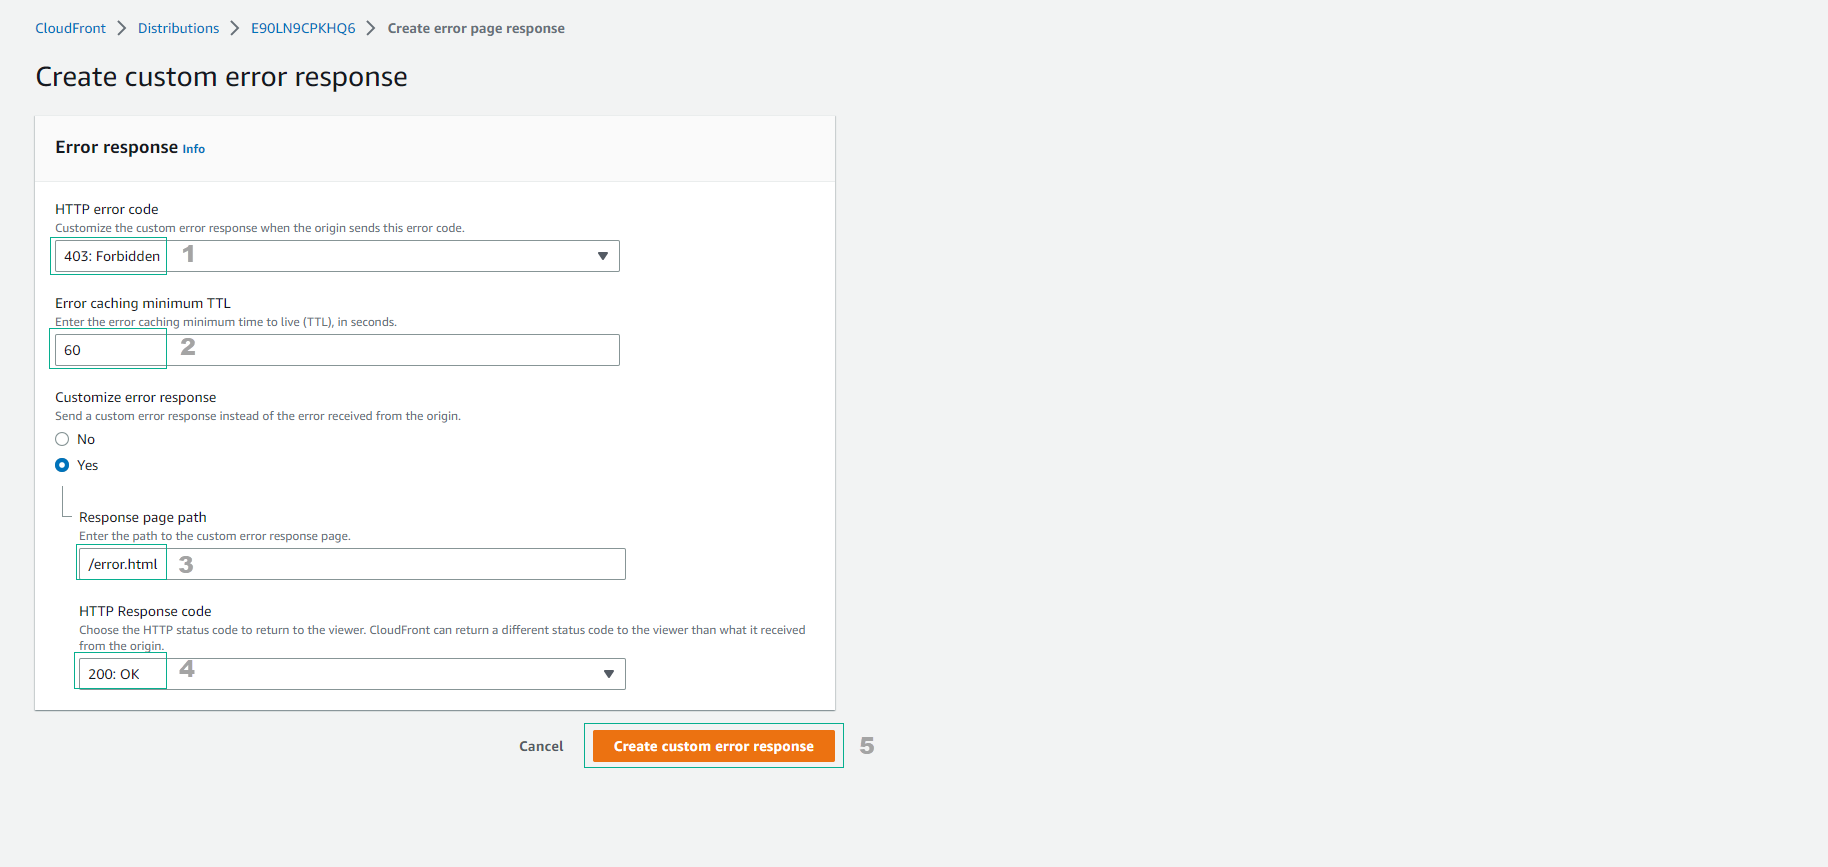
You can configure a custom error page with the following settings.
- HTTP error code > 403 Forbidden
- Error caching minimum TTL: 60
- Customize error response: Yes
- Response page path: /error.html
- HTTP Response code: 200 OK
- Select Create custom error response
- With these settings, when your site encounters an HTTP error > 403 Forbidden, it will display a custom error page previously configured and cache it for at least 60 seconds. Customers visiting your website will receive a custom error response with the path /error.html and the HTTP response code 200 OK.
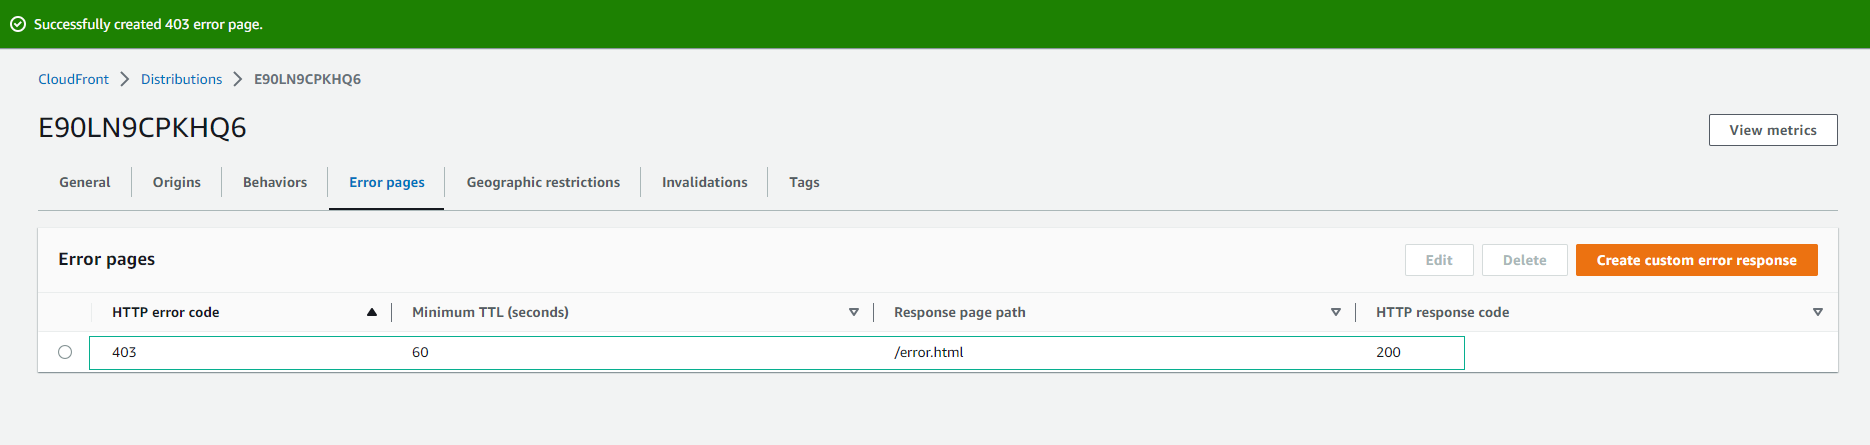
- Create a successful custom error response.
- Test your custom error page by requesting a random page from CloudFront. It may take a few minutes for the update to deliver and propagate to the Edge locations. Make sure you use a different random value than in the previous test, or else you will get the same cached version as when you tested in the last 5 minutes.
-
To check custom error page, follow these steps:
- Open a web browser and visit a random page from CloudFront.
- Wait a few minutes for CloudFront to update and spread the distribution.
- Enter a random value different from the previous test.
- Get HTTP > 403 Forbidden error messages from CloudFront.
- Check if custom error page is displayed or not. If the custom error page is displayed, the configuration is successful.
-
If you’re still getting the default CloudFront error message, double check your custom error page configuration and make sure you’ve saved the changes. You should also check that your values match the required settings.
-
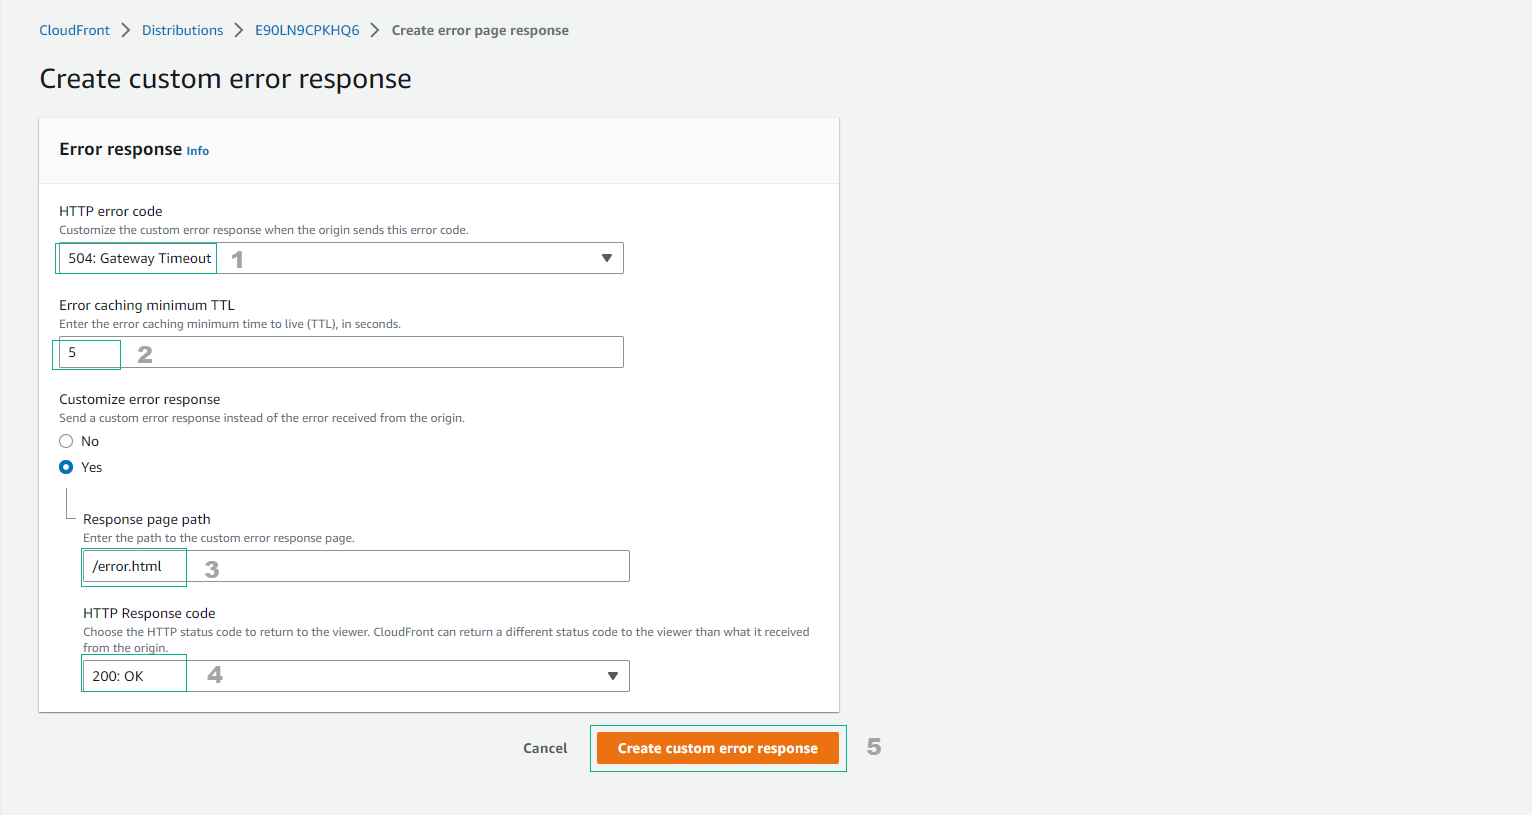
Create a new custom error page to display when CloudFront cannot connect to the source. Use the following settings:
- HTTP error code > 504 Gateway Timeout
- Error caching minimum TTL: 5
- Customize error response: Yes
- Response page path: /error.html
- HTTP Response code: 200 OK
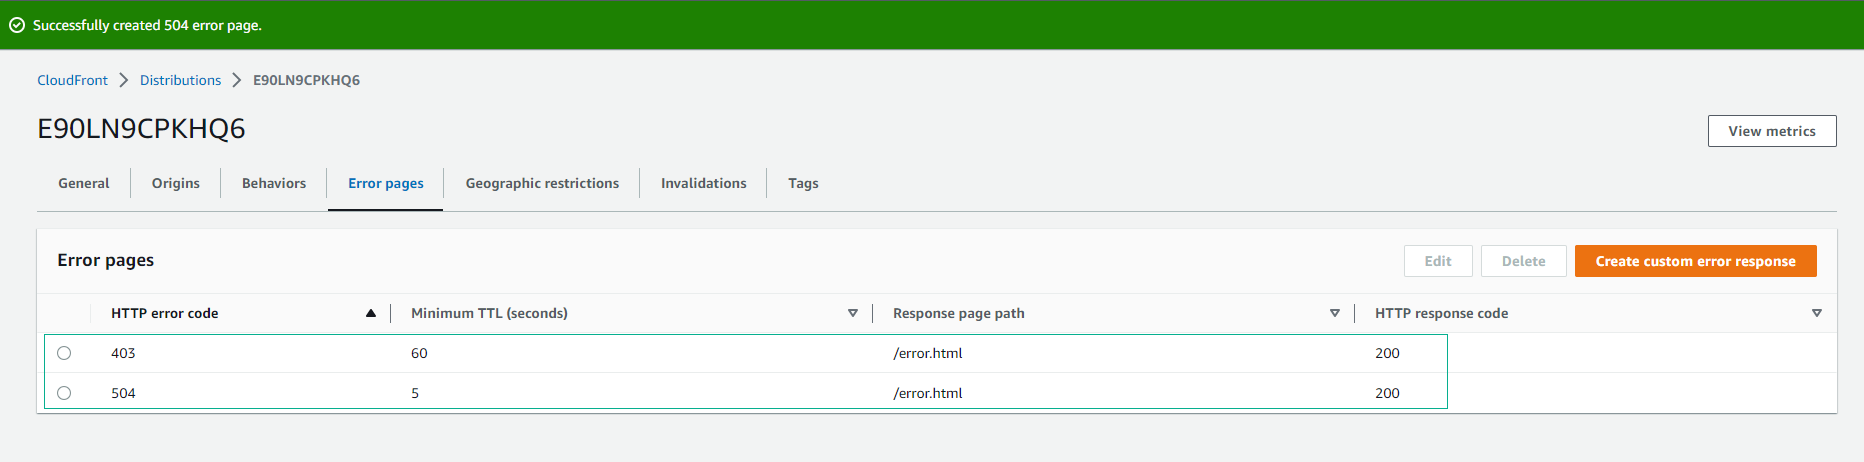
- Select Create custom error response
- Finish creating 2 Error pages.
- Change Inbound rule of Security group
- Access to EC2 Console.
- At the EC2 Console interface, select Security Groups in the left panel.
- Select Security Group containing Inbound rule to access EC2 instance running Nodejs API.
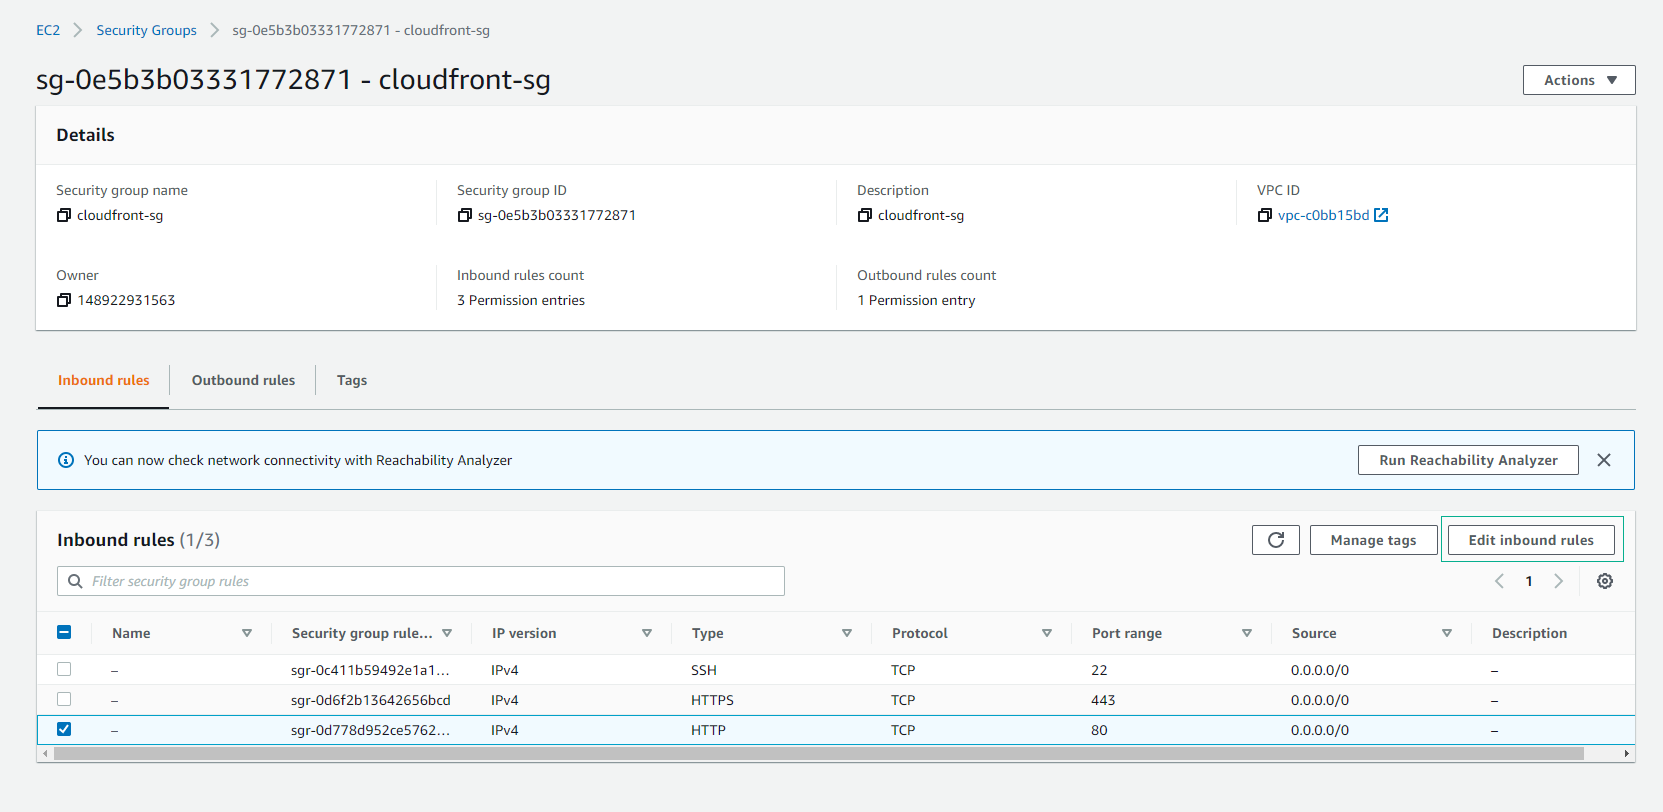
- Edit Inbound rule for HTTP from 0.0.0.0/0 to MyIP
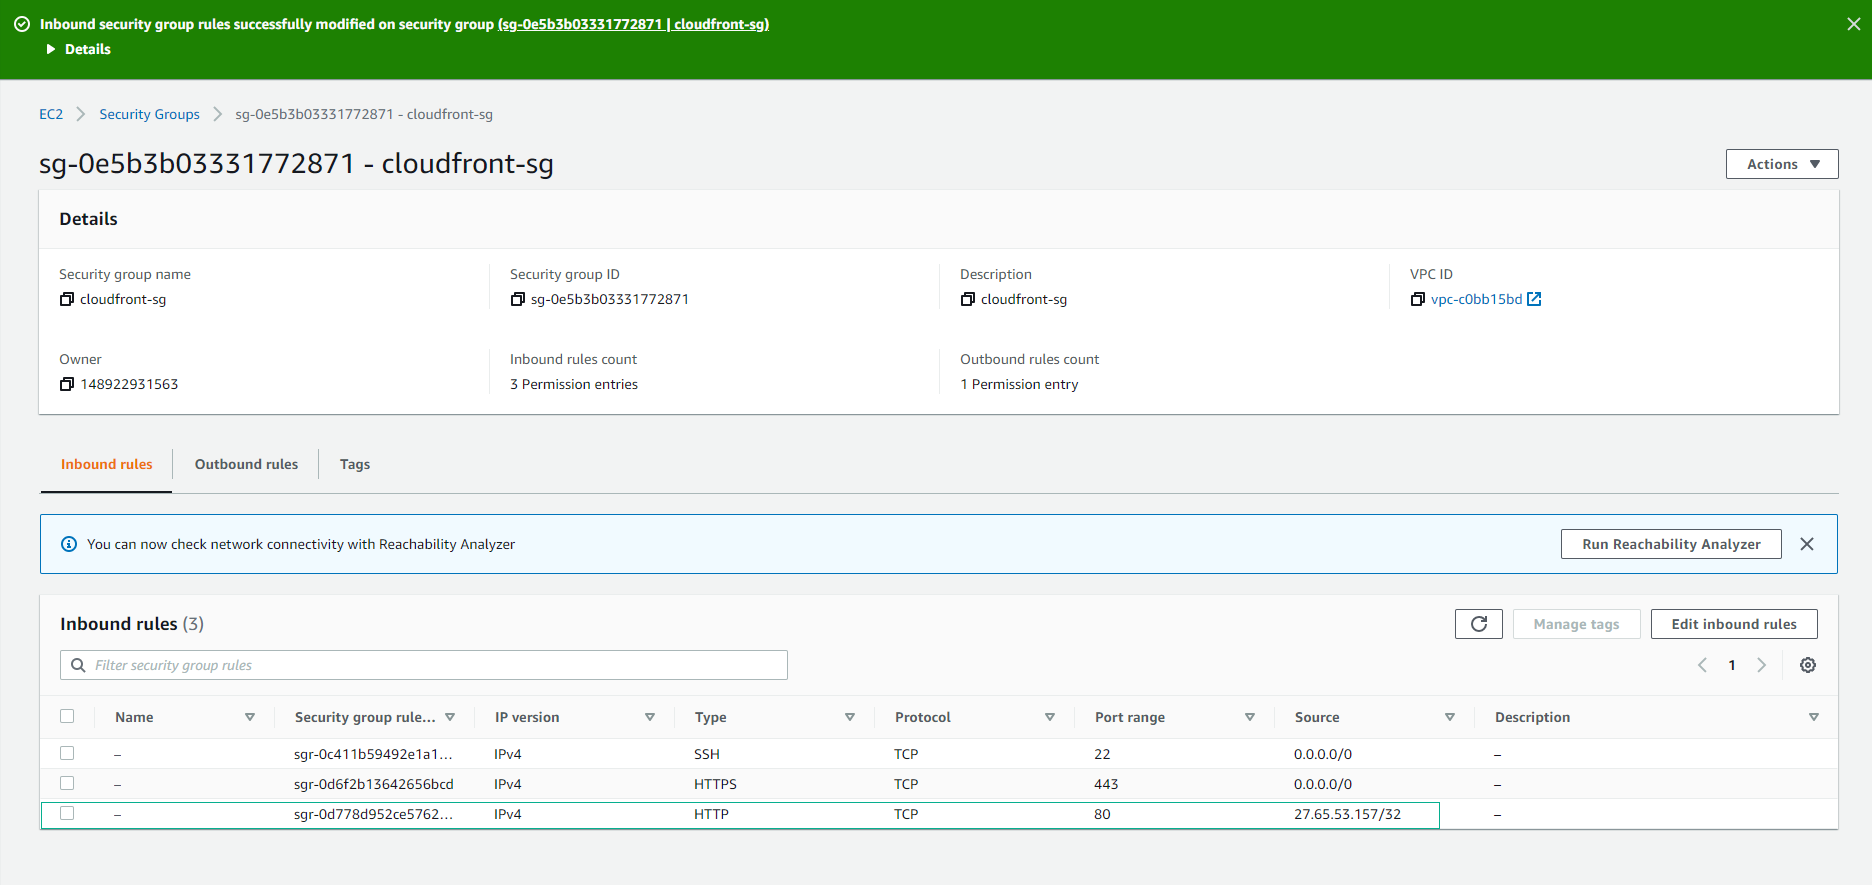
- Select the Save Rules button to save the changes made.
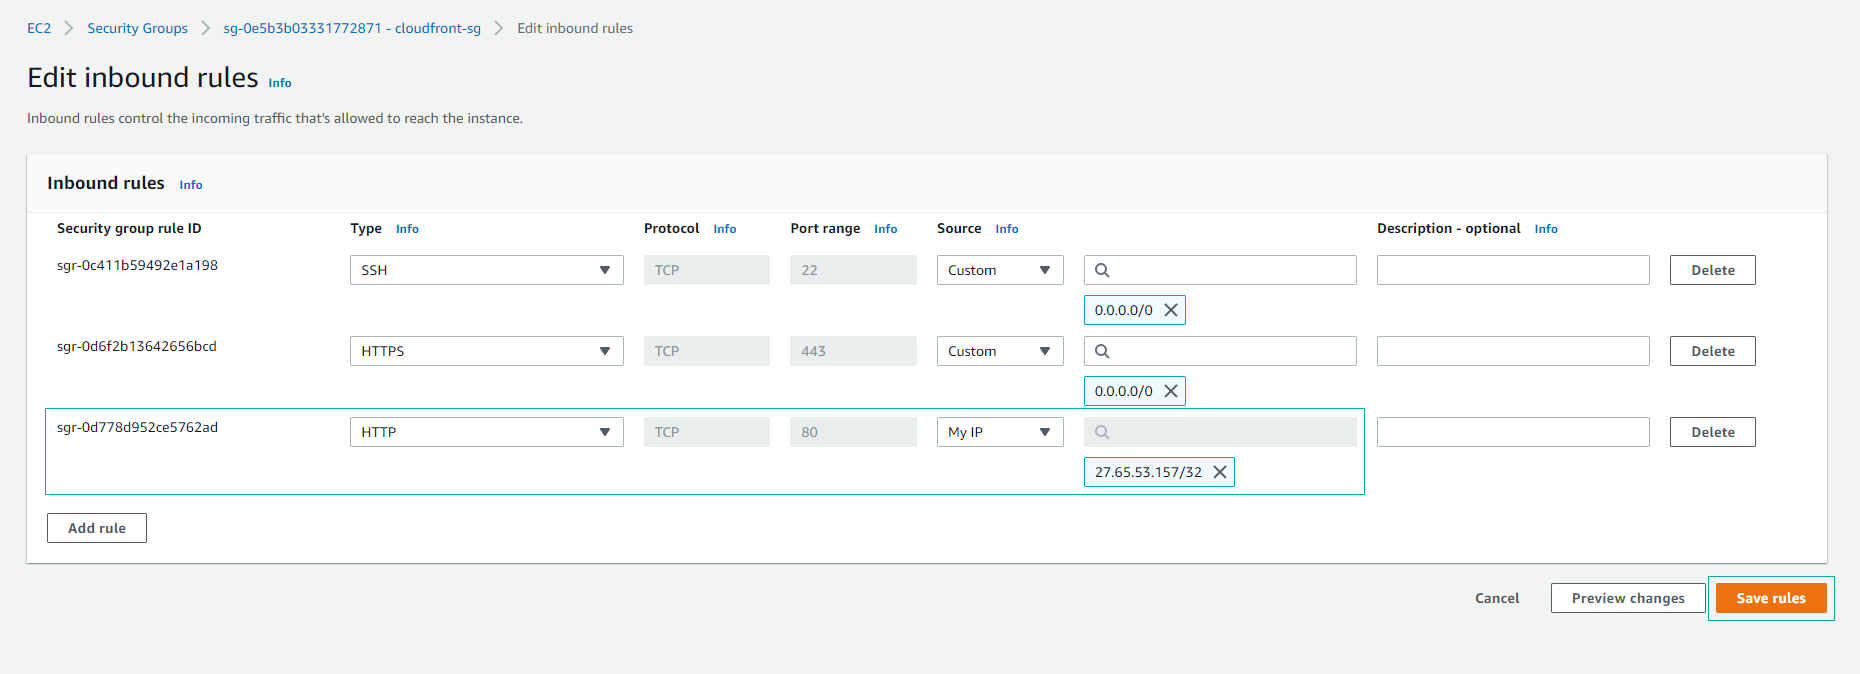
- Edit Security group successfully.
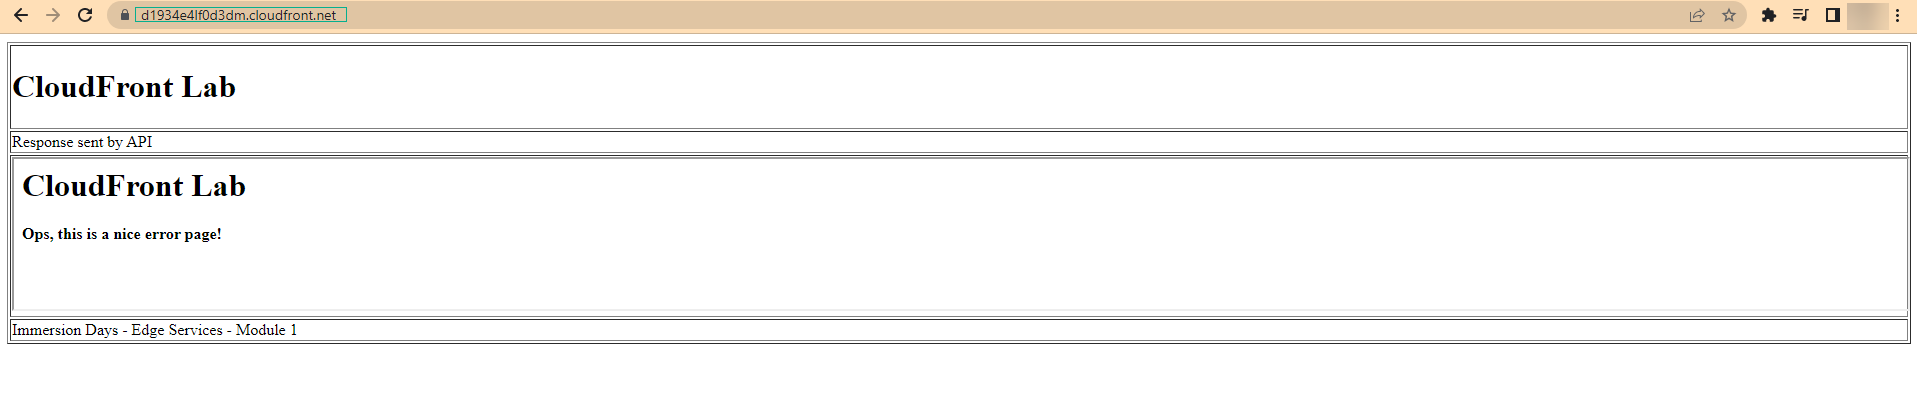
- Open a web browser and enter the CloudFront URL of the index.html page in the address bar.
- Press Enter to access the website.
- Check if the website is working properly or not.
- You will see the interface as shown