Tạo Lambda@Edge function
Tạo Lambda@Edge function
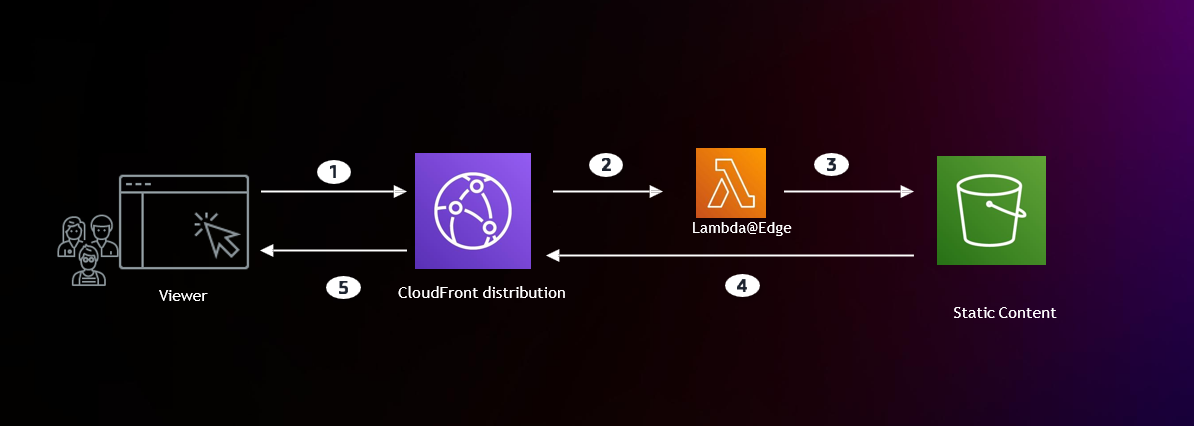
Trong phần này, chúng ta sẽ tạo một Lambda@Edge function.
1 - Truy cập vào AWS Console và đảm bảo rằng bạn đang ở khu vực US-EAST-1 N. Virginia.
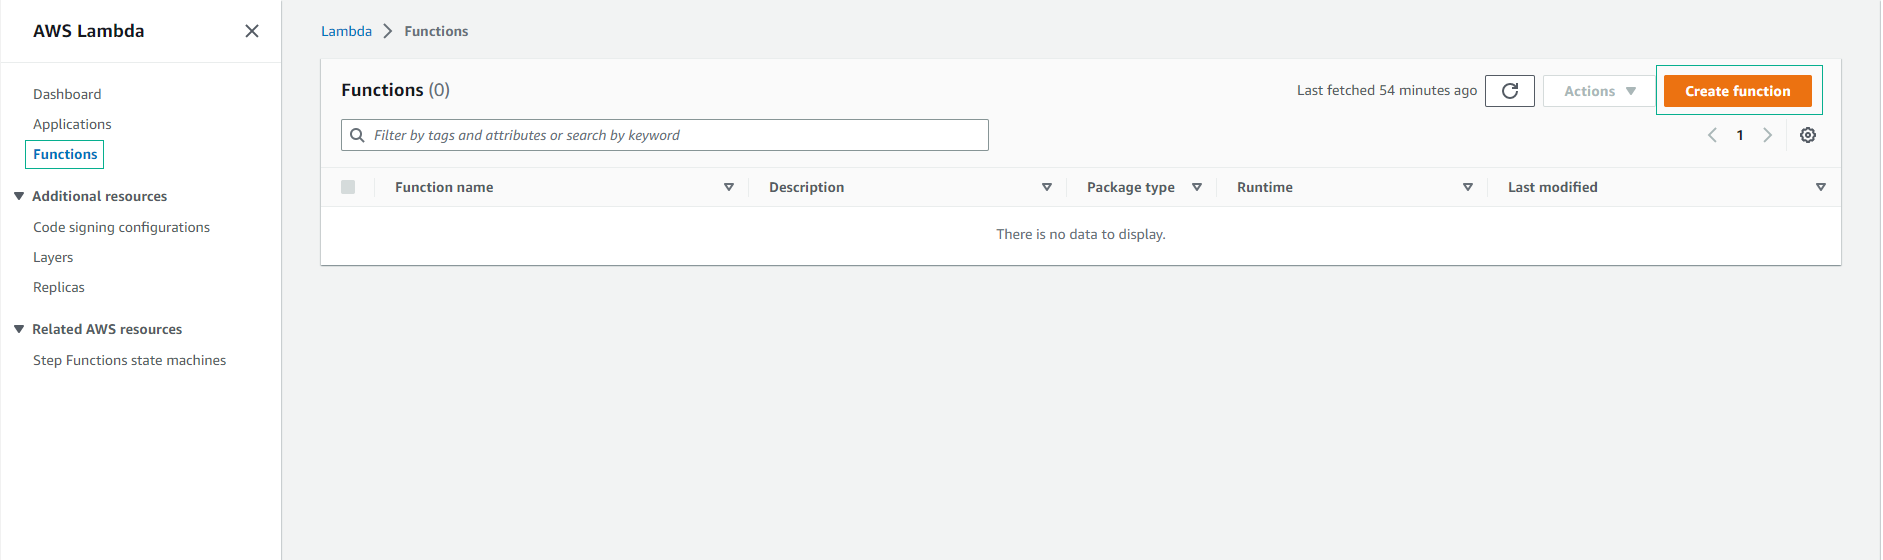
2 - Truy cập vào Lambda console và chọn Create function
-
Thực hiện cấu hình:
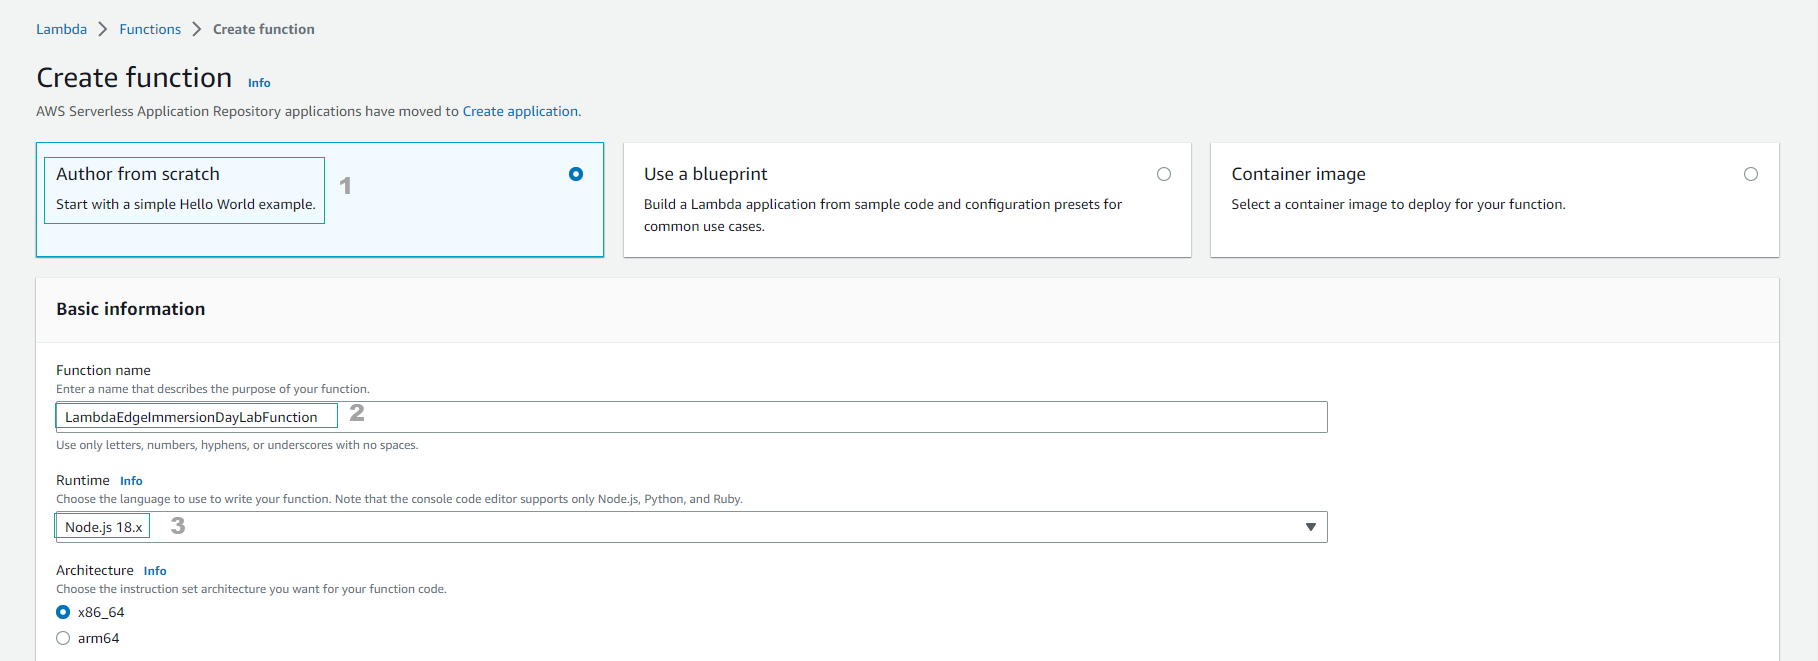
- Chọn “Author from scratch”
- Chọn “Create function”
- Tên: “LambdaEdgeImmersionDayLabFunction”
- Runtime: “Node.js 18.x”
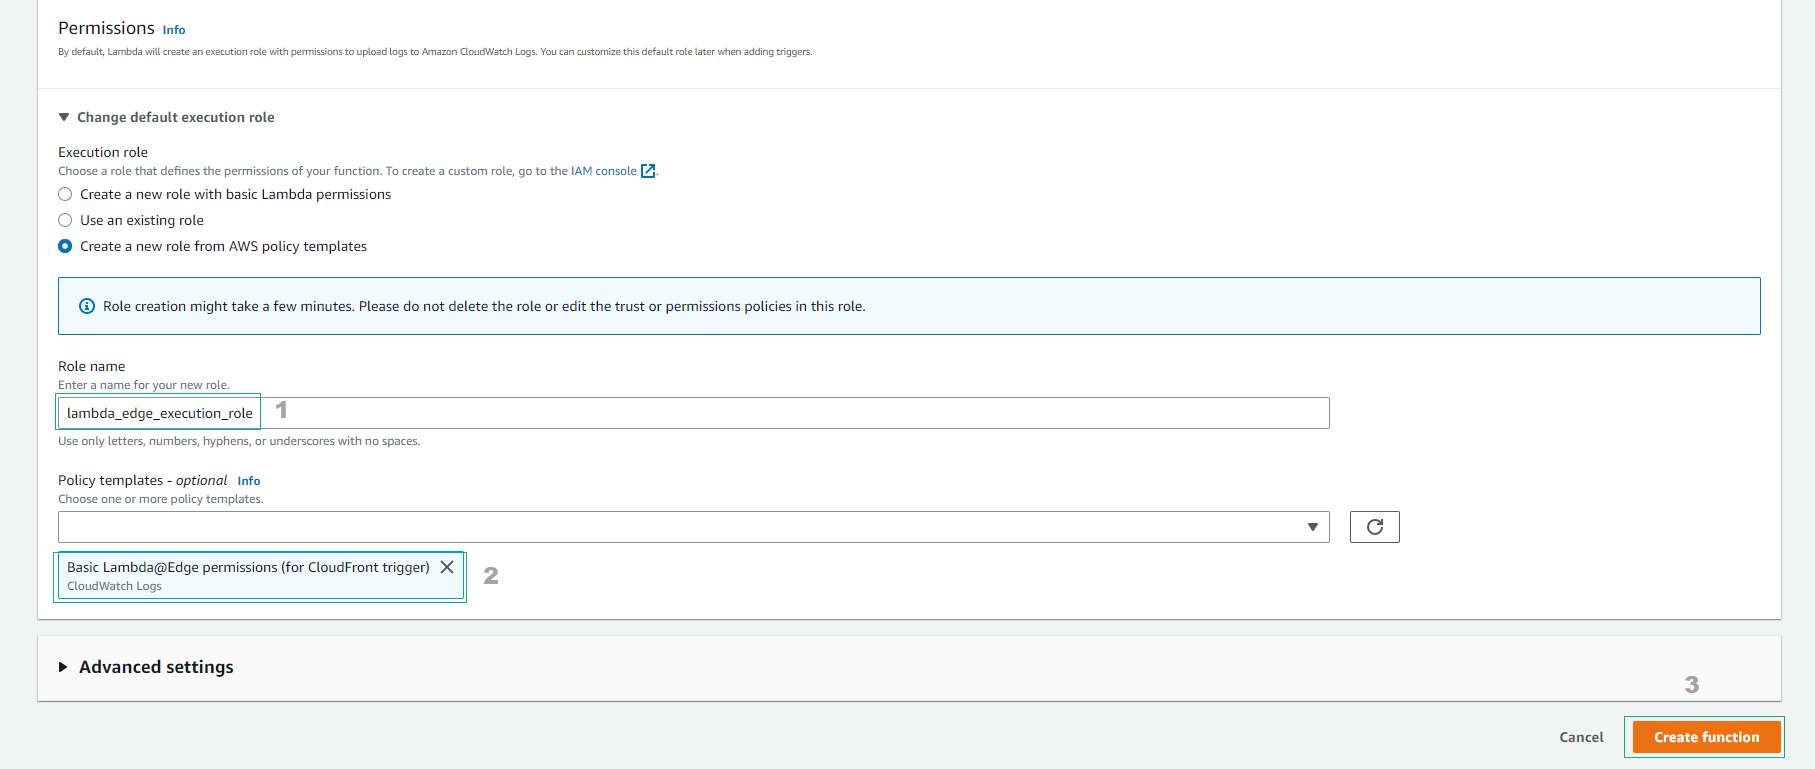
- Role: “Create new role from AWS policy templates”
- Tên role: “lambda_edge_execution_role”
- Các mẫu chính sách: “Basic Lambda@Edge permissions (for CloudFront trigger)”
- Nhấp vào “Create function”
- Hoàn thành tạo Lambda function. Bạn đã tạo thành công một IAM role mới, được sử dụng để cho phép CloudFront gọi Lambda và ghi nhật ký vào CloudWatch.
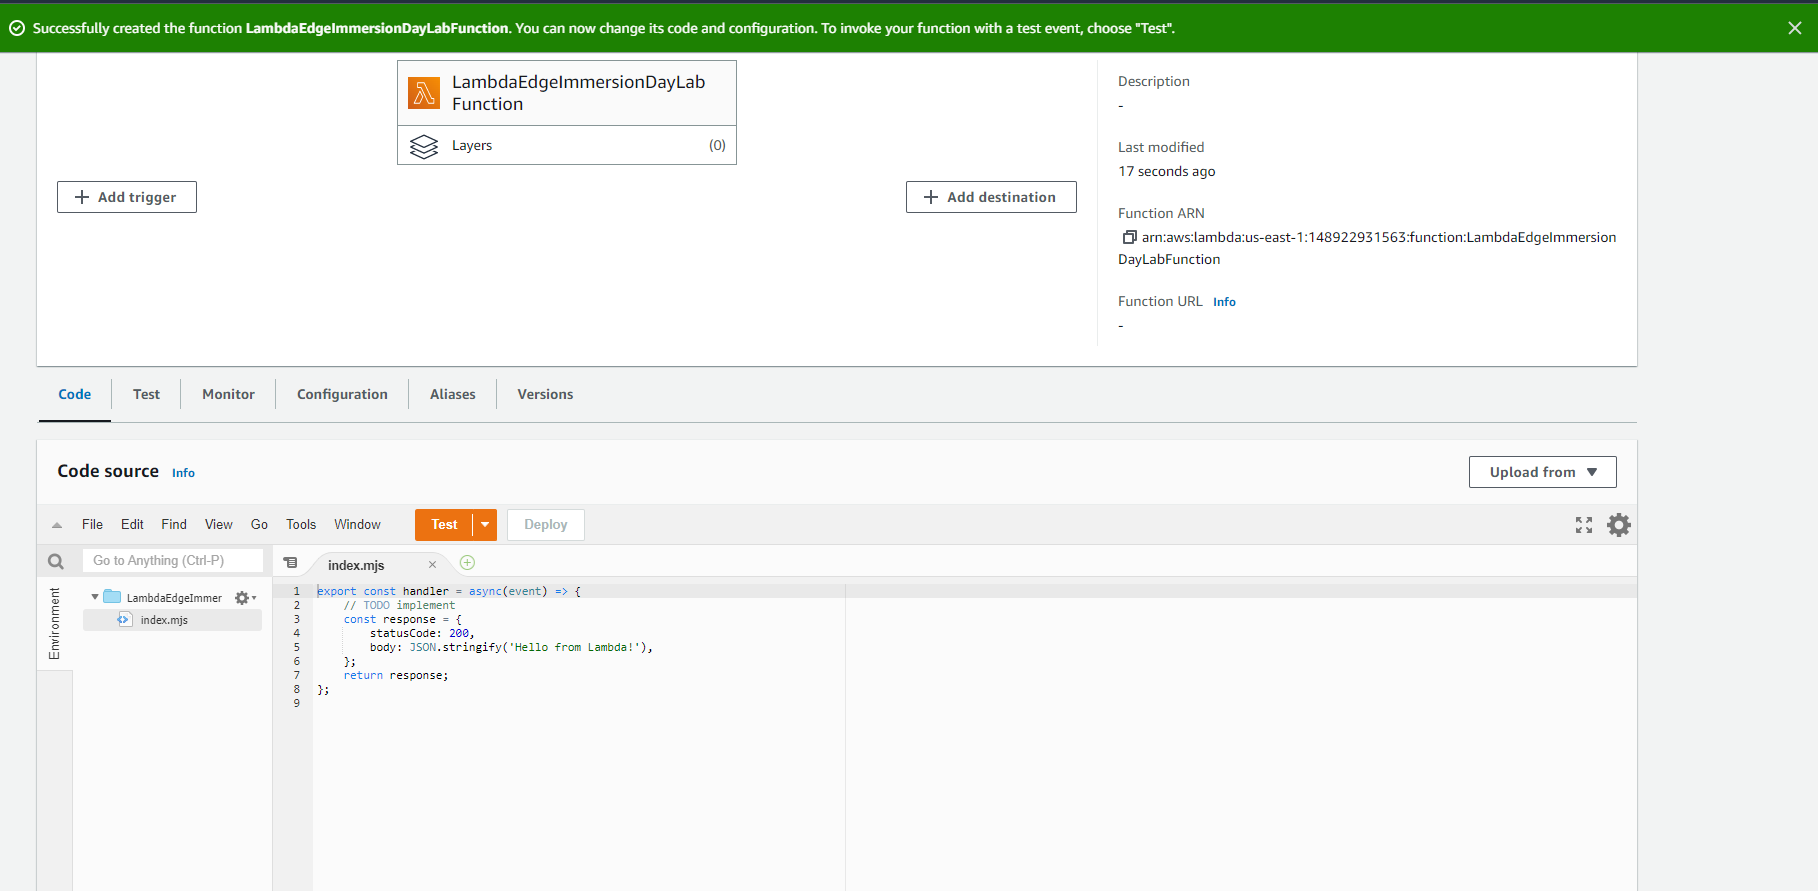
- Chọn tab Test
- Chọn Create new test event
- Event Name : “TestEvent”
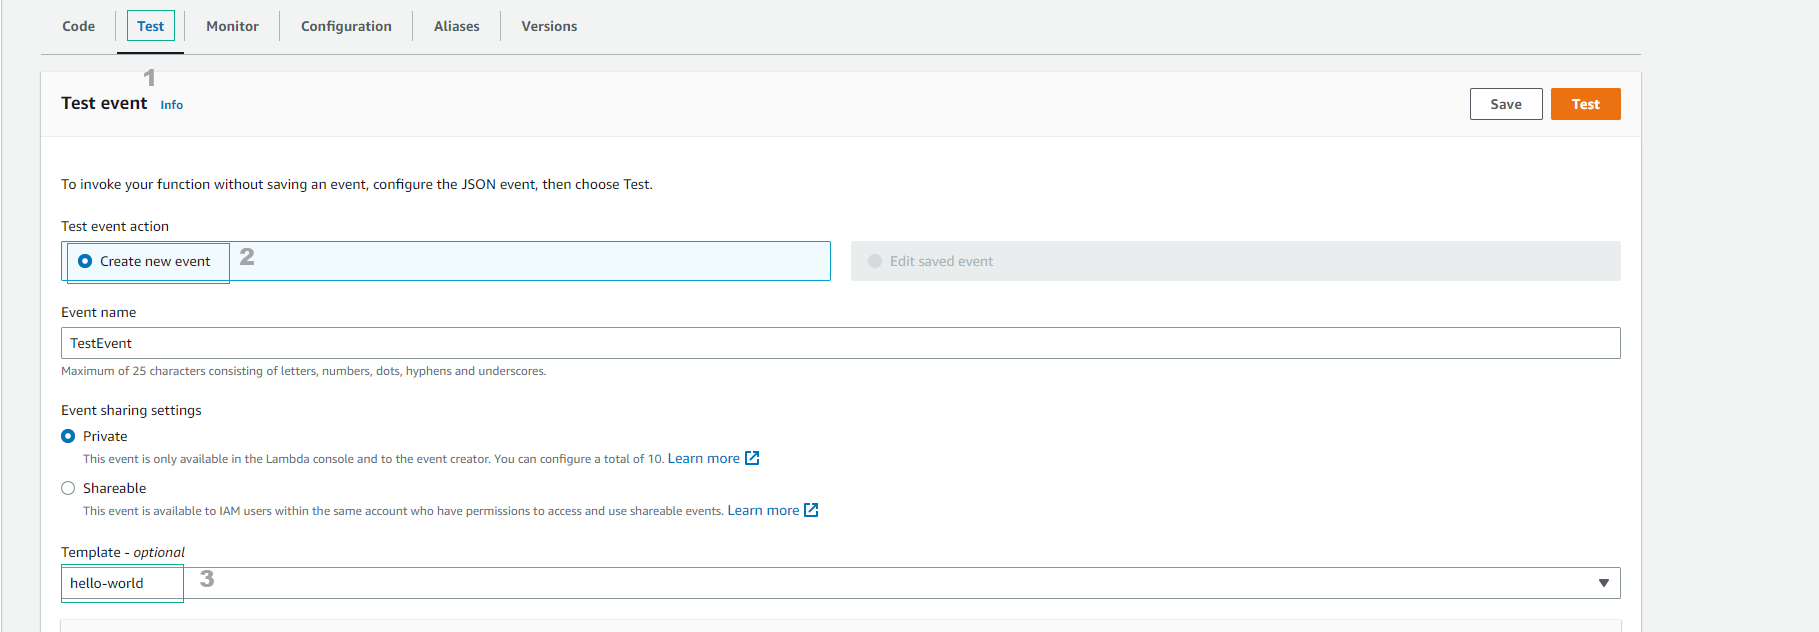
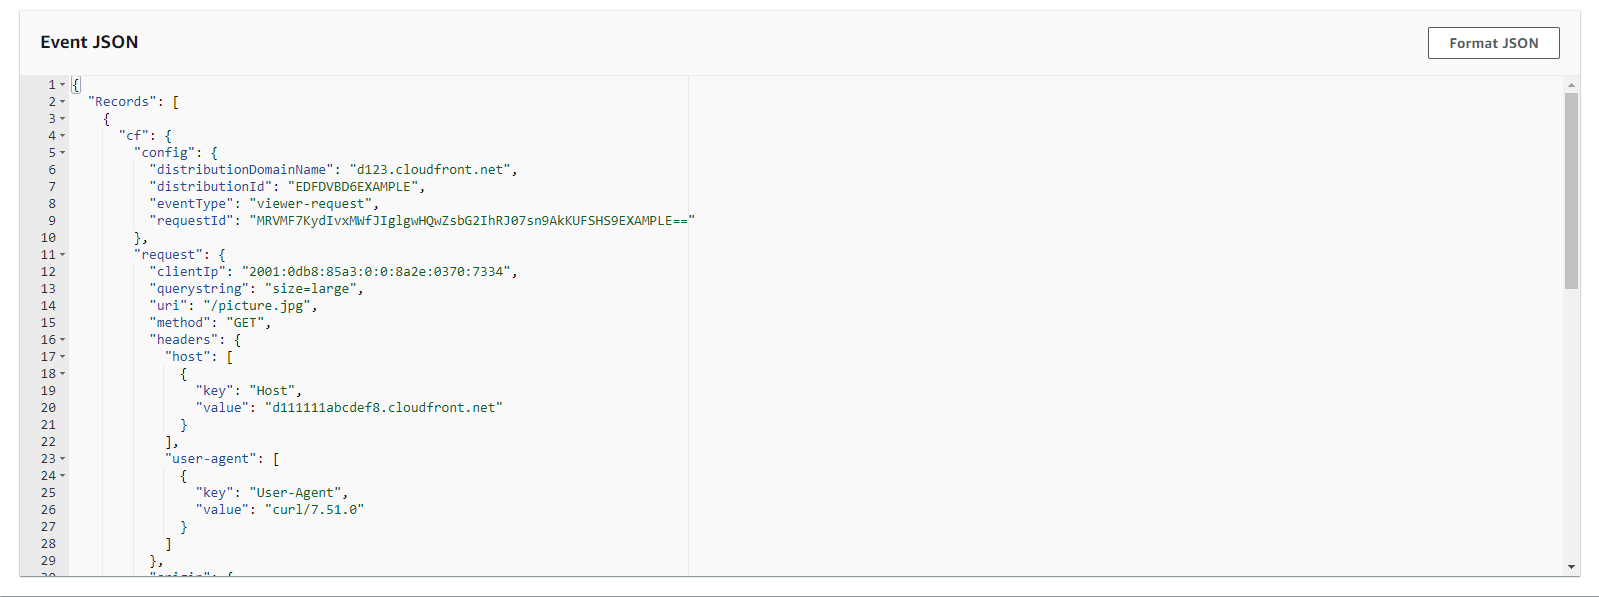
- Thay thế Hello World JSON bằng đoạn json sau đây:
{
    "Records": [
      {
        "cf": {
          "config": {
            "distributionDomainName": "d123.cloudfront.net",
            "distributionId": "EDFDVBD6EXAMPLE",
            "eventType": "viewer-request",
            "requestId": "MRVMF7KydIvxMWfJIglgwHQwZsbG2IhRJ07sn9AkKUFSHS9EXAMPLE=="
          },
          "request": {
            "clientIp": "2001:0db8:85a3:0:0:8a2e:0370:7334",
            "method": "GET",
            "querystring": "size=large",
            "uri": "/picture.jpg",
            "headers": {
              "host": [
                {
                  "key": "Host",
                  "value": "d111111abcdef8.cloudfront.net"
                }
              ],
              "user-agent": [
                {
                  "key": "User-Agent",
                  "value": "curl/7.51.0"
                }
              ]
            },
            "origin": {
              "custom": {
                "customHeaders": {
                  "my-origin-custom-header": [
                    {
                      "key": "My-Origin-Custom-Header",
                      "value": "Test"
                    }
                  ]
                },
                "domainName": "example.com",
                "keepaliveTimeout": 5,
                "path": "/custom_path",
                "port": 443,
                "protocol": "https",
                "readTimeout": 5,
                "sslProtocols": [
                  "TLSv1",
                  "TLSv1.1"
                ]
              },
              "s3": {
                "authMethod": "origin-access-identity",
                "customHeaders": {
                  "my-origin-custom-header": [
                    {
                      "key": "My-Origin-Custom-Header",
                      "value": "Test"
                    }
                  ]
                },
                "domainName": "my-bucket.s3.amazonaws.com",
                "path": "/s3_path",
                "region": "us-east-1"
              }
            }
          }
        }
      }
    ]
  }
- Chọn CCreate
- Quay lại giao diện hàm Lambda và chọn Code
-
Bây giờ chúng ta sẽ viết một hàm để tạo ra HTML được tạo.
-
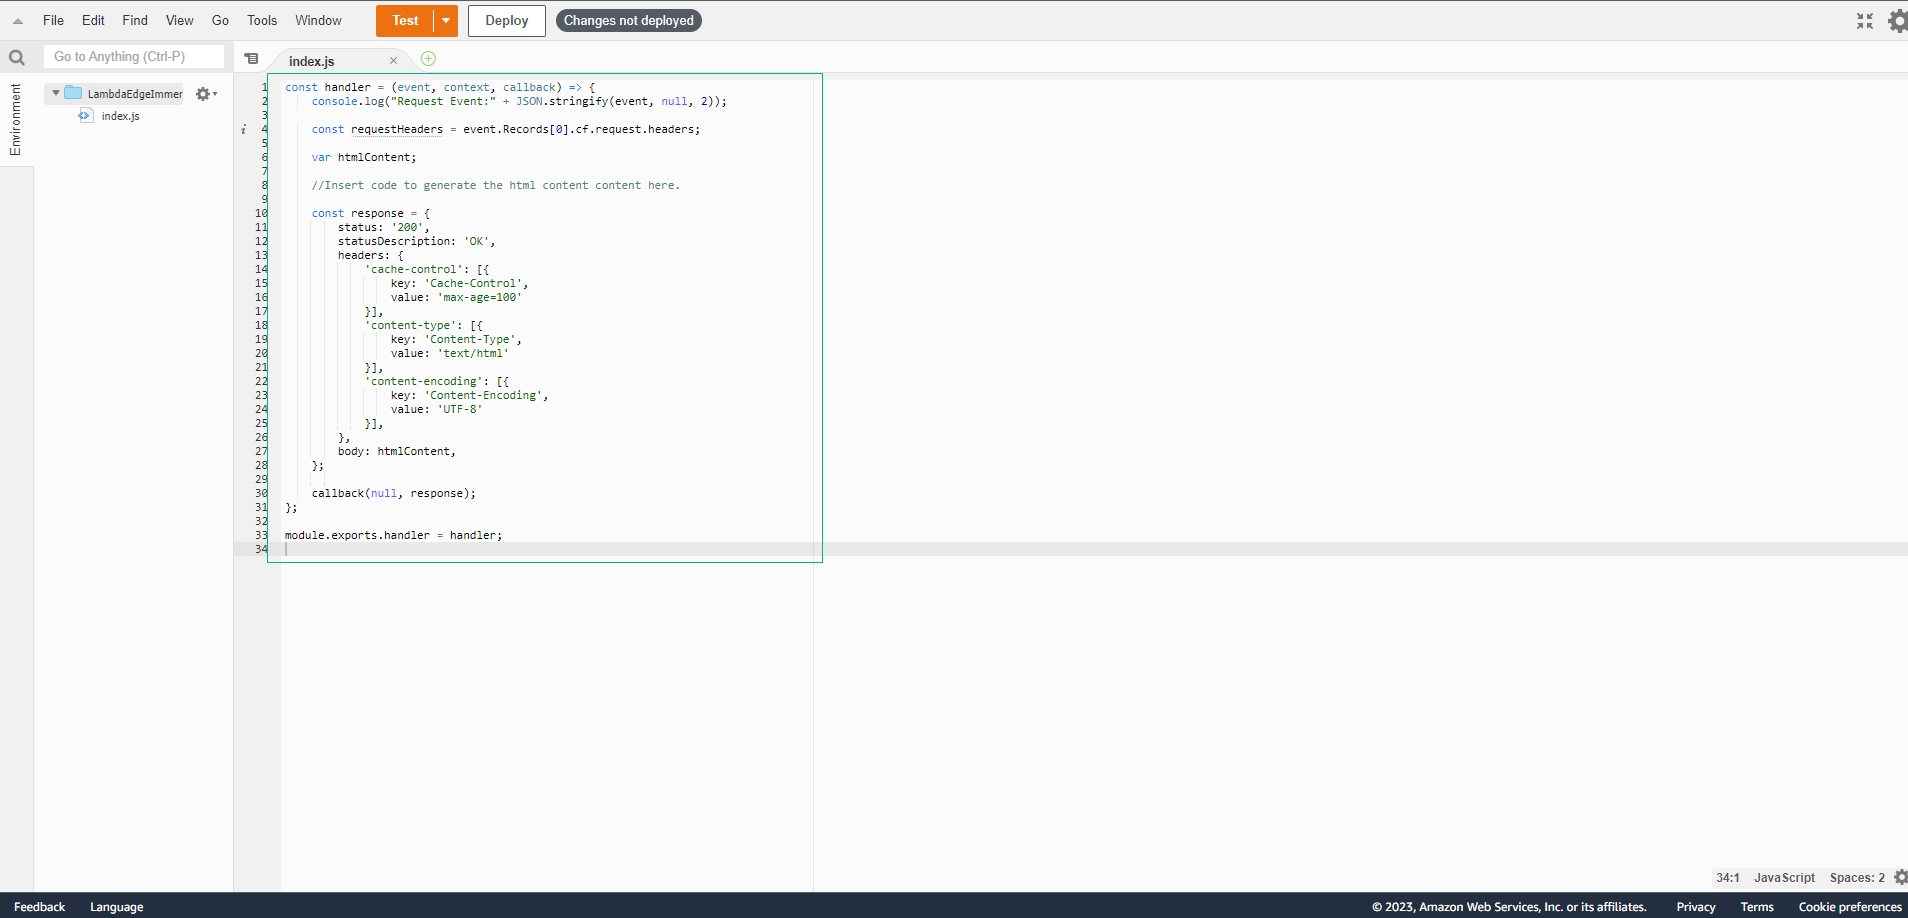
Hãy sao chép và dán mã sau vào cửa sổ mã hàm:
const handler = (event, context, callback) => {
    console.log("Request Event:" + JSON.stringify(event, null, 2));

    const requestHeaders = event.Records[0].cf.request.headers;

    var htmlContent;

    //Insert code to generate the html content content here.

    const response = {
        status: '200',
        statusDescription: 'OK',
        headers: {
            'cache-control': [{
                key: 'Cache-Control',
                value: 'max-age=100'
            }],
            'content-type': [{
                key: 'Content-Type',
                value: 'text/html'
            }],
            'content-encoding': [{
                key: 'Content-Encoding',
                value: 'UTF-8'
            }],
        },
        body: htmlContent,
    };

    callback(null, response);
};

module.exports.handler = handler;
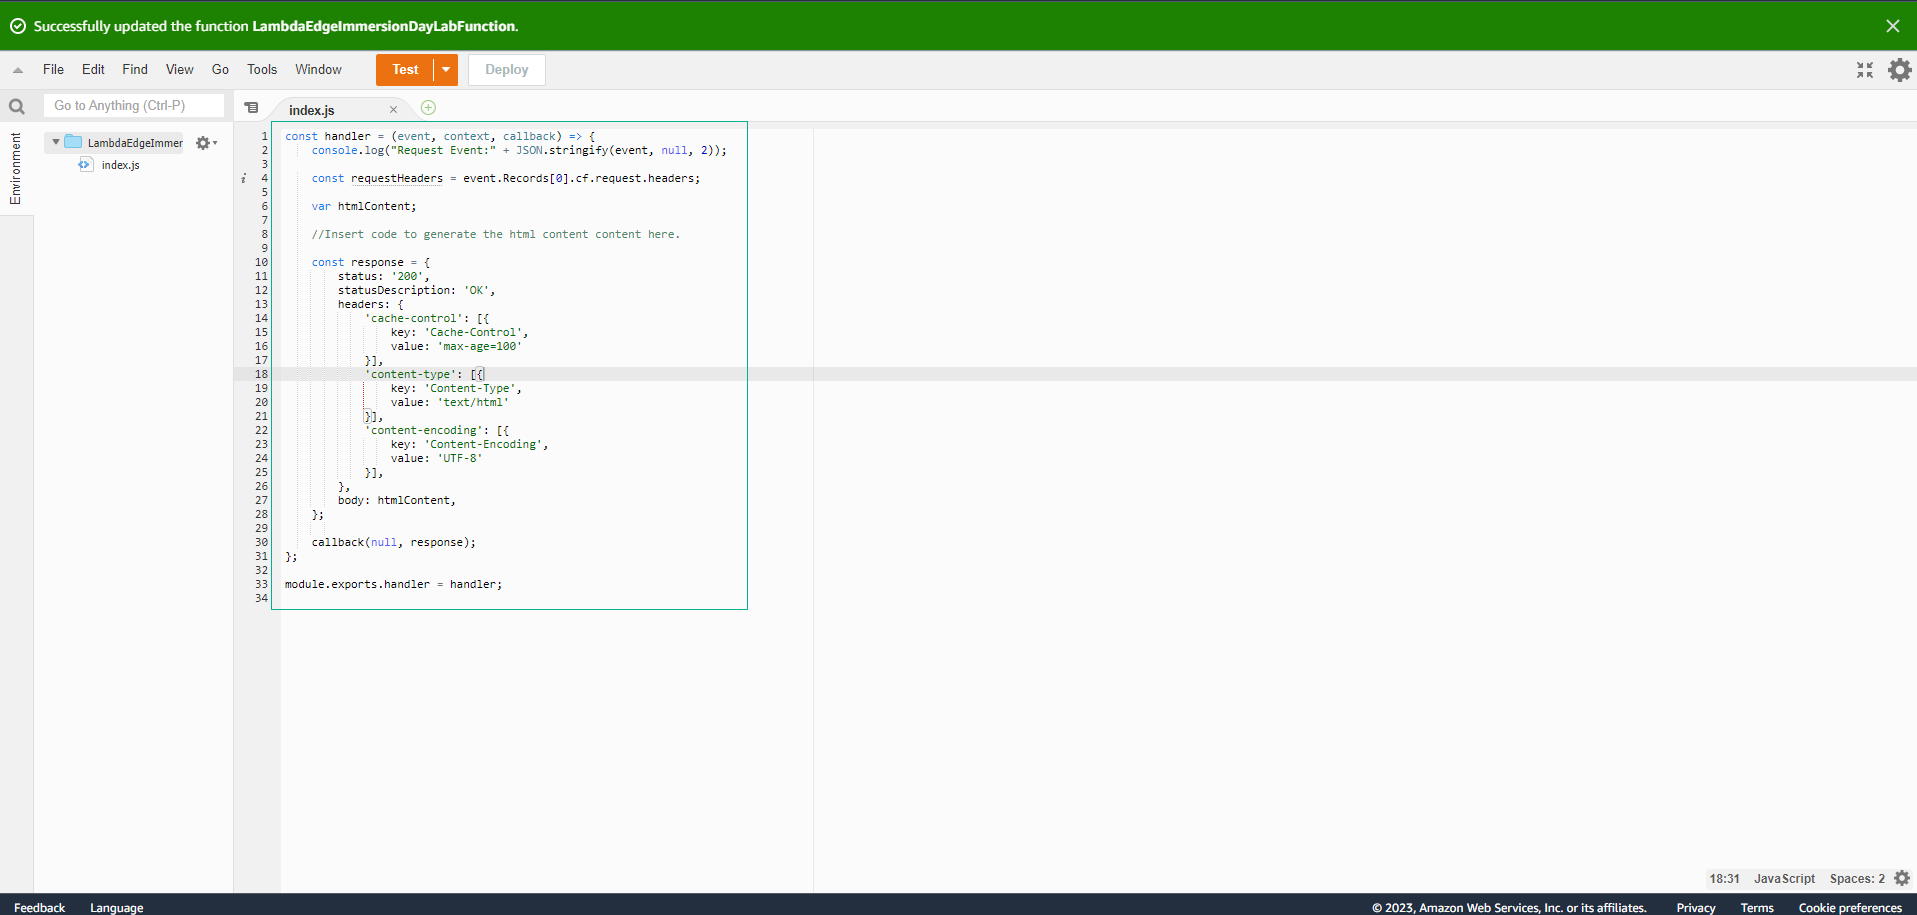
- Save
- Chọn Deploy
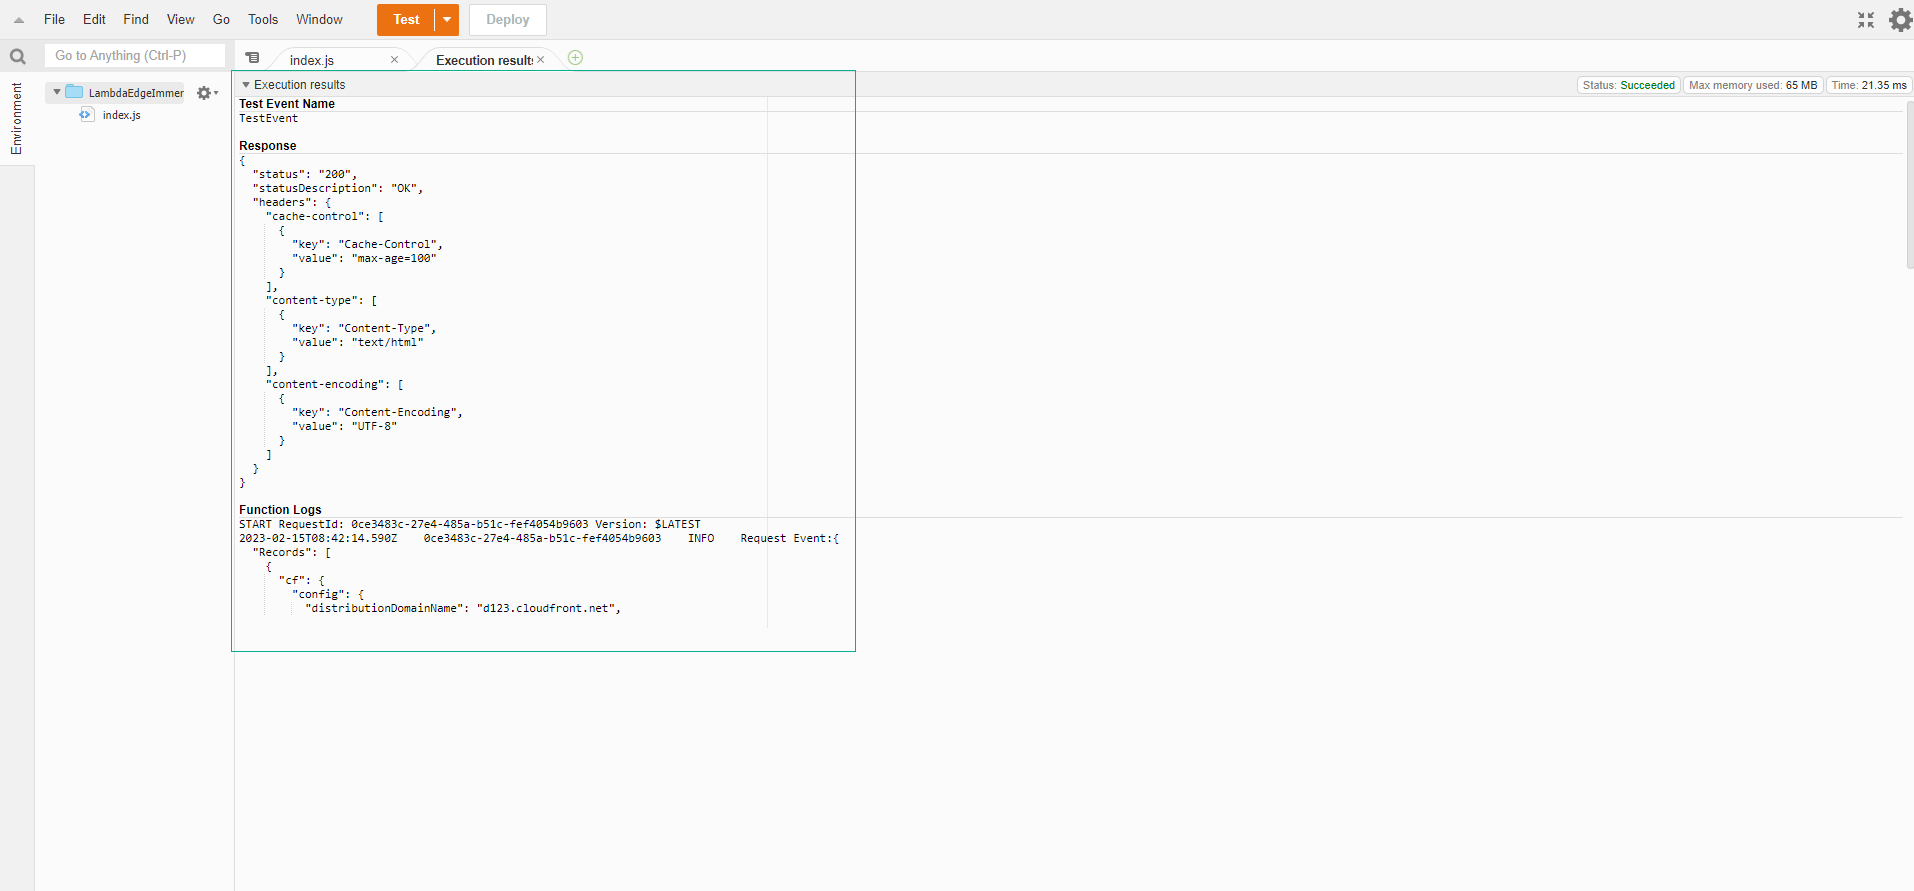
- Sau đó chọn Test
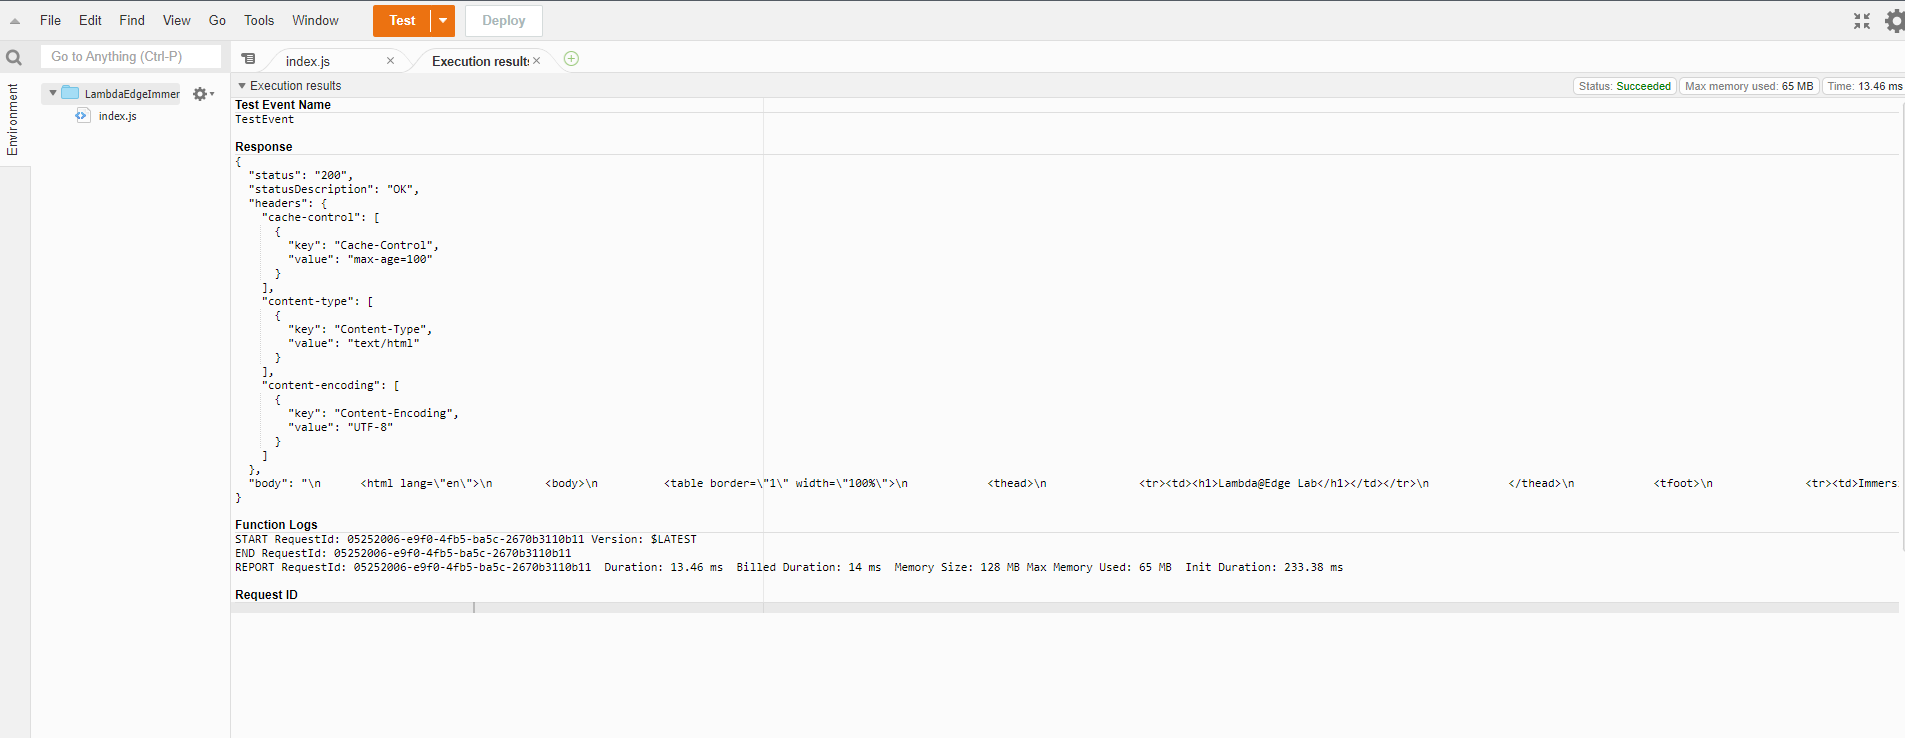
- Xem kết quả Test
- Hãy xem kết quả của việc thực thi. Chú ý rằng đầu ra là một phiên bản JSON của phản hồi HTTP 200 mà CloudFront sẽ sử dụng để phản hồi yêu cầu. Trong trường hợp này, phản hồi vẫn thiếu phần thân.
- Trong phần đầu ra Log, chúng ta có thể thấy test event mà chúng ta đã cấu hình được ghi nhận dưới dạng Request Event trên đầu vào của hàm. JSON này đại diện cho các thuộc tính của yêu cầu được nhận bởi CloudFront, có thể được đọc hoặc sửa đổi. Trong bài tập này, chúng ta sẽ đọc các tiêu đề và trả kết quả dưới dạng một bảng HTML đẹp.
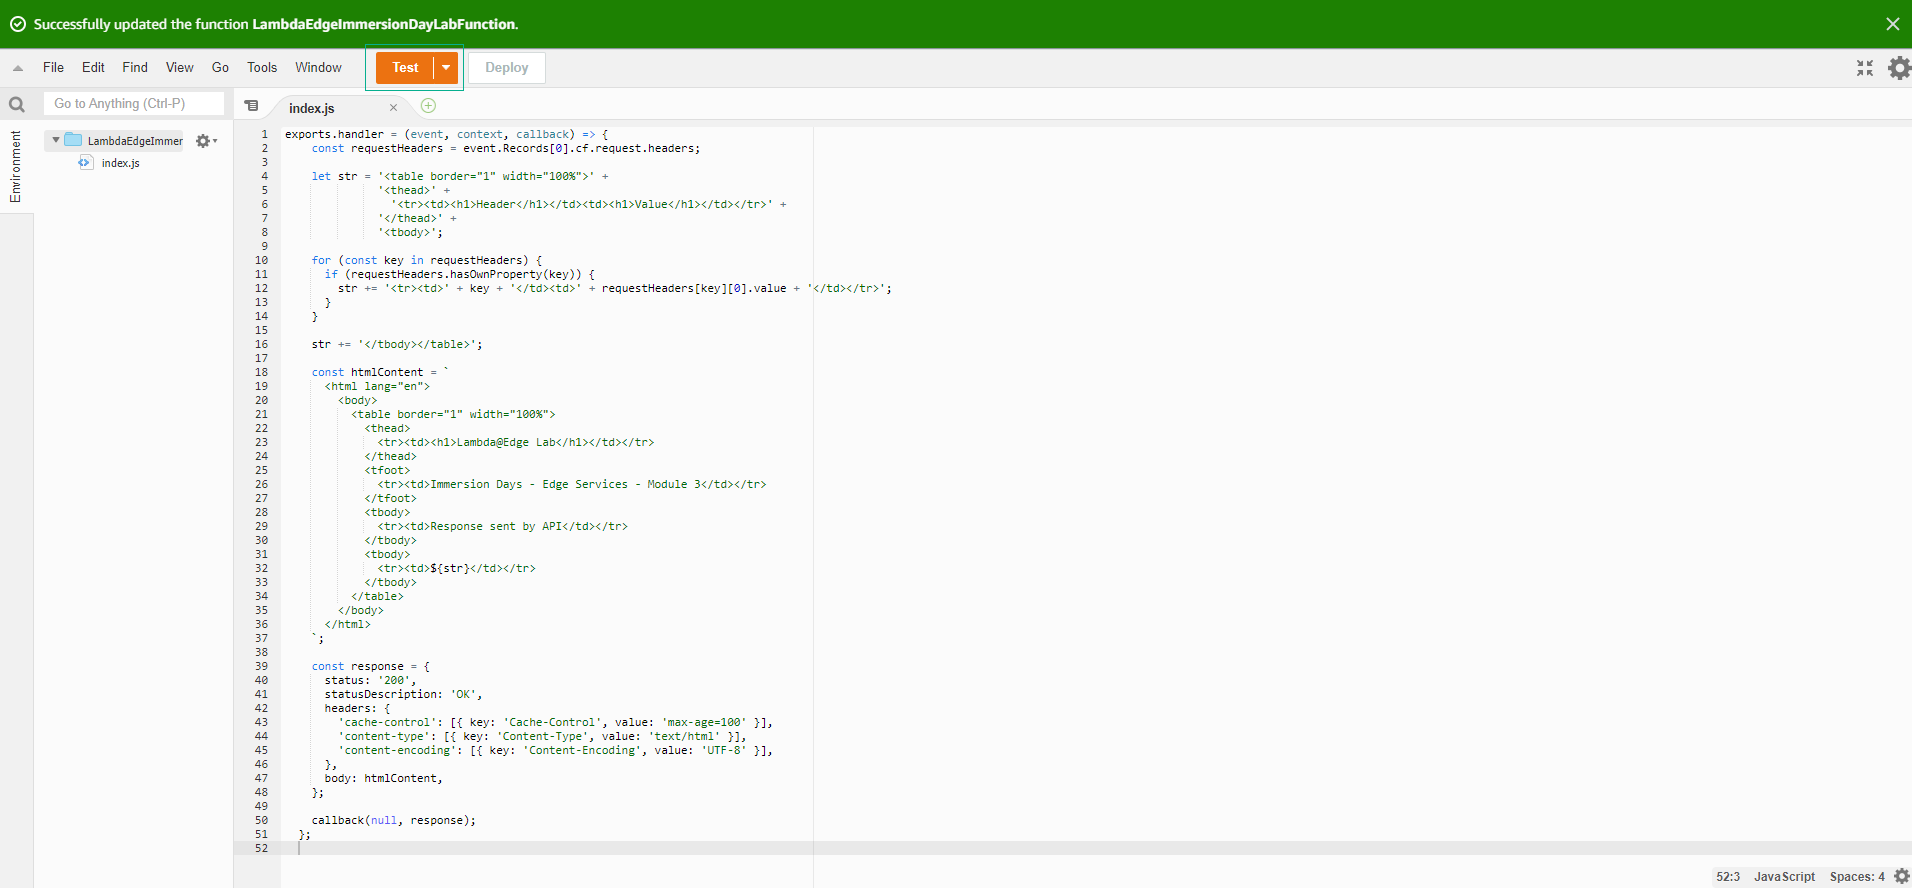
- Thay thế bình luận bằng mã cần thiết để tạo ra phần thân HTML. Bạn có thể sử dụng console.log để đầu ra và sửa lỗi mã của bạn.
exports.handler = (event, context, callback) => {
    const requestHeaders = event.Records[0].cf.request.headers;

    let str = '<table border="1" width="100%">' +
              '<thead>' +
                '<tr><td><h1>Header</h1></td><td><h1>Value</h1></td></tr>' +
              '</thead>' +
              '<tbody>';

    for (const key in requestHeaders) {
      if (requestHeaders.hasOwnProperty(key)) {
        str += '<tr><td>' + key + '</td><td>' + requestHeaders[key][0].value + '</td></tr>';
      }
    }

    str += '</tbody></table>';

    const htmlContent = `
      <html lang="en">
        <body>
          <table border="1" width="100%">
            <thead>
              <tr><td><h1>Lambda@Edge Lab</h1></td></tr>
            </thead>
            <tfoot>
              <tr><td>Immersion Days - Edge Services - Module 3</td></tr>
            </tfoot>
            <tbody>
              <tr><td>Response sent by API</td></tr>
            </tbody>
            <tbody>
              <tr><td>${str}</td></tr>
            </tbody>
          </table>
        </body>
      </html>
    `;

    const response = {
      status: '200',
      statusDescription: 'OK',
      headers: {
        'cache-control': [{ key: 'Cache-Control', value: 'max-age=100' }],
        'content-type': [{ key: 'Content-Type', value: 'text/html' }],
        'content-encoding': [{ key: 'Content-Encoding', value: 'UTF-8' }],
      },
      body: htmlContent,
    };

    callback(null, response);
  };
- Save
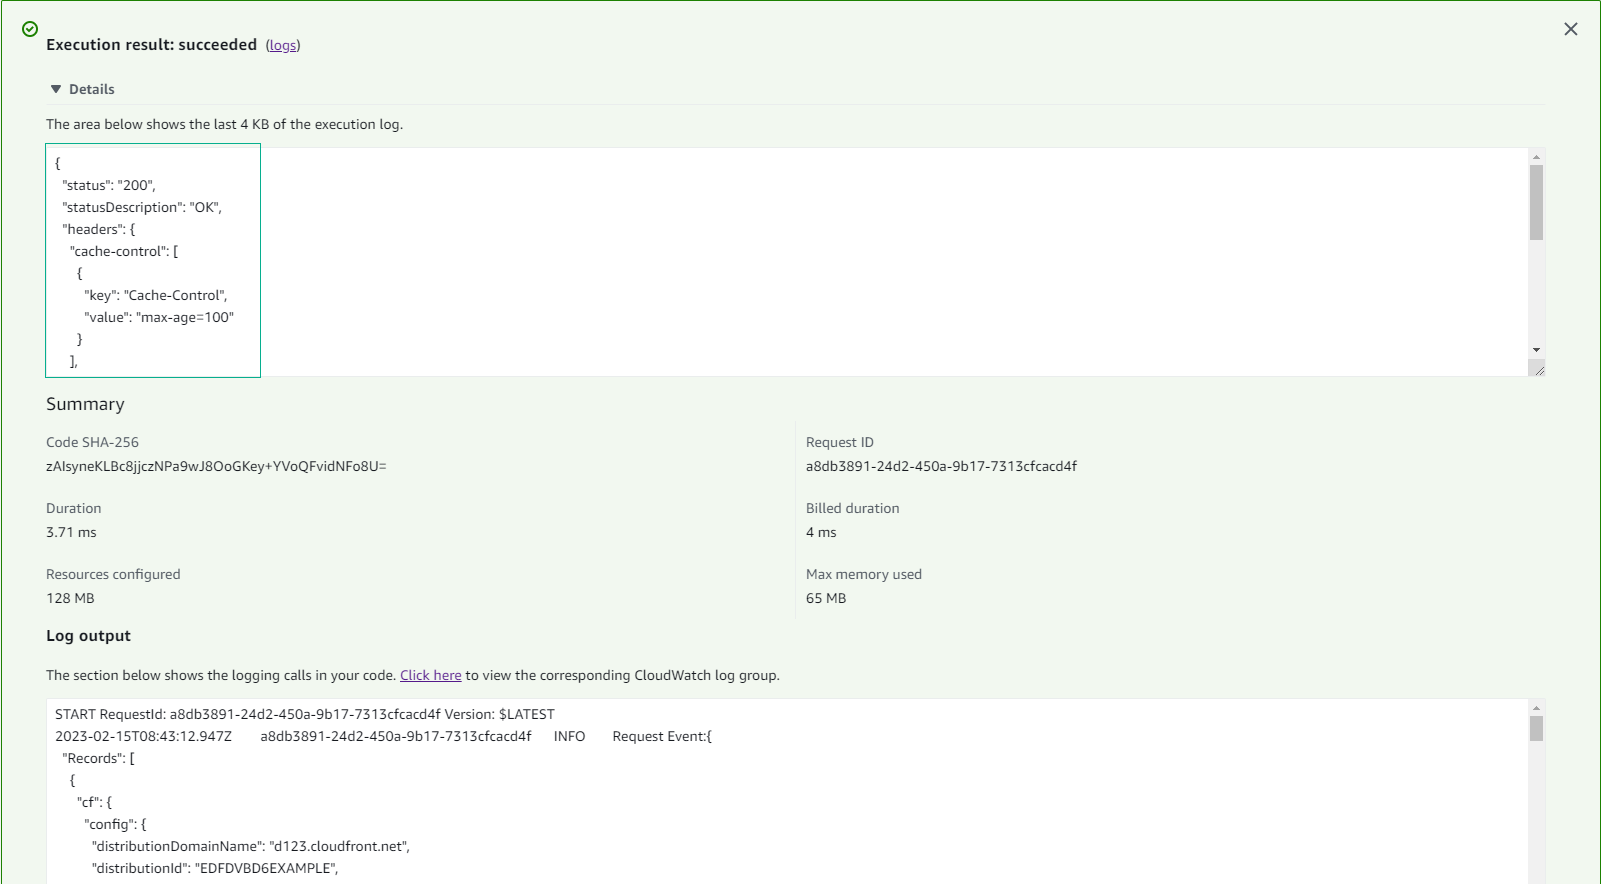
- Chọn Deploy
- Chọn Test
- Xem kết quả Test
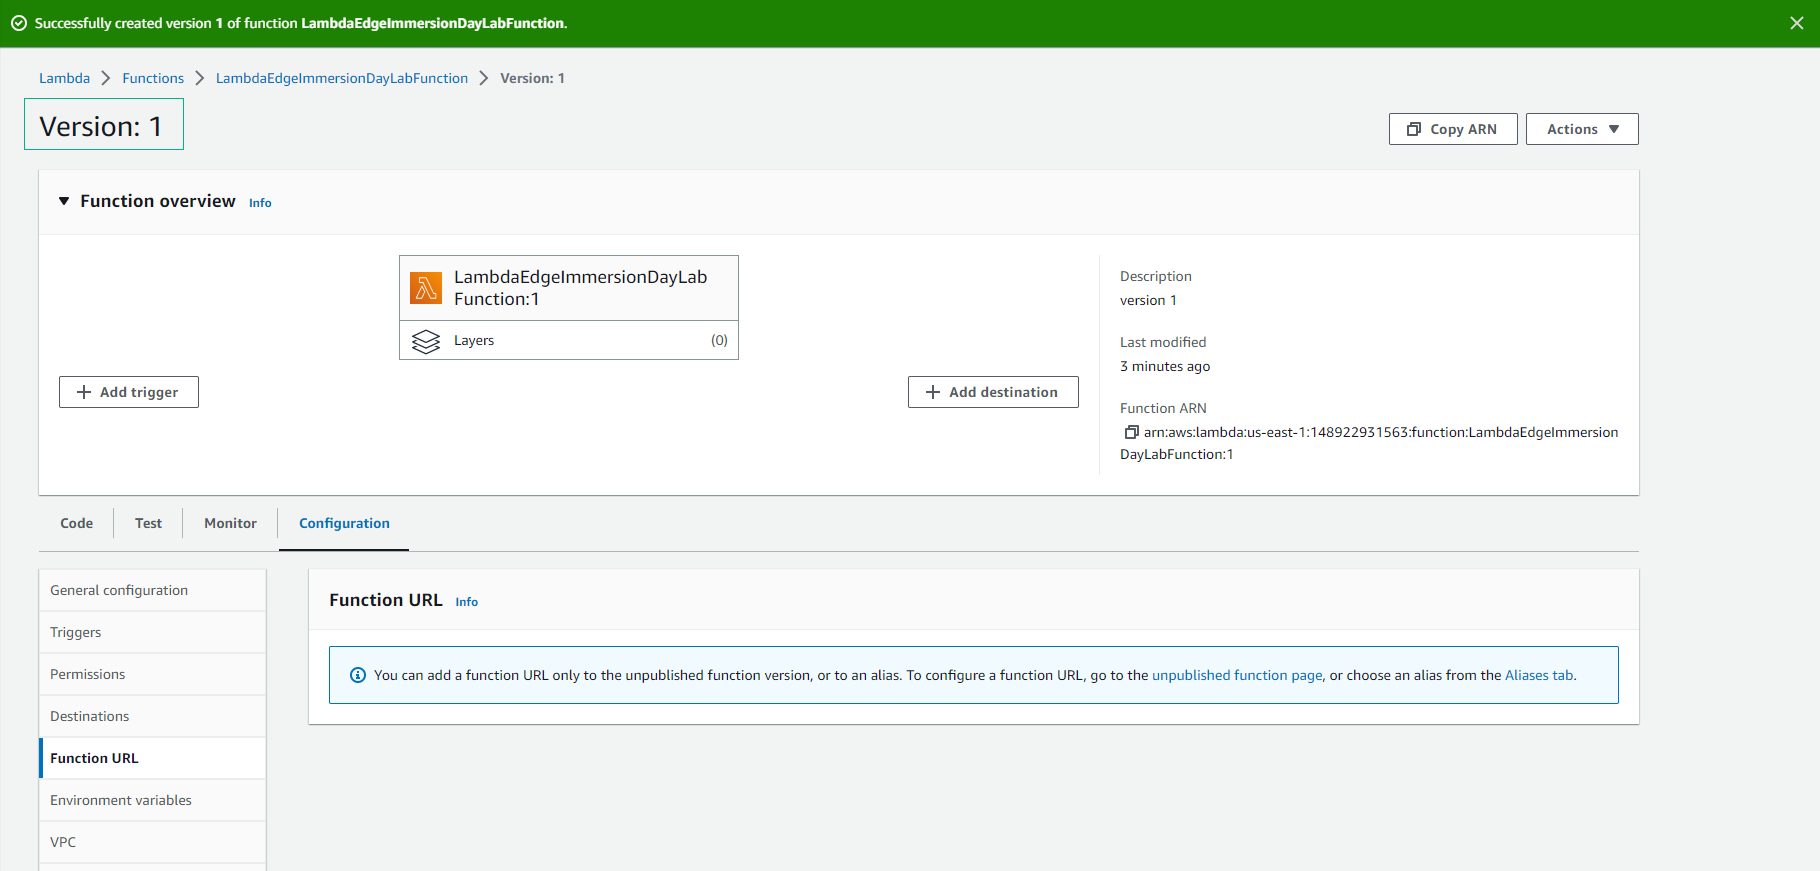
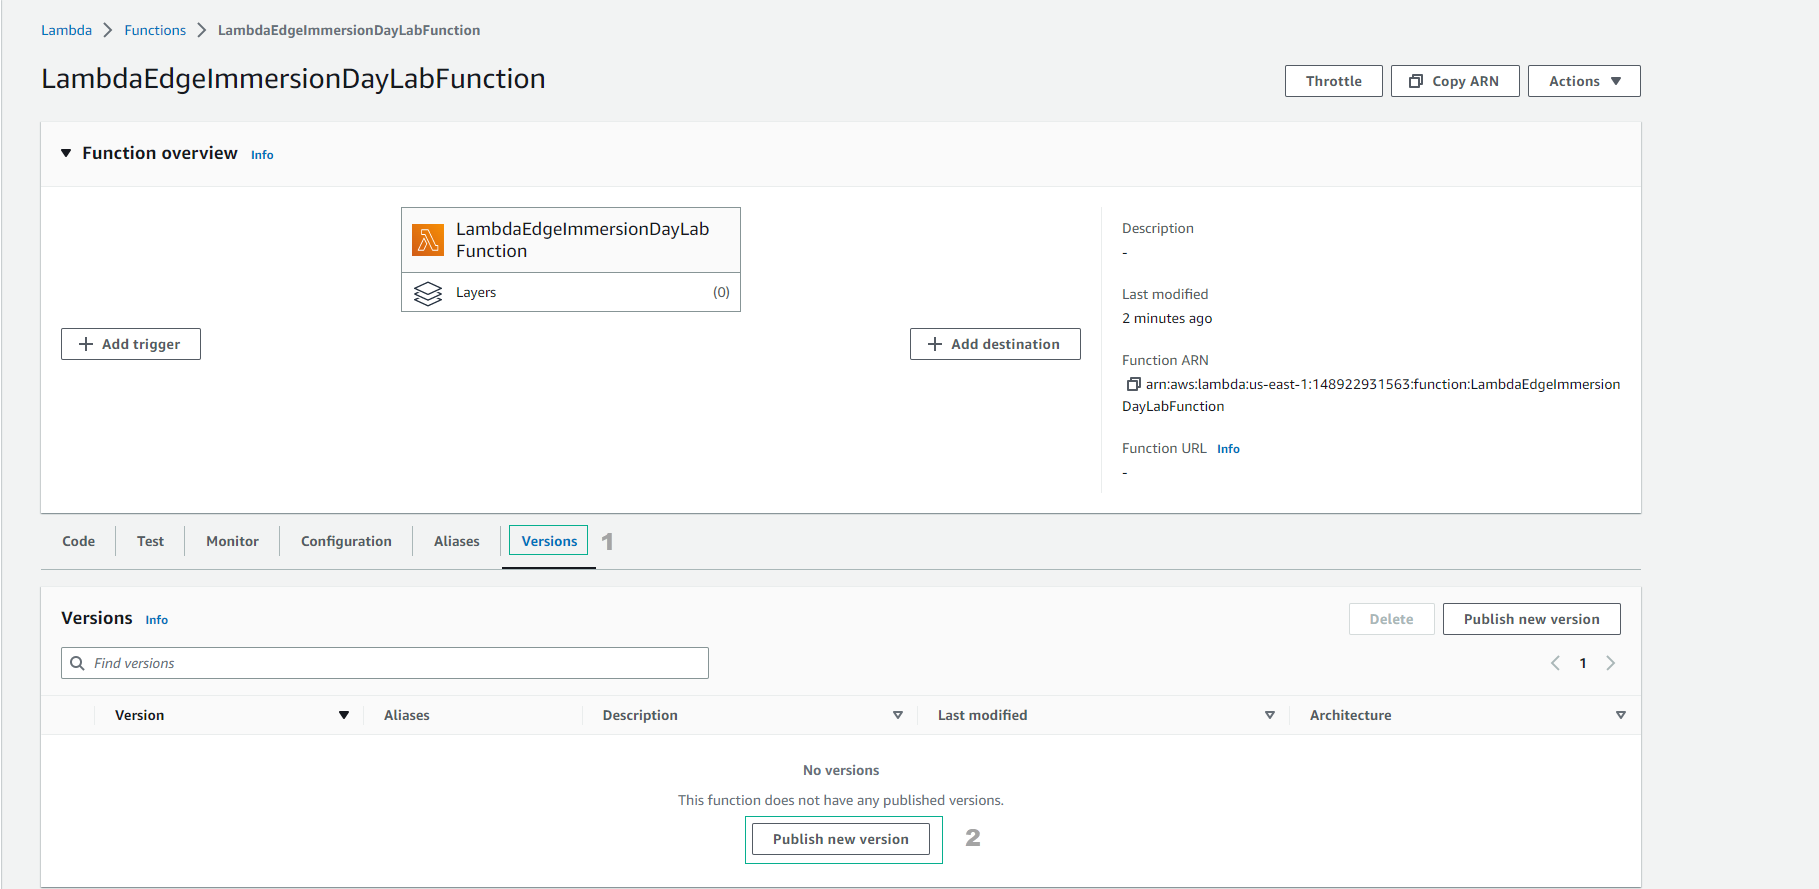
- Quay lại Lambda function, chọn Versions
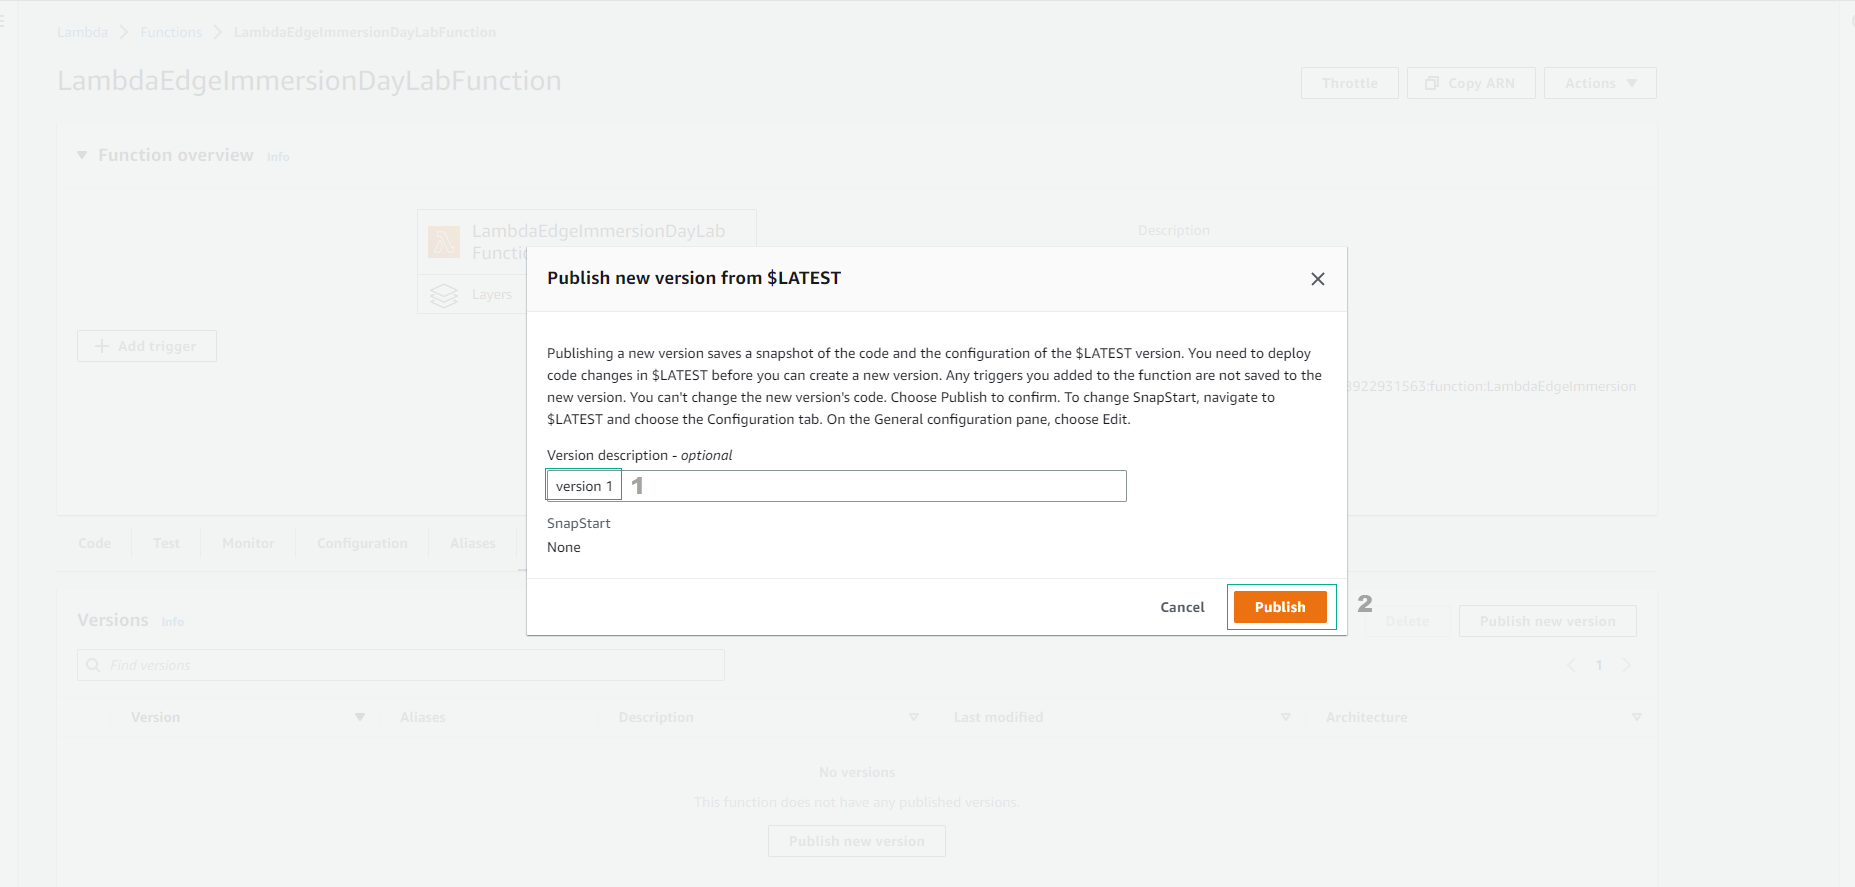
- Chọn Push new version
- Nhập
version 1và chọn Publish
- Hoàn thành tạo Lambda Function có sử dụng với CloudFront.